
12. Fuzzing an Application with zzuf
Exercise 12: Fuzzing an Application with zzuf
In this lab, we will explore fuzzing techniques using the zzuf tool to identify vulnerabilities in applications.
Lab Tasks:
Log in to the Ub20 Fuzzing machine using studentpassword as Password.
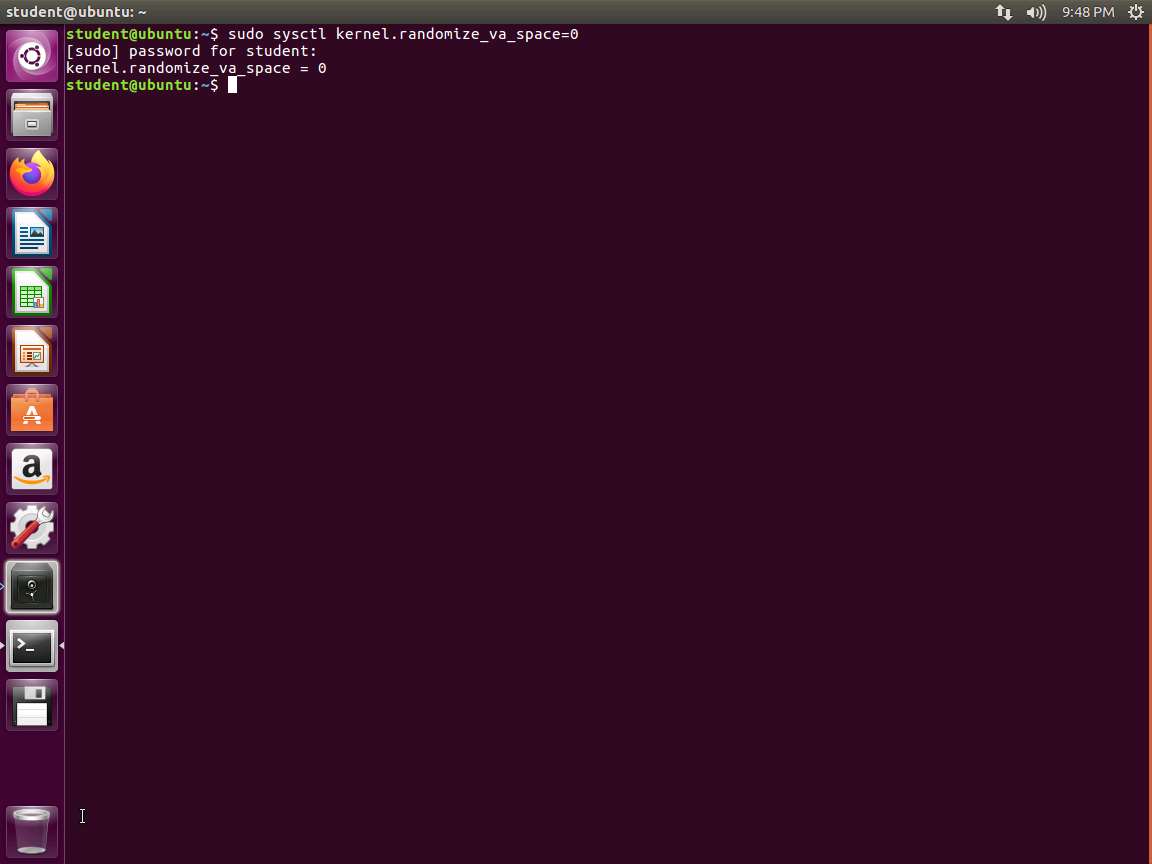
Ensure that your Address Space Layout Randomization (ASLR) is disabled. To do, launch a command line terminal, type sudo sysctl kernel.randomize_va_space=0 and press Enter. Enter the password studentpassword when prompted.
Screenshot We will currently not address binary analysis and exploitation since we have a dedicated module for this.
Type man zzuf and read more about the tool. An example of the output is shown in the following screenshot.
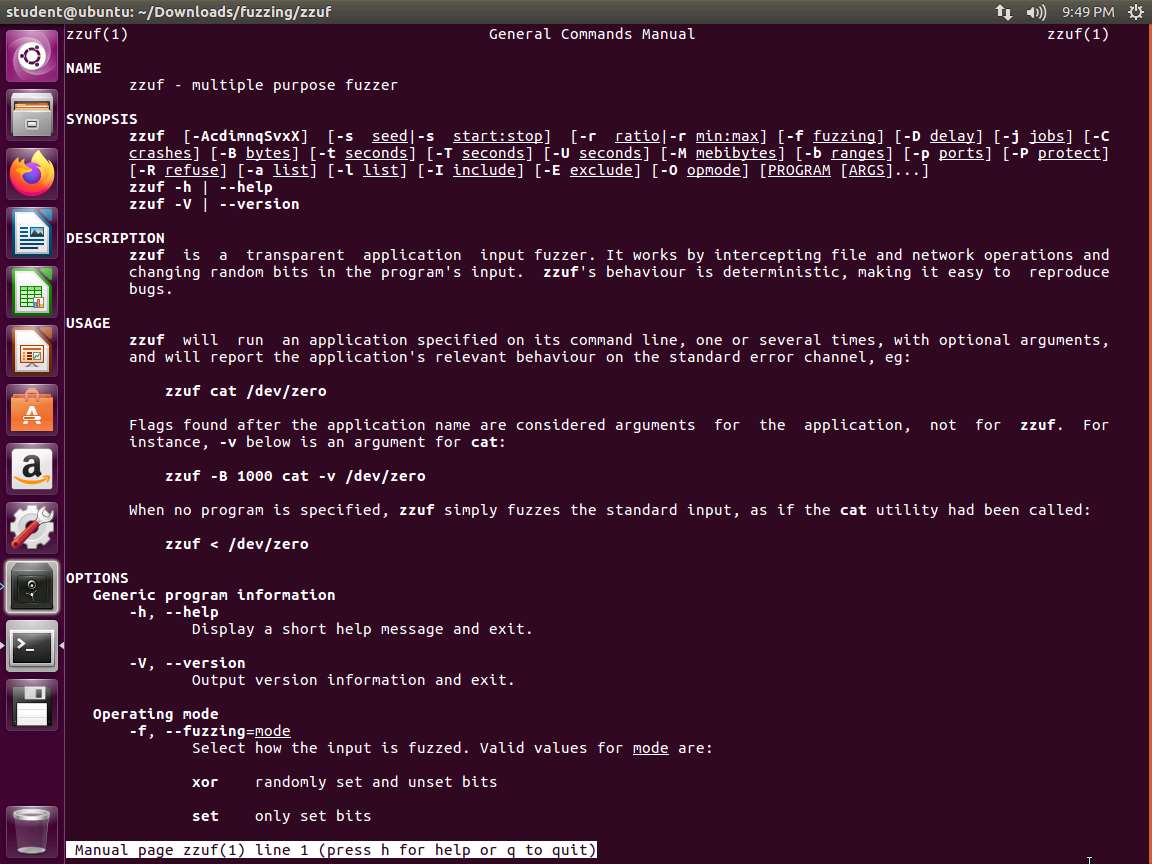
Screenshot Take a few minutes, and review the data in the main page. Upon reading, type q and press Enter to exit the manual and go back to the terminal.
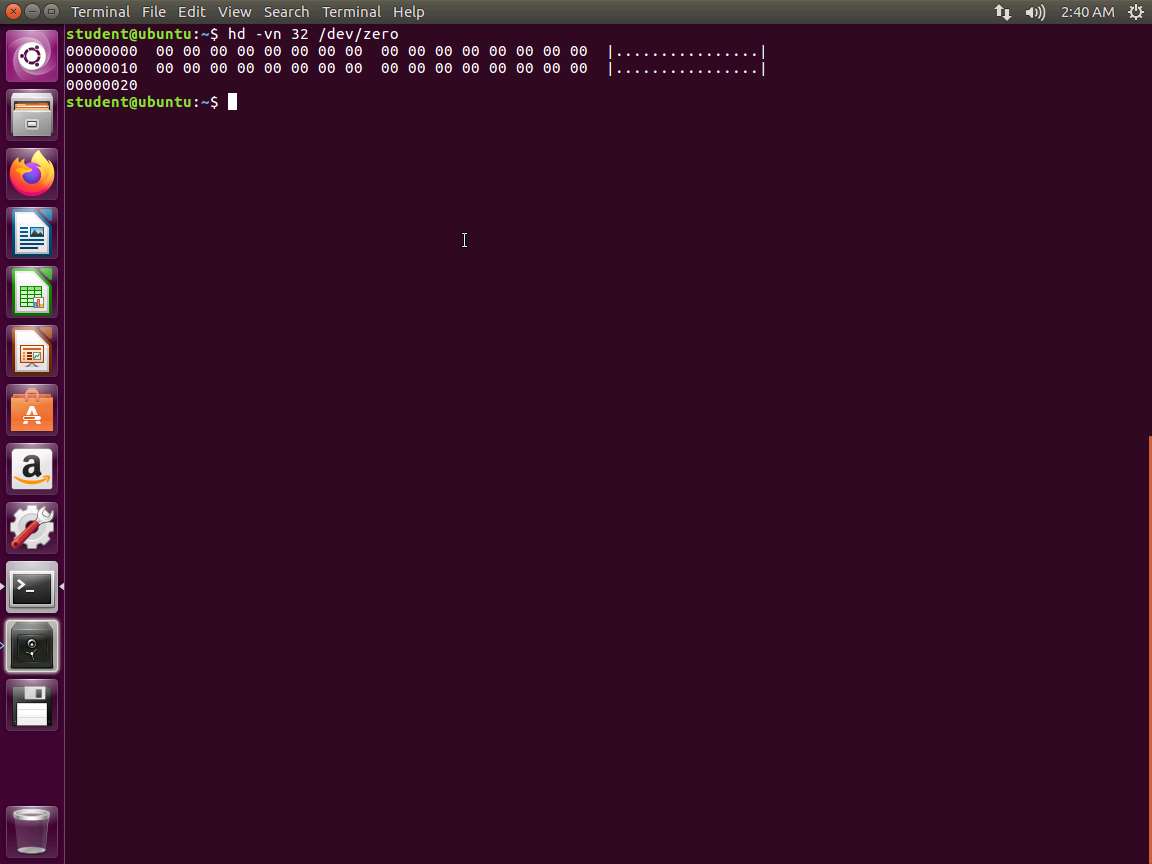
Next, to create a file, enter hd -vn 32 /dev/zero. The results of this command are shown in the following screenshot.
Screenshot Next, we want to use the zzuf tool to fuzz the cat command. Open a new terminal and type zzuf cat /dev/zero | hd -vn 32 and press Enter. An example of this is shown in the following screenshot.
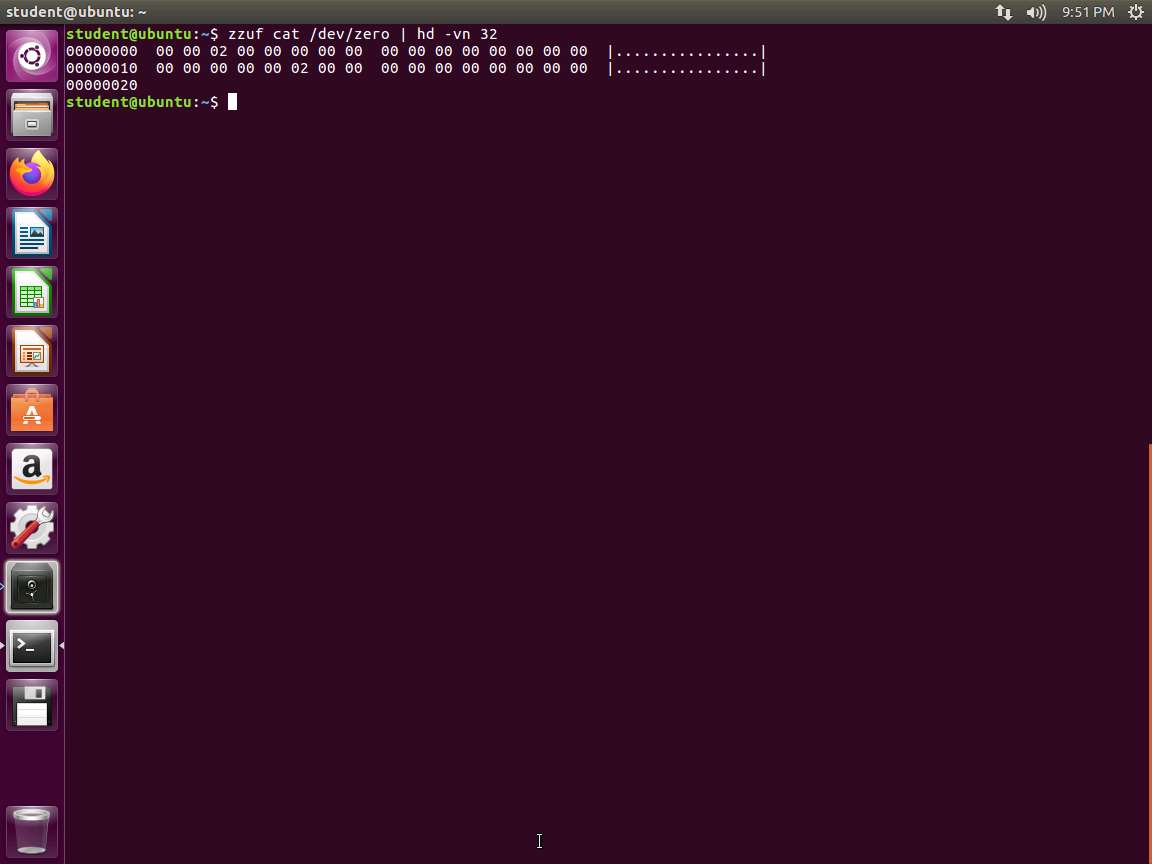
Screenshot As the image shows, the zzuf tool has fuzzed two bytes in the binary, and if you run it again, it will repeat this. Therefore, it exhibits reproducible behavior.
Next, let us try to do the same thing but dump it in octal, which is in base 8. In the terminal window, type zzuf cat /dev/zero | od -vN 32 and press Enter. An example of the command output is shown in the following screenshot.

Screenshot You will notice that the output is the same, so this is another advantage. Regardless of the fuzzed application, the data is fuzzed in the same way.
The fuzzing ratio is the proportion of bits that zzuf changes. It can be specified using the -r flag. By default, the ratio is 0.004, which translates to fuzzing 0.4% of the number of bits being fuzzed.
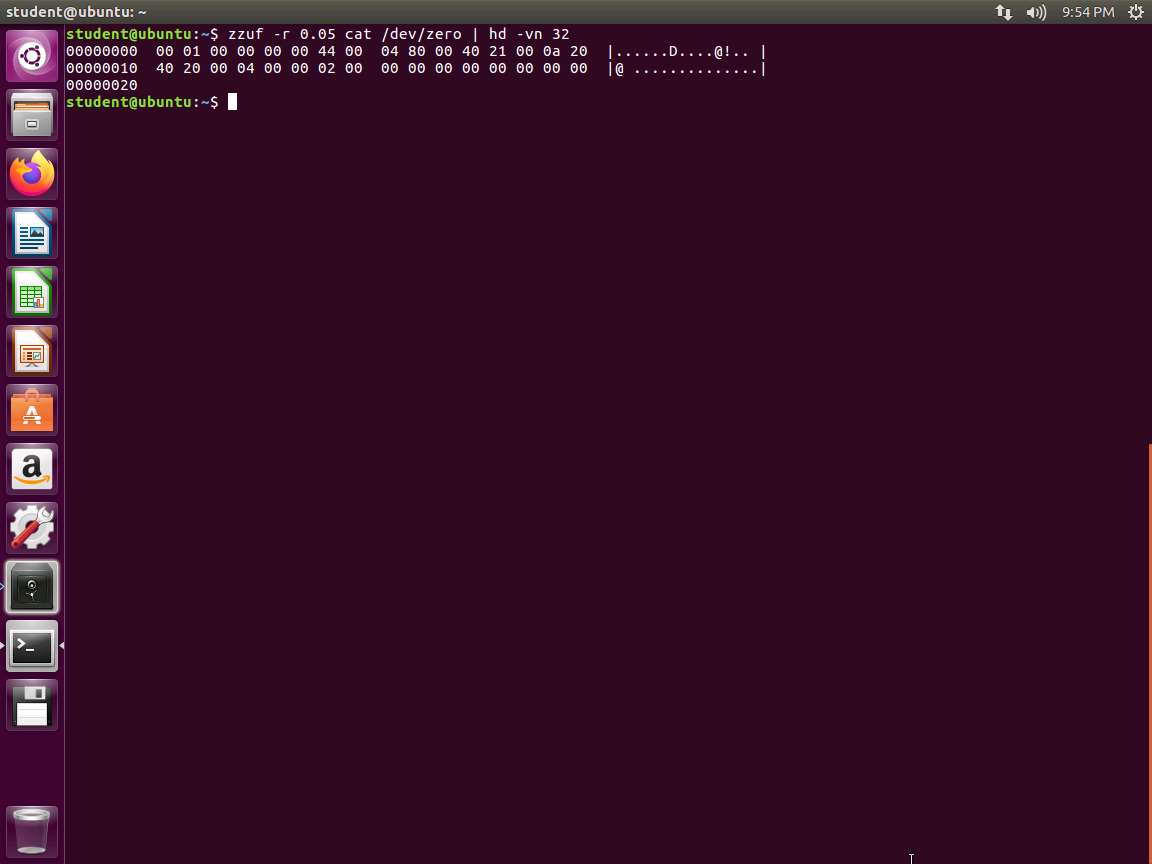
Next, we will try and fuzz more bits using the -r flag. Type zzuf -r 0.05 cat /dev/zero | hd -vn 32 and press Enter. An example of the output of this command is shown in the following screenshot.
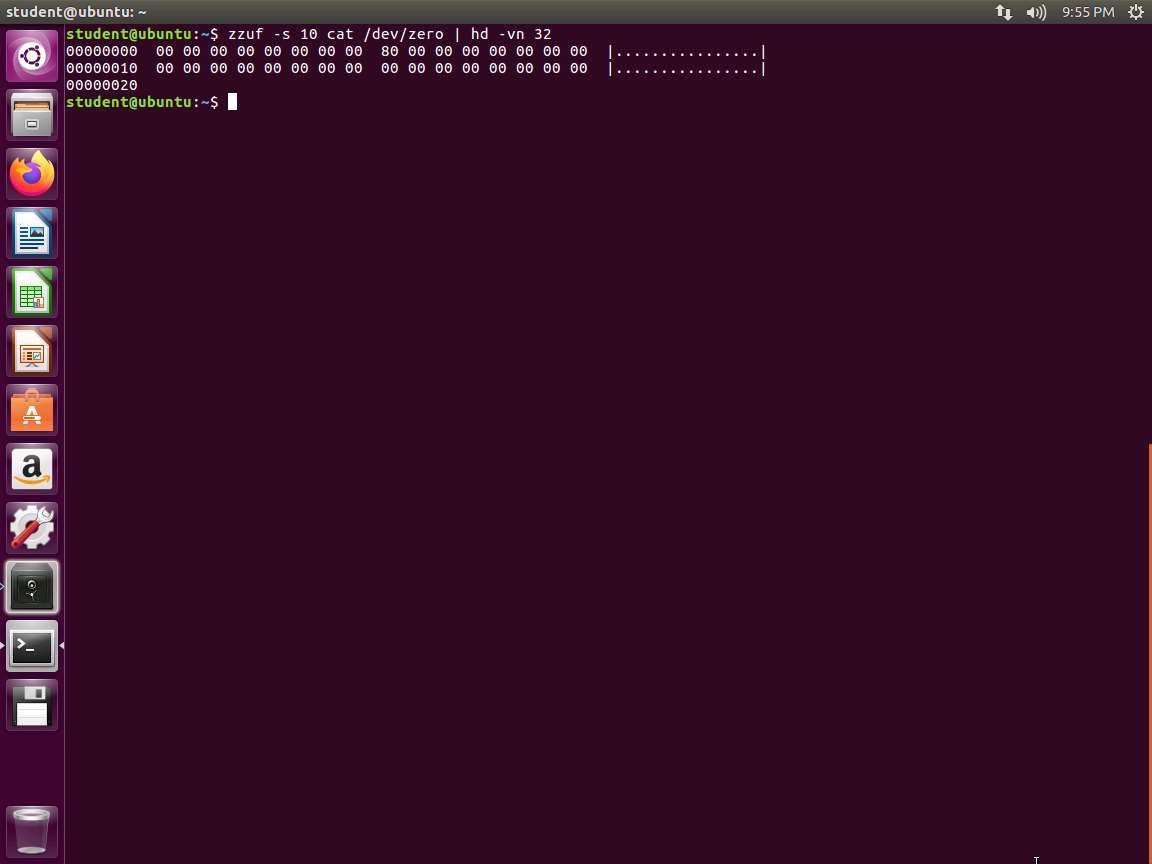
Screenshot The behavior of zzuf is reproducible, but we may need to fuzz in different ways. We do this by changing the random seed with the -s flag. The initial value of the random generator is random, and the default seed is 0. We can change the seed, and type zzuf -s 10 cat /dev/zero | hd -vn 32 and press Enter. An example of the output is shown in the following screenshot:
Screenshot Another method to use the tool is to fuzz files directly. Type cat /dev/zero | zzuf | hd -vn 32 and press Enter. An example of the command output is shown in the following screenshot.

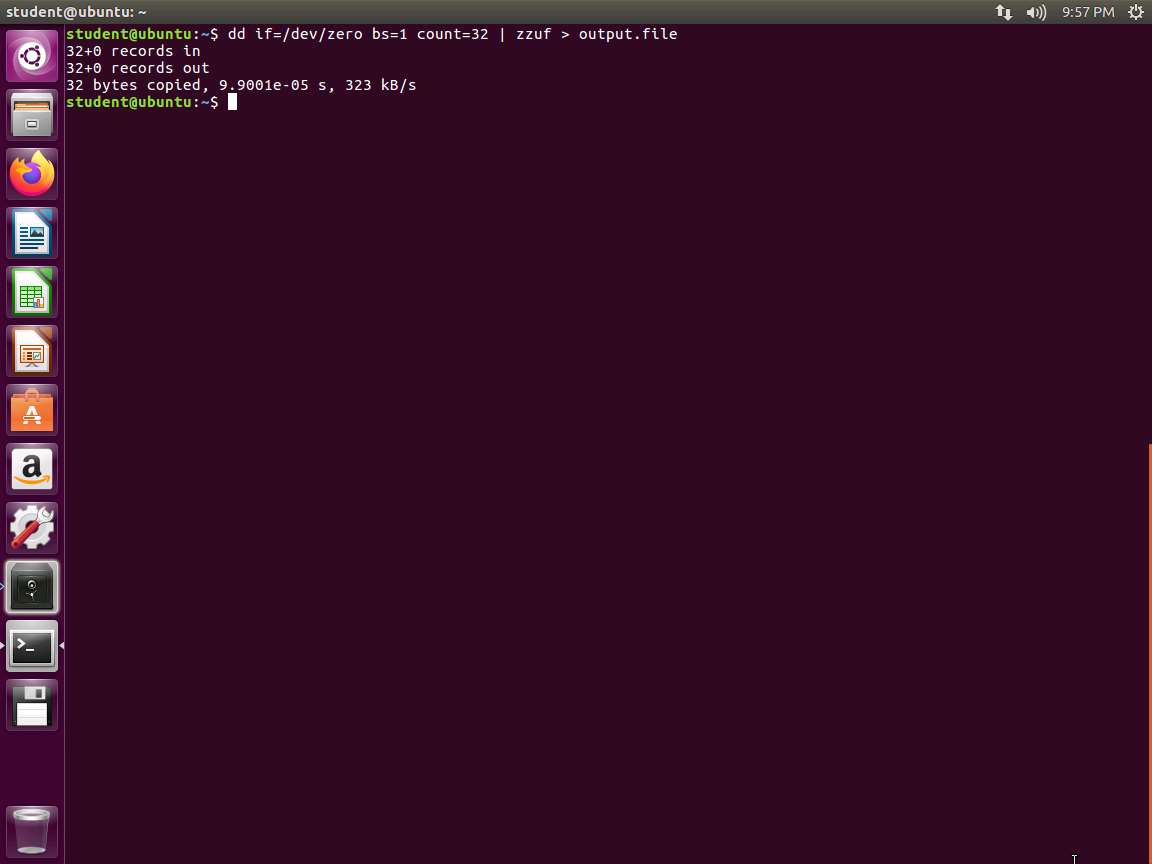
Screenshot We can also use the tool to create files. Type dd if=/dev/zero bs=1 count=32 | zzuf > output.file and press Enter. An example of the output is shown in the following screenshot.
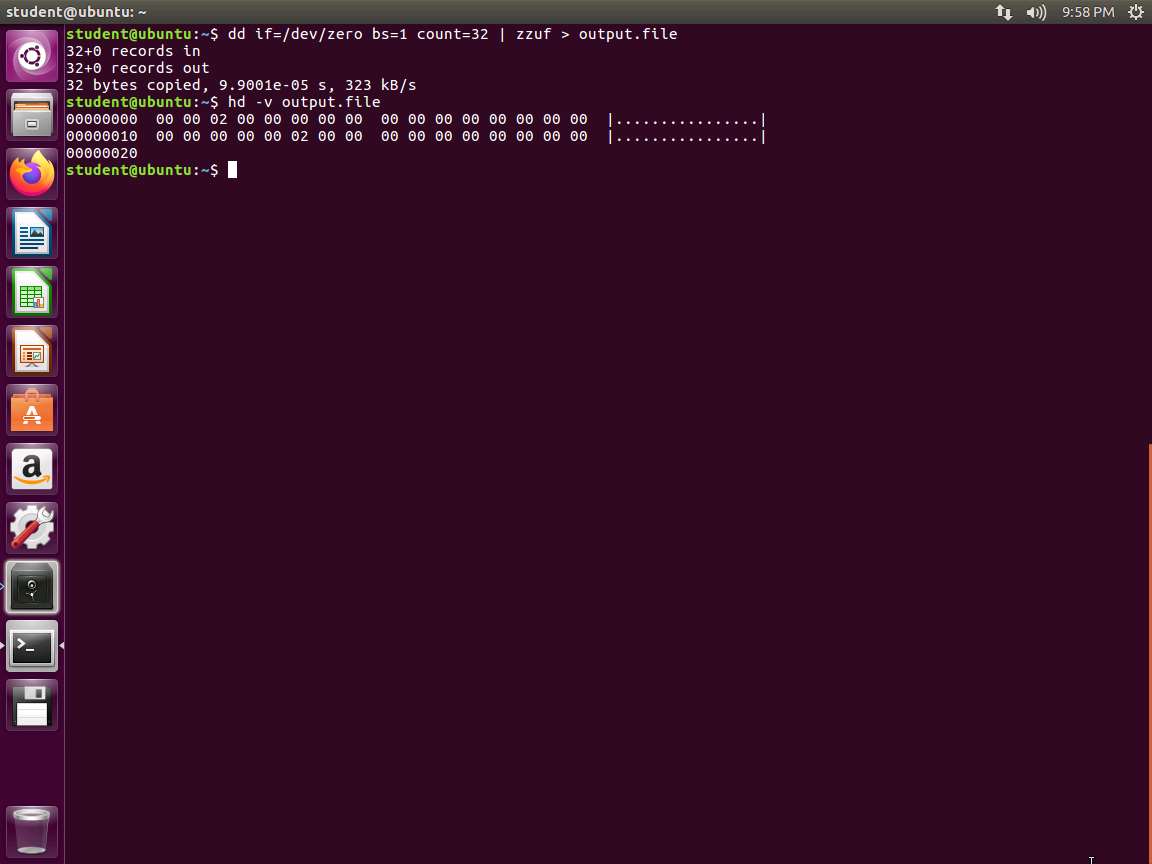
Screenshot Next, to view the file, type hd -v output.file and press Enter. The output is shown in the following screenshot:
Screenshot We can use zzuf as a batch testing tool as well as a debugging tool. In the terminal window, type zzuf file /bin/ls and press Enter. An error appears, because zzuf tries to fuzz the ls file. This is not expected since the file is a special file. The error message is not very helpful but it allows to change our option to add the debug option. Enter zzuf -d file /bin/ls. An example of the output from this command is shown in the following screenshot.
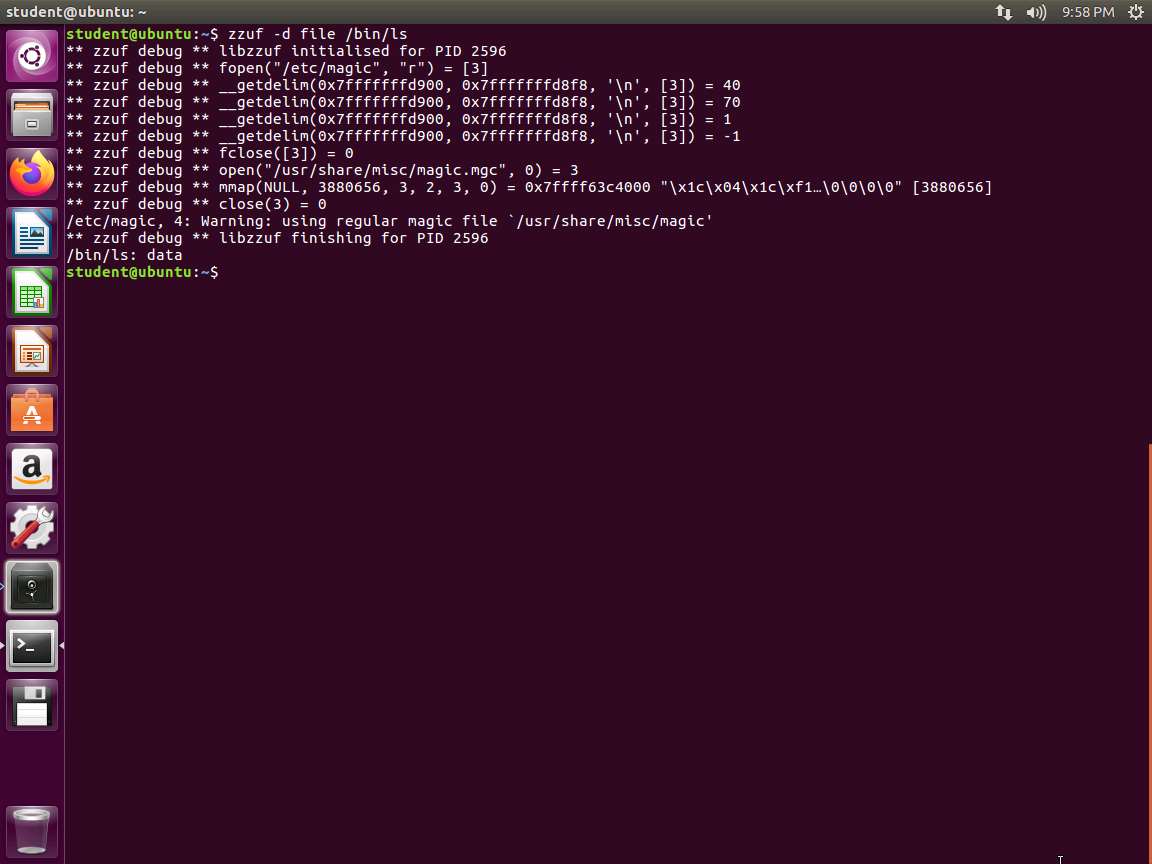
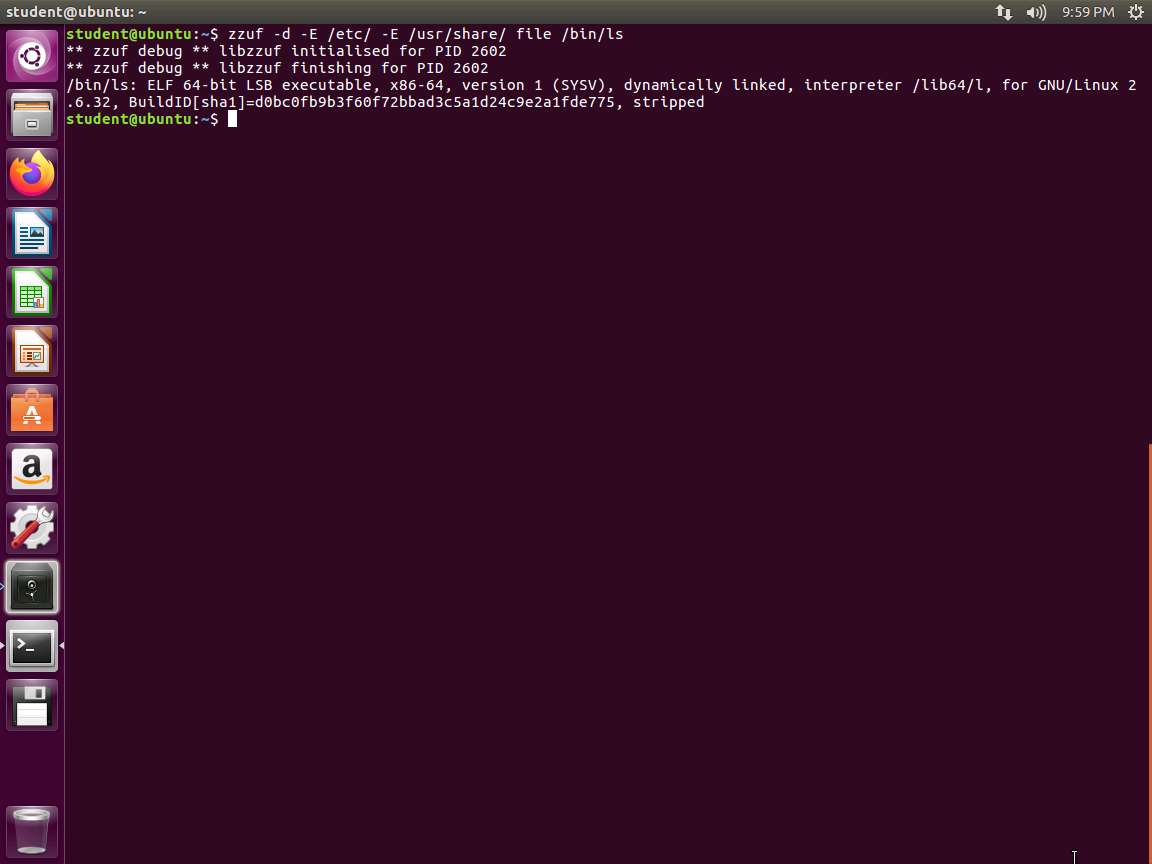
Screenshot We see that the file opens /etc/magic and the two /usr/share files. We can use the -E flag to ensure that the tool excludes files. This tells the tool to not fuzz any files that match the given regular expression. Add the -E flag to the previous command. In the terminal window, type zzuf -d -E /etc/ -E /usr/share/ file /bin/ls and press Enter. An example of the command output is shown in the following screenshot:
Screenshot Another way to avoid the issue is to use the include option using the -i flag.
We can also use the -c flag to ensure zzuf to only files that appear on the fuzzed applications command line. Type zzuf -d -c file /bin/ls and press Enter. An example of the command output is shown in the following screenshot.

Screenshot Ensure that you are in the /home/student/examples/samplecode. Type for i in {1000..3000}; do for f in example.*; do zzuf -r 0.01 -s $i < "$f" > "$i-$f"; done; done and press Enter.
Thus, for every example file, we create 2000 malformed variants, all named in the form [number]-example.[extension]. The -r parameter for zzuf is the amount of change you want in a file. 0.01 means that 1% of the file gets changed randomly. The -s parameter is the seed. For every different s value, we get a different output. You can certainly adapt the number of variants but judging from experience, 2000 is a reasonable number to start with . Type ls and press Enter. An example of the output is shown in the following screenshot.
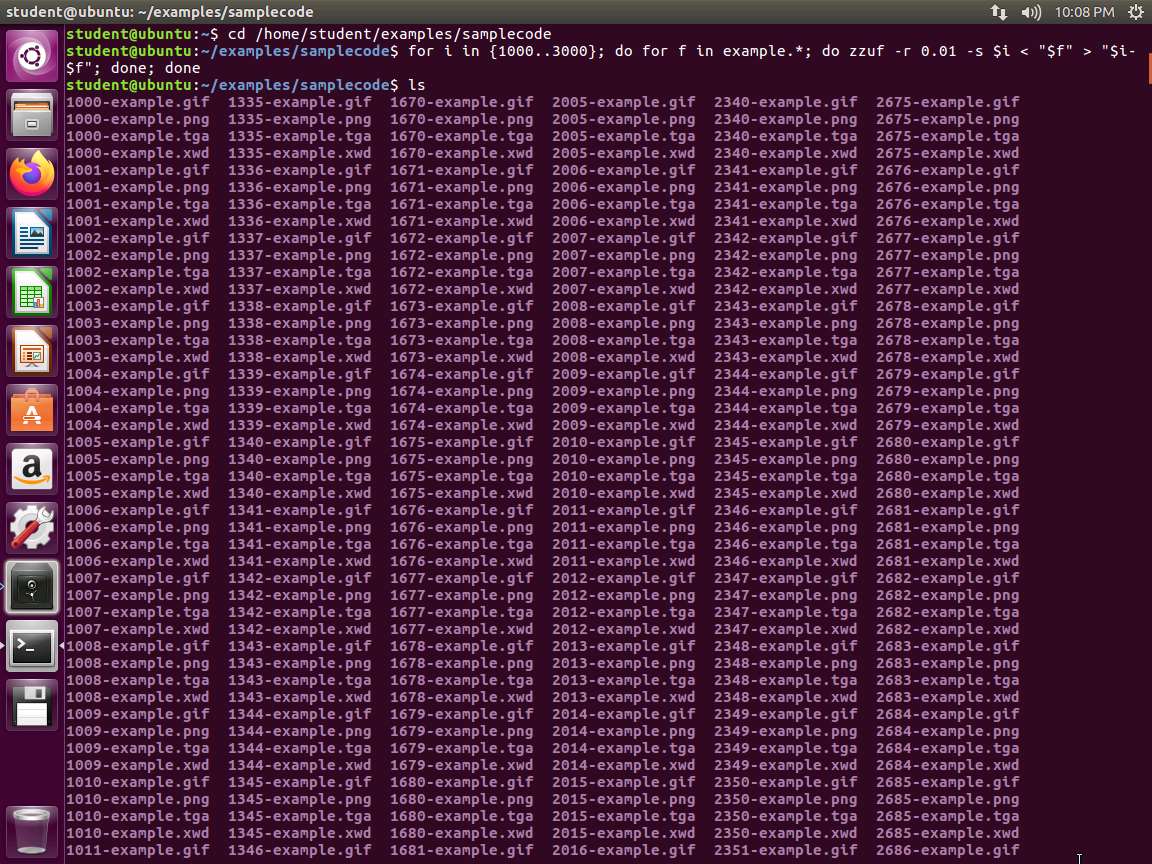
Screenshot As the image shows, the for loop created a lot of files for us to work with.
From here, we could input the files into a program as follows:
LC_ALL=C; LANG=C; for f in -example.; do timeout 3 convert -resize 2 "$f" /tmp/test.png; echo $f; done &> fuzzing.log
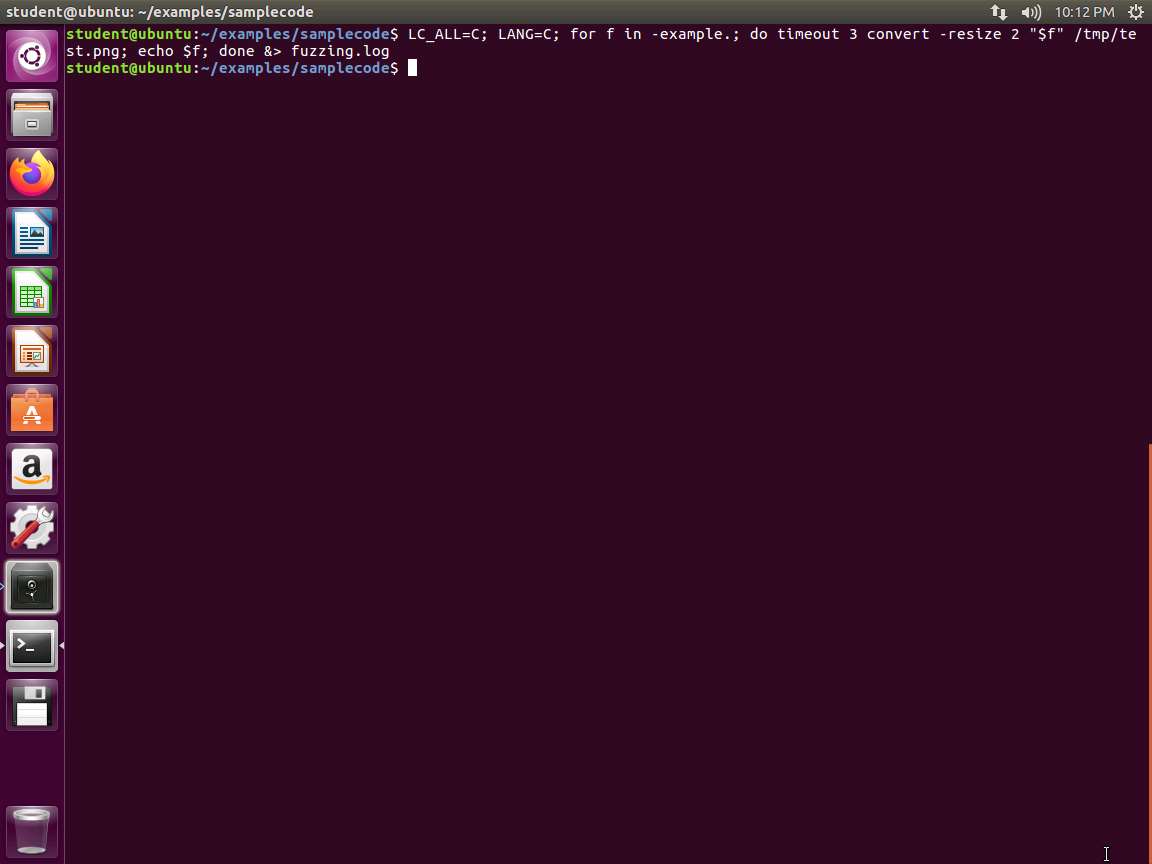
Screenshot LC_ALL=C; LANG=C; ensures that we set our output to the English language. We do this because we now want to grep for error messages. The timeout command ensures that we stop when a single file takes too long. This will miss endless loop bugs. The workaround is outside the scope of this introduction tutorial. Additionally, after every call of convert, we output the name of the current file. This should be quite obvious - we want to know later which file caused a crash when we found one.
This can take quite some time. Depending on how many inputs you use, the output file may become quite large. Therefore, ensure that you place it somewhere with some gigabytes of space.
Next, we check if we found something. We look for Segmentation faults in our logfile, type grep -C2 "Segmentation fault" fuzzing.log and press Enter.
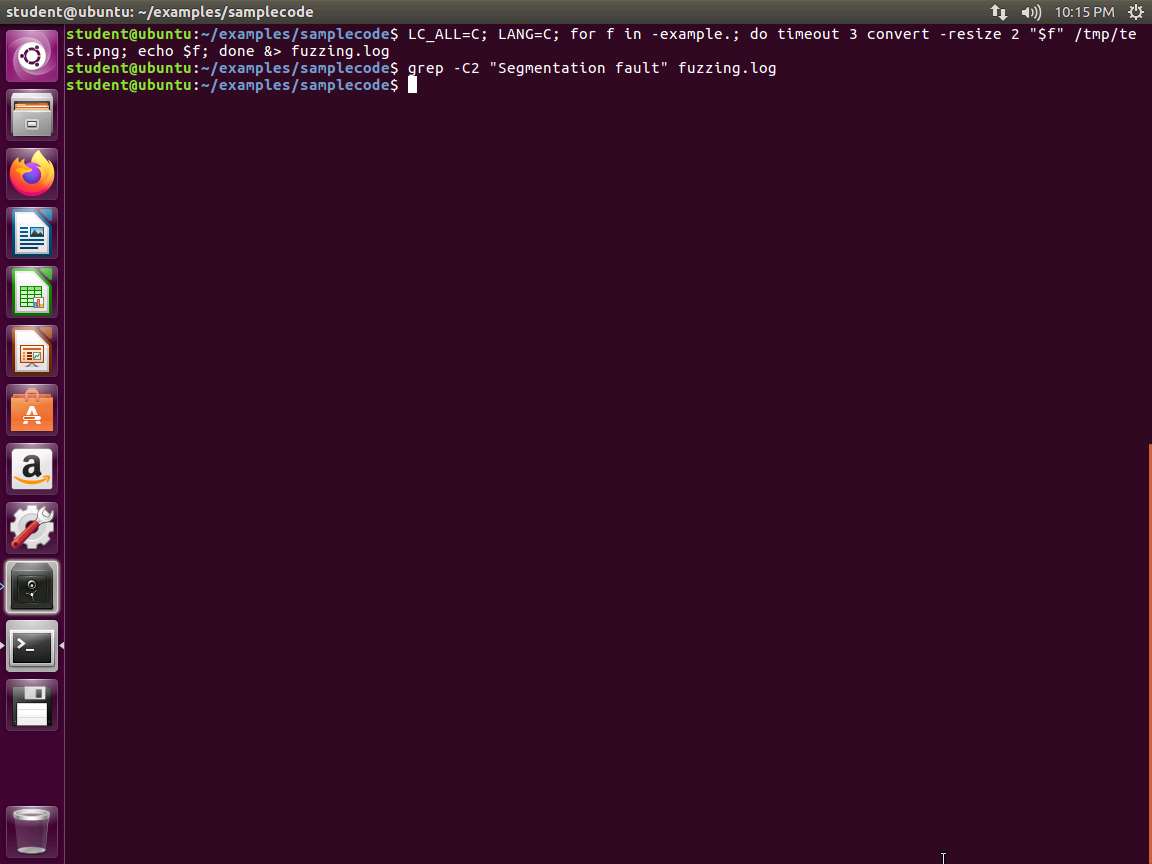
Screenshot In this case, we do not show any crashes, but the process is the most important thing. You can change the numbers and work with them to modify and make changes.
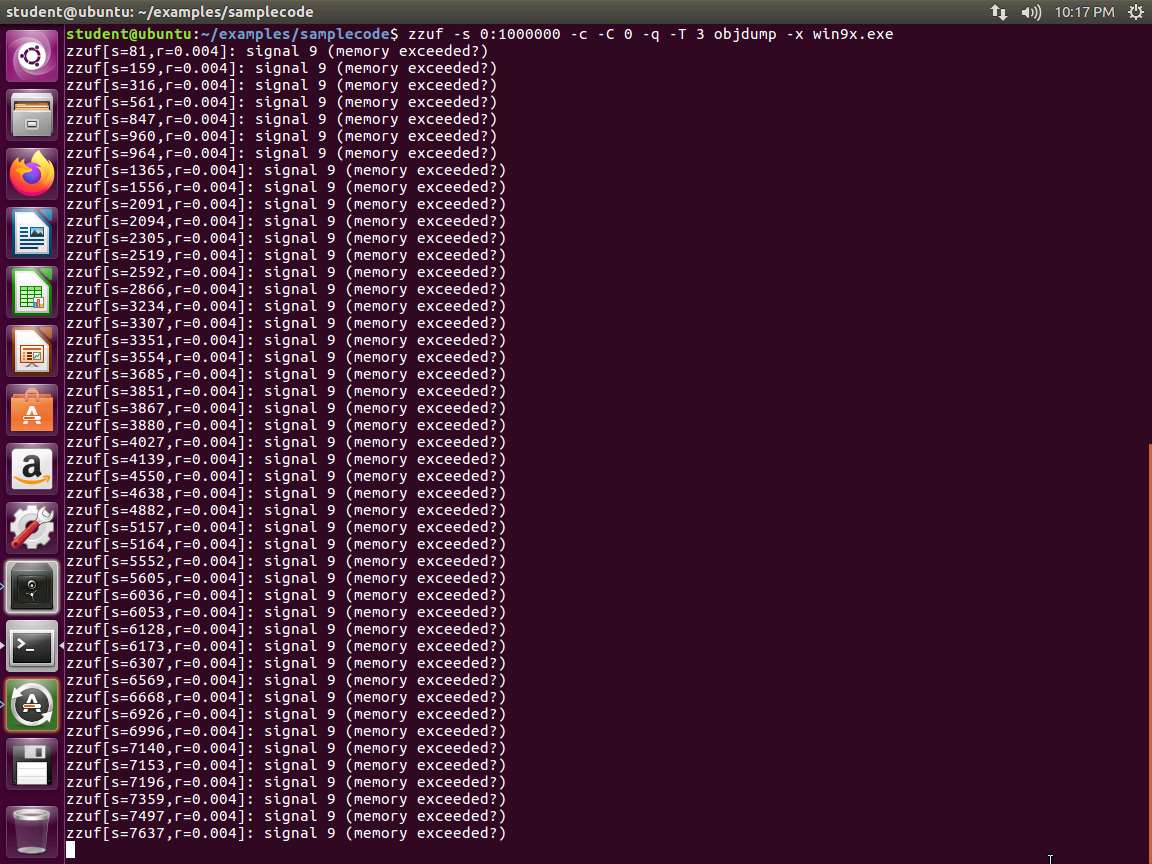
We have another method of using the zzuf, which is using it directly. In this example, we will use the tool with the objdump command. Ensure that you are in the samplecode folder, and type zzuf -s 0:1000000 -c -C 0 -q -T 3 objdump -x win9x.exe and press Enter. In this example, we are using an EXE file that is part of the binutils resources. It is an older Windows executable, but here, we are demonstrating the process.
-s means that we will try one million seed values. -c means zzuf should only fuzz the files given on the command line. This is useful because otherwise, the tools might throw error messages from reading config files or other things. Therefore, they will not really get to our fuzzed input. -C 0 means that zzuf should not stop after the first crash is found. -q suppresses the output of our fuzzed command. -T 3 sets a timeout of three seconds, so zzuf won't hang if we run into an endless loop. We are trying to see if we can crash the program. An example of the output from the command is shown in the following screenshot.
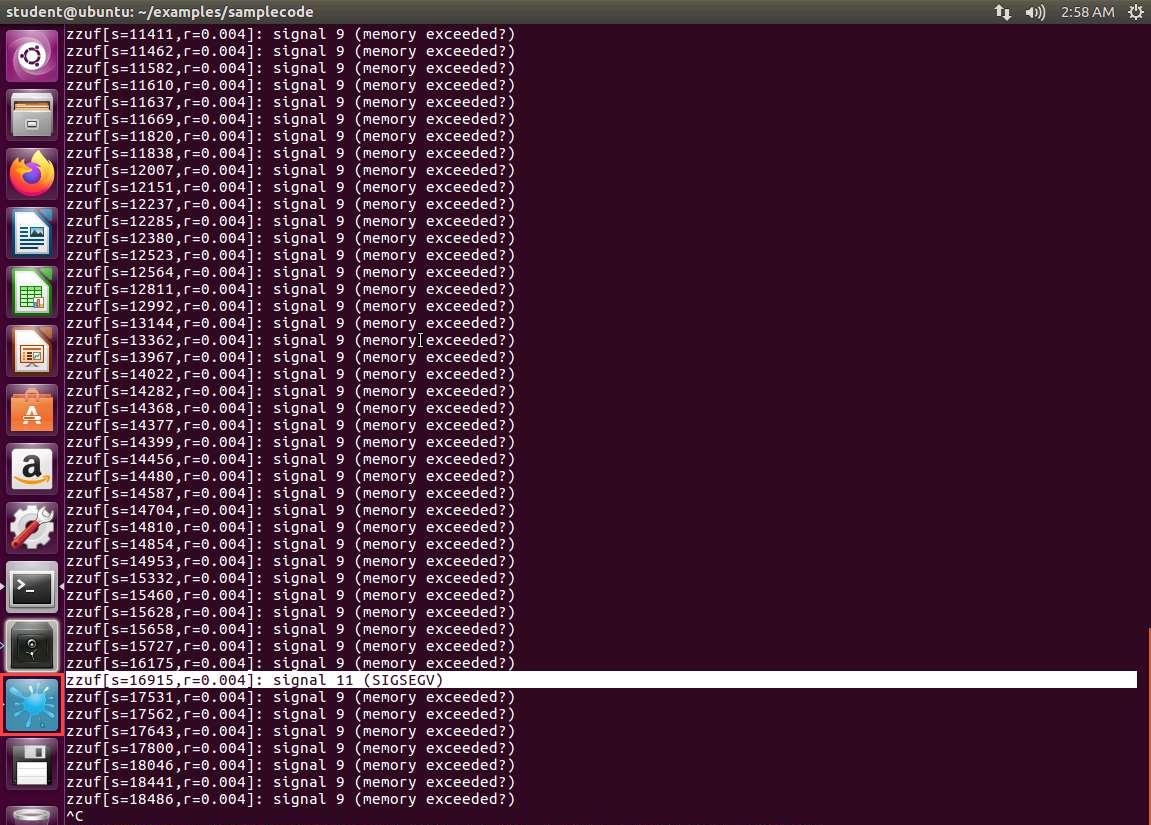
Screenshot We see in the image that we have a SIGSEGV. This is our segmentation fault, and whenever we have one, it is indicated by signal 11. You will also notice a crash being reported (blue splash icon) which can be seen in the launcher.
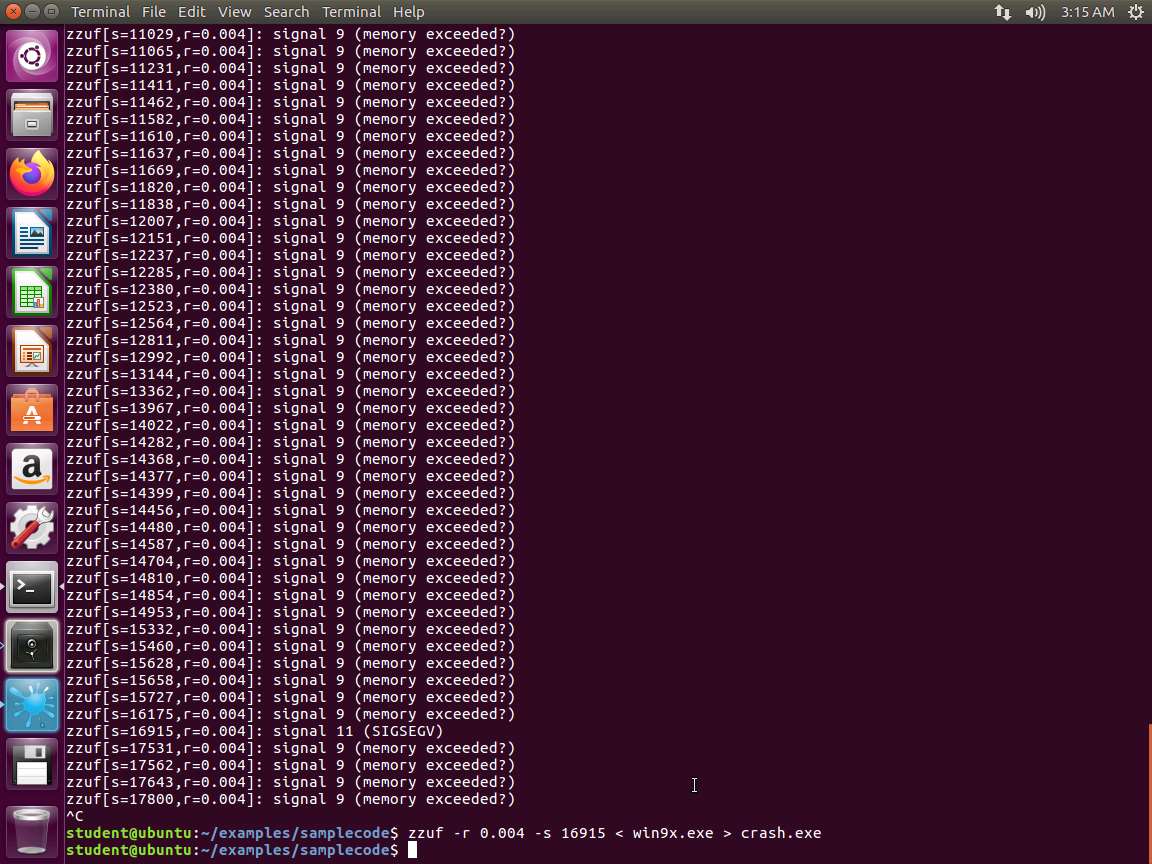
98dw4oaq.jpg Now we have the data we need to query that specific instance. In the terminal window, enter the details from the crash, which in our example here, is s=16915. Therefore, we type zzuf -r 0.004 -s 16915 < win9x.exe > crash.exe and press Enter.
Screenshot Next, we have a fuzzed file that generates a crash in our application. We can send these to the application author. Please note that if you fuzzed one of the example applications mentioned, a large number of issues have already been reported there and the authors are busy fixing them. If you want to report anything, ensure that you test the crashes with their latest upstream git/svn code.
We can also analyze them further. One handy tool is valgrind. Simply run valgrind -q in front of your crashing command (-q suppresses some unnecessary output). Enter valgrind -q objdump -x crash.exe. An example of the output from the command is shown in the following screenshot.
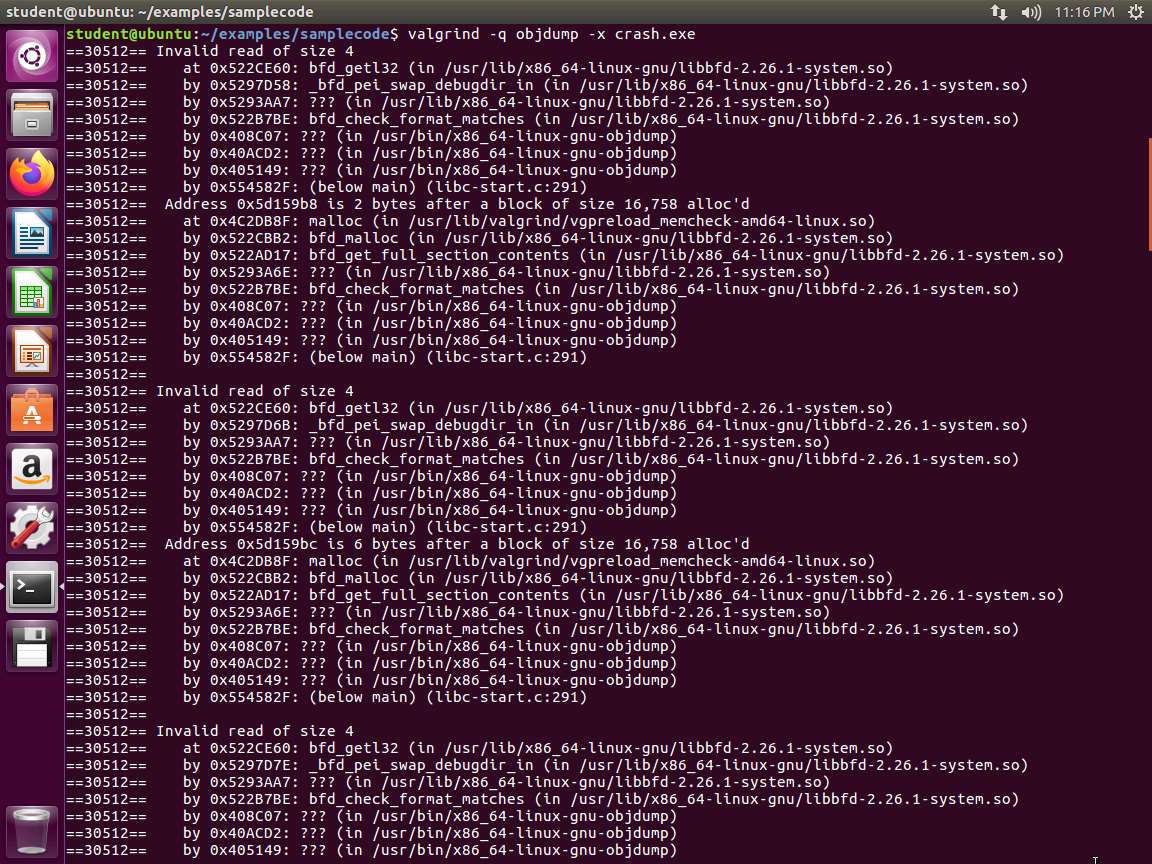
Screenshot As the image shows, we have obtained quite a bit of information about the crashed program. You are now familiar with the process for crashing a program.
The lab objectives have been achieved.
Last updated