
17. Fuzzing an Application with Peach Framework
Exercise 17: Fuzzing an Application with Peach Framework
In this lab, we will explore the Peach fuzzer tool. The Peach framework can be used on Windows, Linux, and OS X OSes. On Linux and OS X, a cross-platform .NET development framework called Mono is required to run Peach.
Lab Tasks
In this section, we use the 64-bit version of Windows Server 2016. Your steps and outputs may vary slightly from those in this lab if you use a different platform.
You will notice that the community edition is not as up-to-date as the commercial tool, but it is free and will serve our purpose. We will now explore the concept of mutation fuzzing.
To start fuzzing with Peach, you have to create a file called Pit. Peach Pit files are XML documents that contain the entire configuration for the fuzzing session. Here is some typical information contained in a Pit file that is shown in the following table.
InformationDescriptionGeneral Configuration
Defines things not related to the fuzzing parameters (for example, the Python path)
Data Model
Defines the structure of the data that will be fuzzed in the Peach-specification language
State Model
Defines the state machine needed to correctly represent protocols where a simple data model is not enough to capture all protocol specifications
Agents and Monitors
Define the way Peach will distribute the fuzzing workload and monitor the target software for signs of failure/vulnerabilities
Test Configuration
Defines the way Peach will create each test case and the fuzzing strategies that will be used to modify data
Mutation Pits are fairly easy to create, and Peach provides several templates that can be examined and modified to suit different scenarios. Pit configurations can be created and modified using any text editor.
Since the files are in XML, any XML editor will work as well. An example of one of the XML files is shown in the following screenshot. Take a few minutes, and review the data contained within the image.
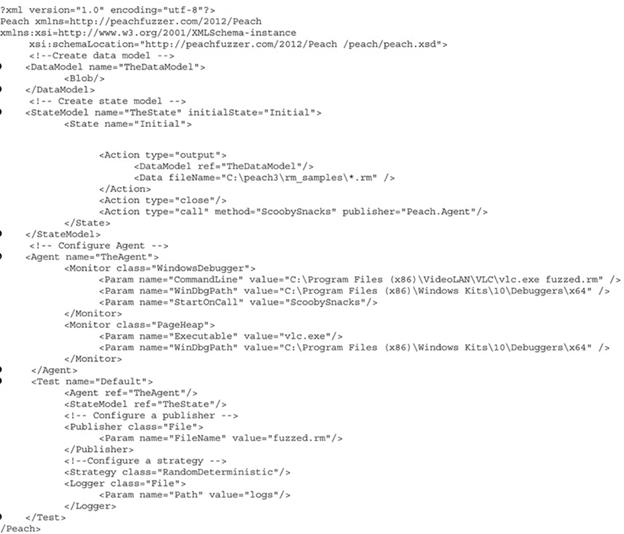
cdpojpa6.jpg We will only use the default templates at first. Click Server2016-Fuzzing and click Ctrl+Alt+Delete to login.
By default Administrator profile is selected type Pa$$w0rd and press Enter.
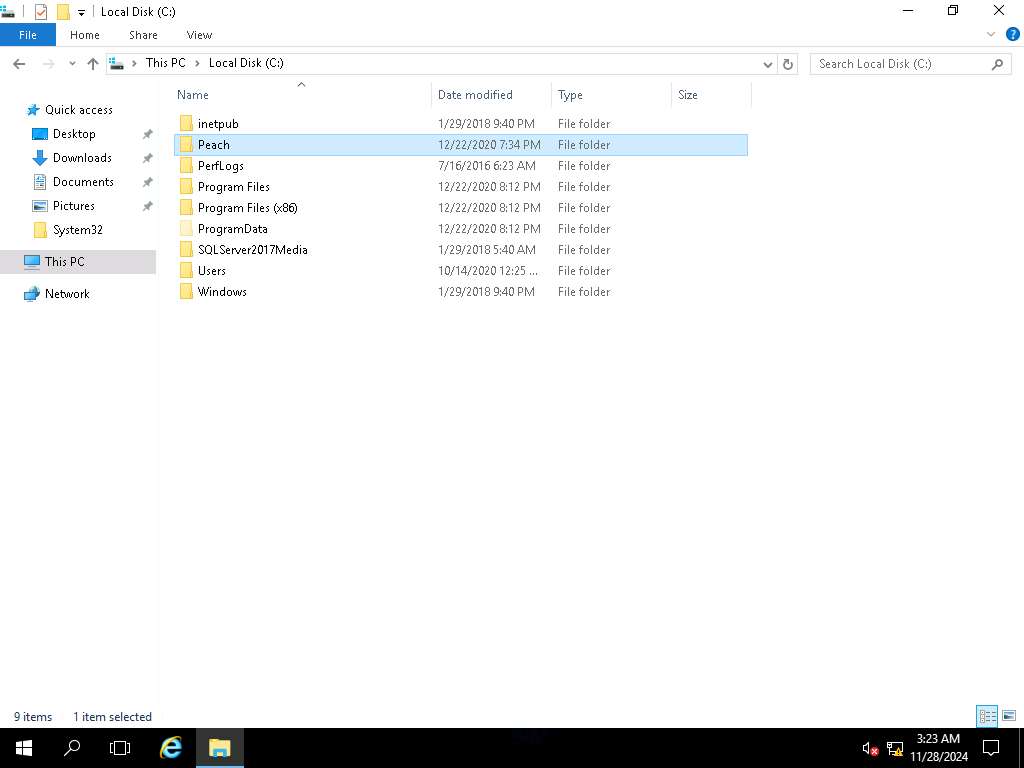
Screenshot Open File Explorer and navigate to C drive. Now, shift + right-click on Peach folder and click Open command window here from the context menu as shown in the screenshot.
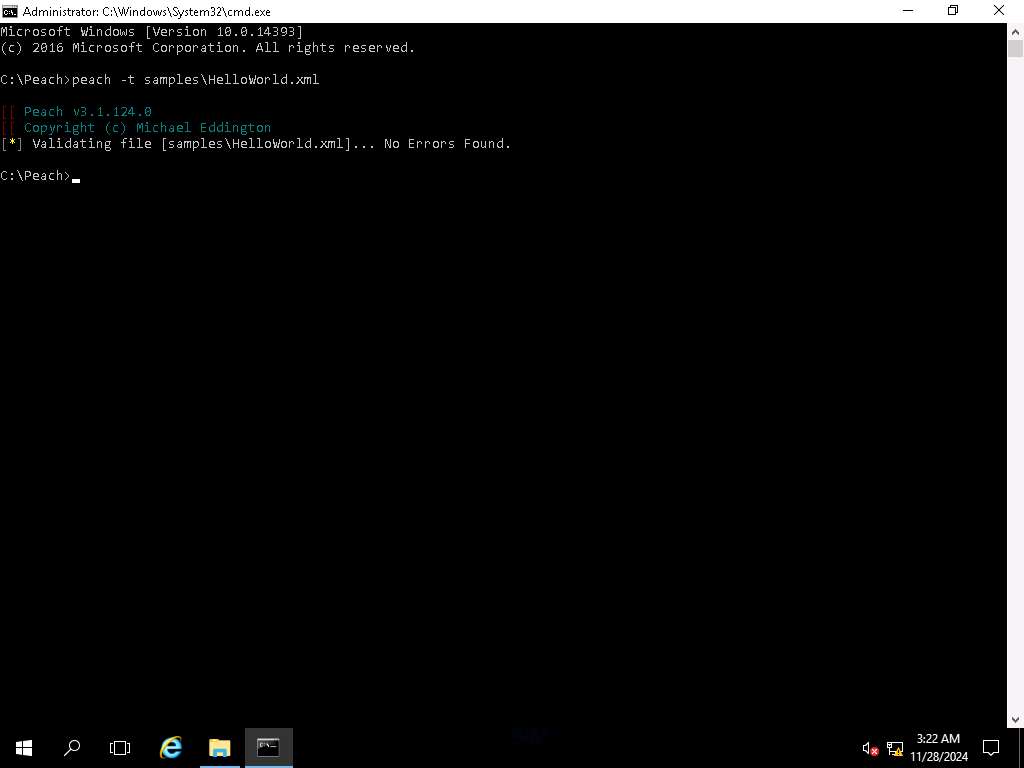
Screenshot In the terminal type peach -t samples\HelloWorld.xml and press Enter. This will validate the file.
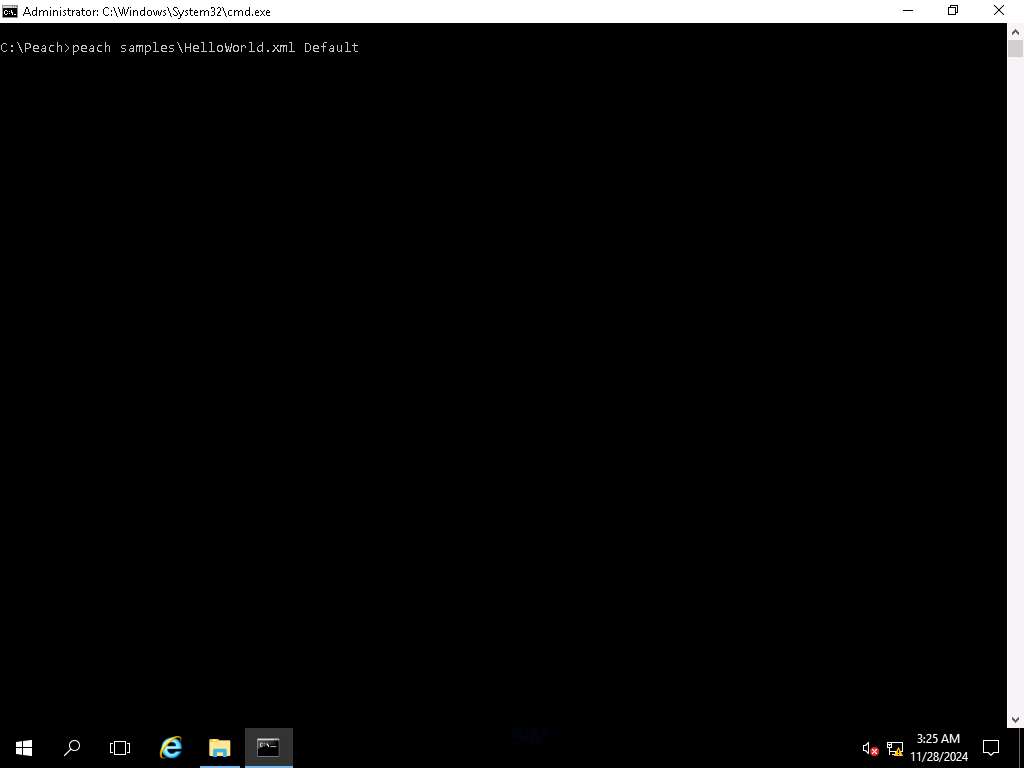
Screenshot Now that we have validated the file, we can begin the process to start a session with the file. Type peach samples\HelloWorld.xml Default and press Enter. This will start the fuzzing process.
As shown in the screenshot, this is a powerful tool. In fact, it can crash the machine it is running on as well. Therefore, at times, you may have to stop it to perform maintenance.
To exit the fuzz, press Ctrl+c.
Screenshot 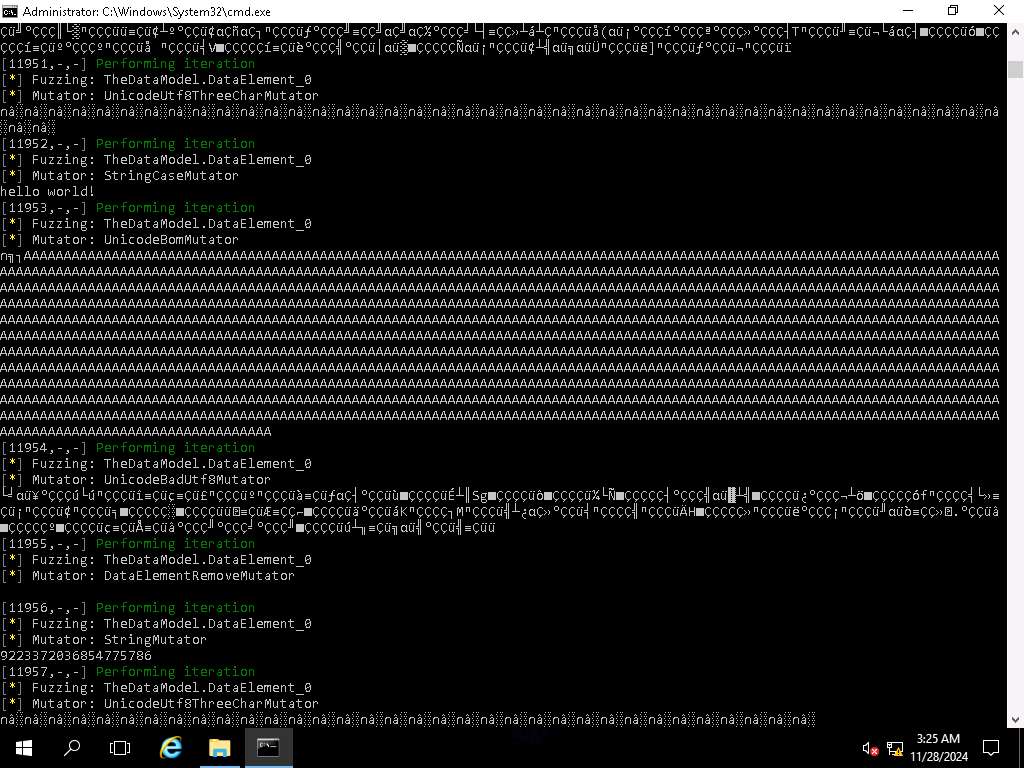
Screenshot You will notice is that it does not take long for the iterations to increase rapidly. Note the requirement for the installation of WinDbg and the correction of the path in the XML files. An example of this is shown in the screenshot.

hzclnvxh.jpg There is always a possibility that you might have to correct the paths for the other files as well.
The results of a terminated session can be examined in the session folder under the Peach "logs" directory. Folders in the logs directory use a naming scheme in which a timestamp with the current time at the moment of directory creation is appended to the filename of the Pit XML configuration used for fuzzing.
If the session had been successful, an additional folder named Faults would exist in the session folder. The Faults directory contains a separate folder for each class of crash detected. Each of these crash clusters contain one or more test cases that include the following information:
The mutated test case that triggered the crash
A debugging report collected about the program state at the time of the crash. This report includes information about the state and values of the processor register, a portion of stack content, and information gathered from the WinDbg plug-in !exploitable, which provides automated crash analysis and security risk assessment
The original test case name that was mutated to create this specific mutation
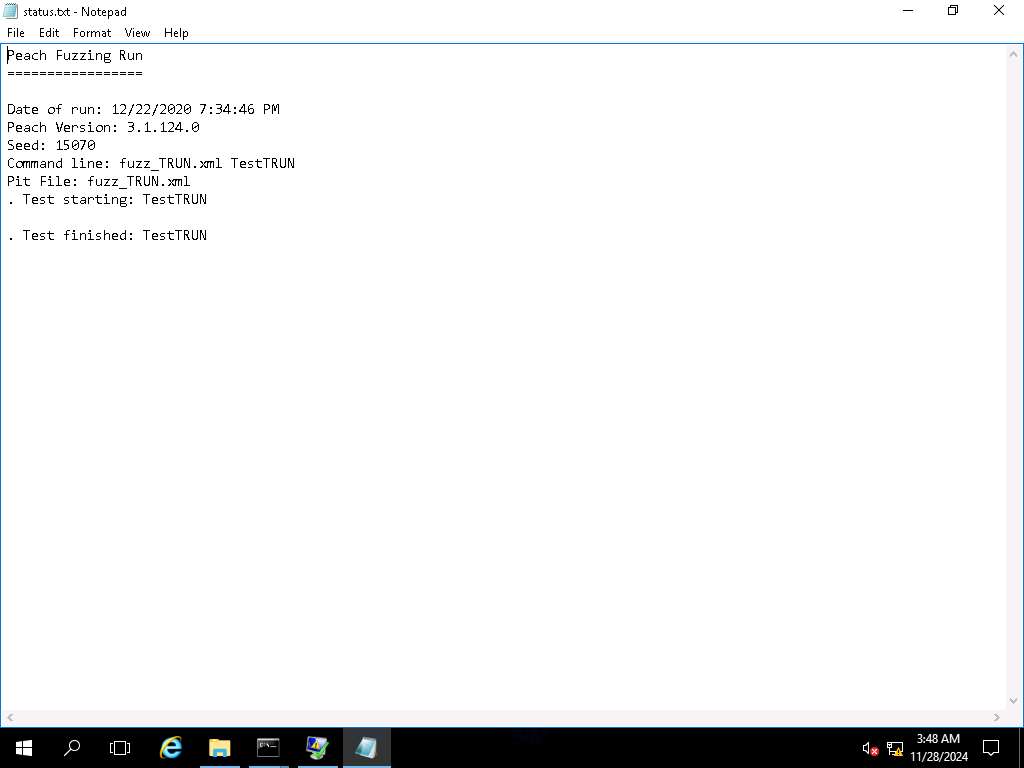
The session can be resumed by skipping the test that has already been performed. Information about which test case was performed last by the fuzzer can be seen in the Logs folder under the session name in file status.txt. An example of this is shown in the screenshot.
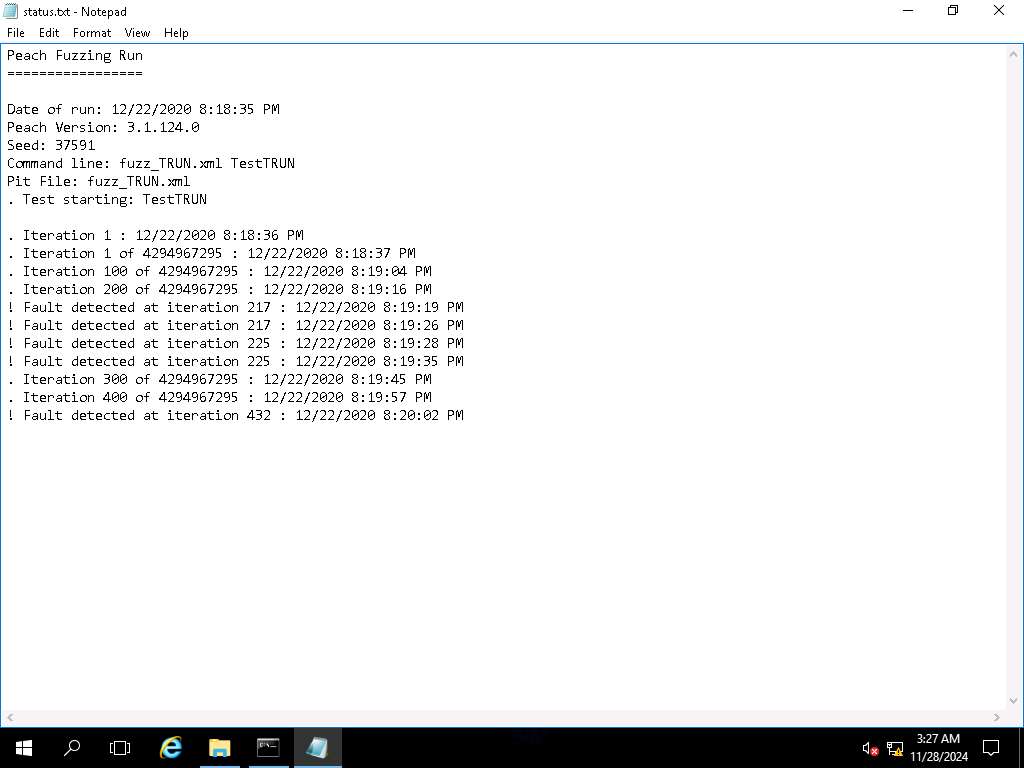
Screenshot Another way to see the progress and number of iterations performed by Peach is in the command-line output during fuzzing, which will show in the first entry of a list iteration number. Scroll upward direction in the terminal. An example of this is shown in the screenshot.
One thing to note is that resuming the fuzzing session only has real value if the fuzzing strategy chosen is deterministic. If you use the "random" strategy, resuming the previous session does not make much difference.

Screenshot Peach comes by default with 27 different mutators, depending on the element type (numeric, array, text string, or blob). These mutators perform substitutions of the defined and / or cracked values in the model in order to cause an exception in the application when parsing the data (casting and data conversion exceptions, array out of bounds, null pointer access, or buffer/integer Overflow). Some of the most interesting mutators are as follows:
ArrayNumericalEdgeCasesMutator: Transforms arrays by adding or subtracting members to increase or decrease their length according to minOccurs and/or maxOccurs attribute values
BlobMutator: Performs different transformations on a blob element (enlarge, shrink, or fill with zeros)
DataElementDuplicateMutator: Duplicates elements
DataElementRemoveMutator: Deletes elements
DataElementSwapNearNodesMutator: Switches the order of adjacent nodes
NumericalEdgeCaseMutator: Produces a range of numbers around extreme cases based on the size of a number element, including negative numbers. With the hint NumericalString, it can also be applied to string elements.
NumericalEdgeCaseMutator: Produces a range of numbers around extreme cases based on the size of a number element, including negative numbers. With the hint NumericalString, it can also be applied to string elements.
ValidValuesMutator: This mutator will mutate between the values of a supplied list separated by a semicolon.
Some mutators allow to pass information to configure them for each element by adding hints. An example of this is shown in the following screenshot.

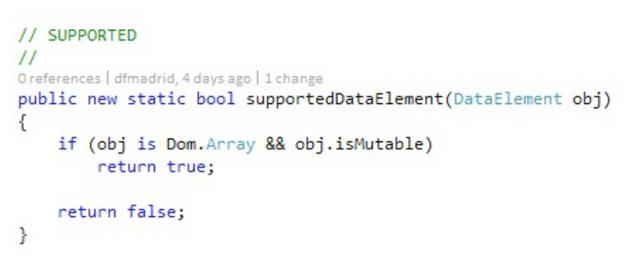
991cccvf.jpg Virtually, all mutators are active by default for all elements. They will only be disabled for an element if the element's data type is not the one required by the mutator or its mutable attribute is set to false. An example of this is shown in the following screenshot.
iaeg7w94.jpg We must take into account that despite setting the mutable attribute of an element to false, if the element is inside a container block (Choice, Block or DataModel), it will be mutated anyway, unless the mutable attribute in the container is set to false as well. The default behavior of Peach is to mutate all elements in our model with all mutators available. We must note that this could easily generate hundreds of thousands or even millions of iterations of our fuzzer. As mentioned in the beginning, the concept of fuzzing continues to grow.
As you have seen, the Peach tool is a very capable mutation fuzzer. Therefore, now we will cover the concept of generation fuzzing. For this, we will use the vulnserver program that was created by Stephen Bradshaw and is often used for testing located at Desktop.

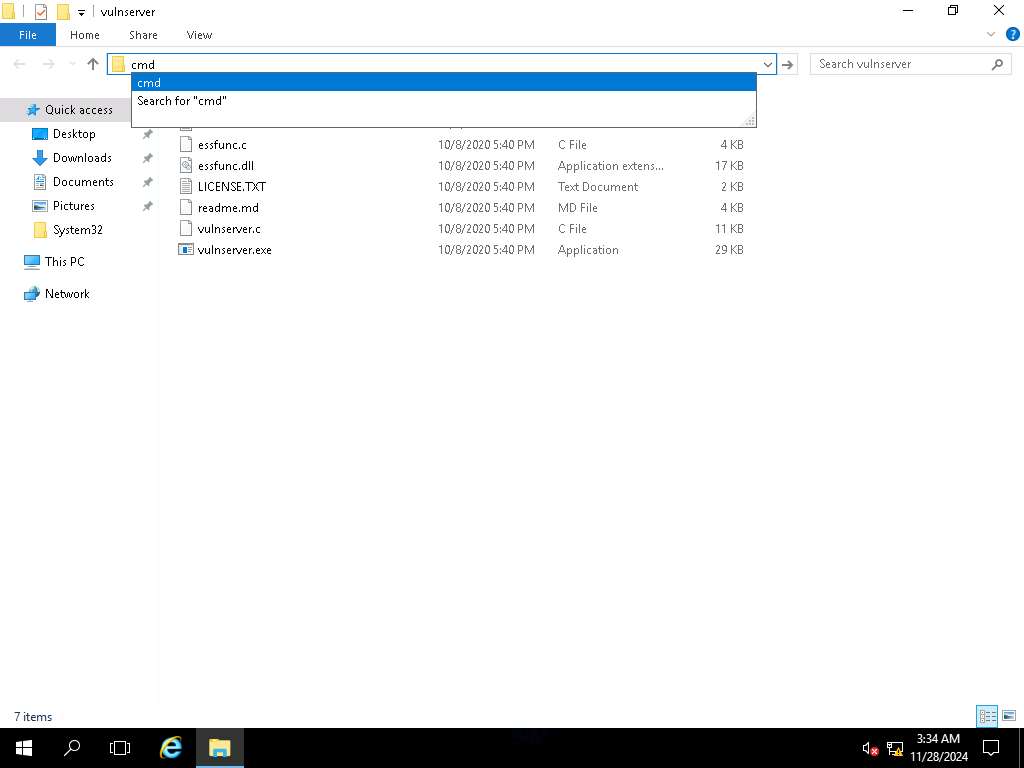
Screenshot To run the machine, open Peach folder and type cmd in the address bar as shown in the screenshot.
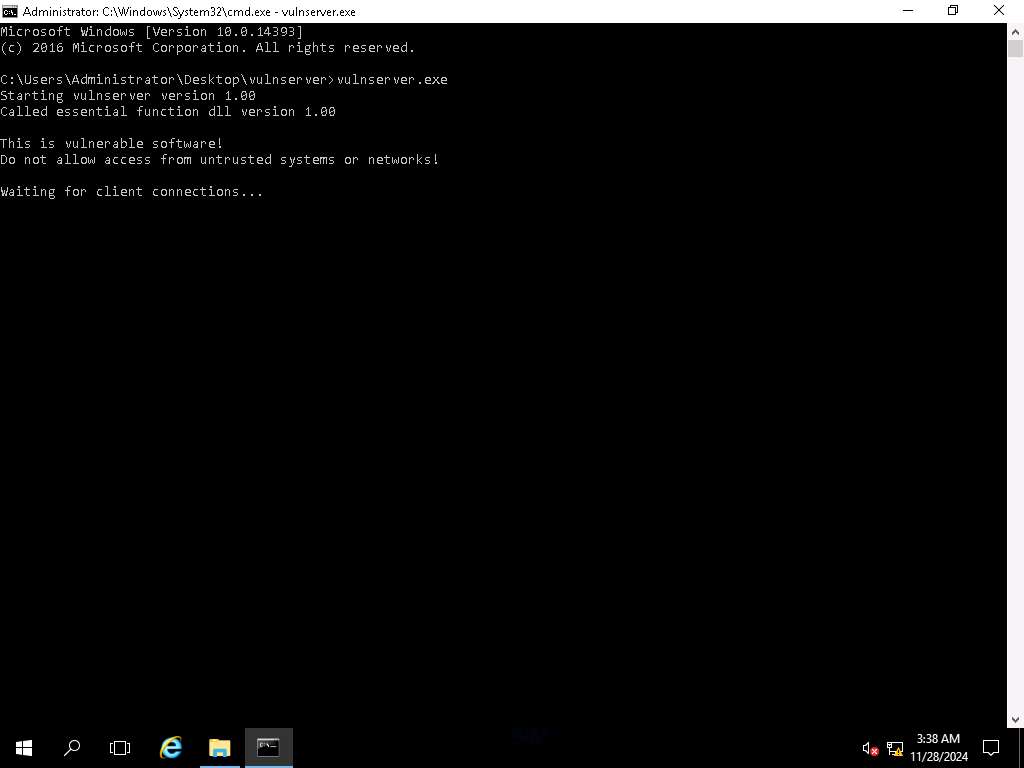
Screenshot In the terminal type vulnserver.exe and press Enter.
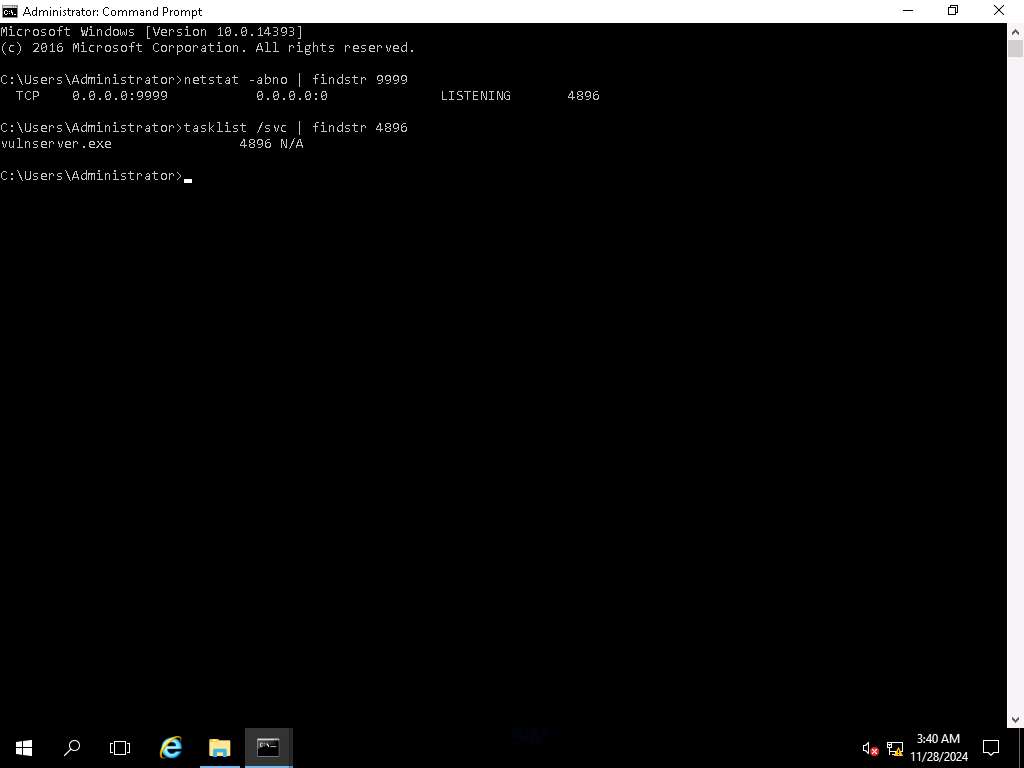
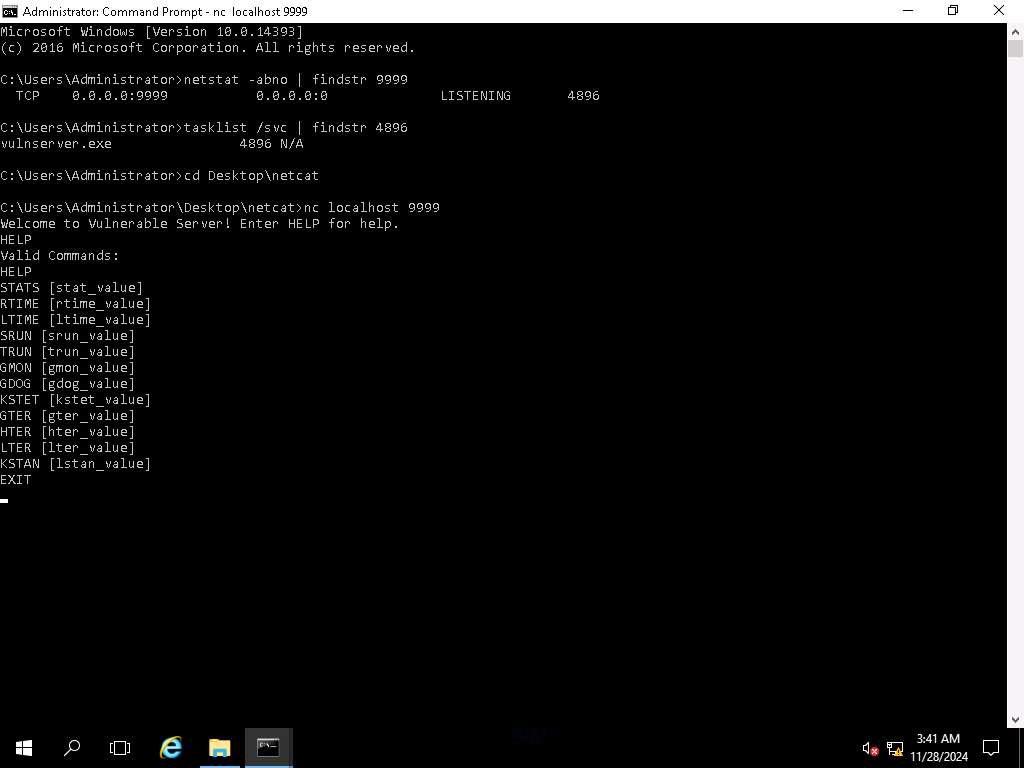
Screenshot To verify that the program is running and has opened a port, open another terminal and type netstat -abno | findstr 9999 and press Enter. Here you need to note down the process ID i.e., 4896. This will differ in your case.

Screenshot To verify that this process ID is the one that has opened the port, type tasklist /svc | [PID] and press Enter.
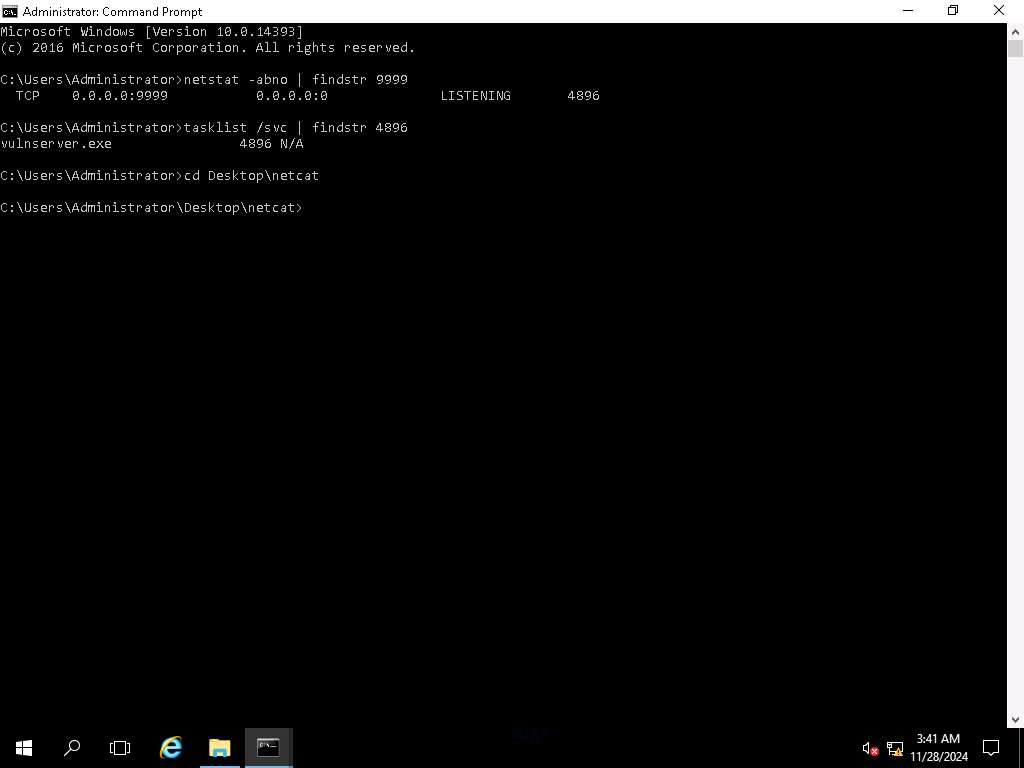
Screenshot Now that we know that the code is running and a server is listening on port 9999, it is time to connect to it and verify that we can access it. The machine has netcat on it, in the terminal type cd Desktop\netcat and press Enter.
Screenshot Now, type nc localhost 9999 and press Enter. As soon as get connected to server type HELP and press Enter.
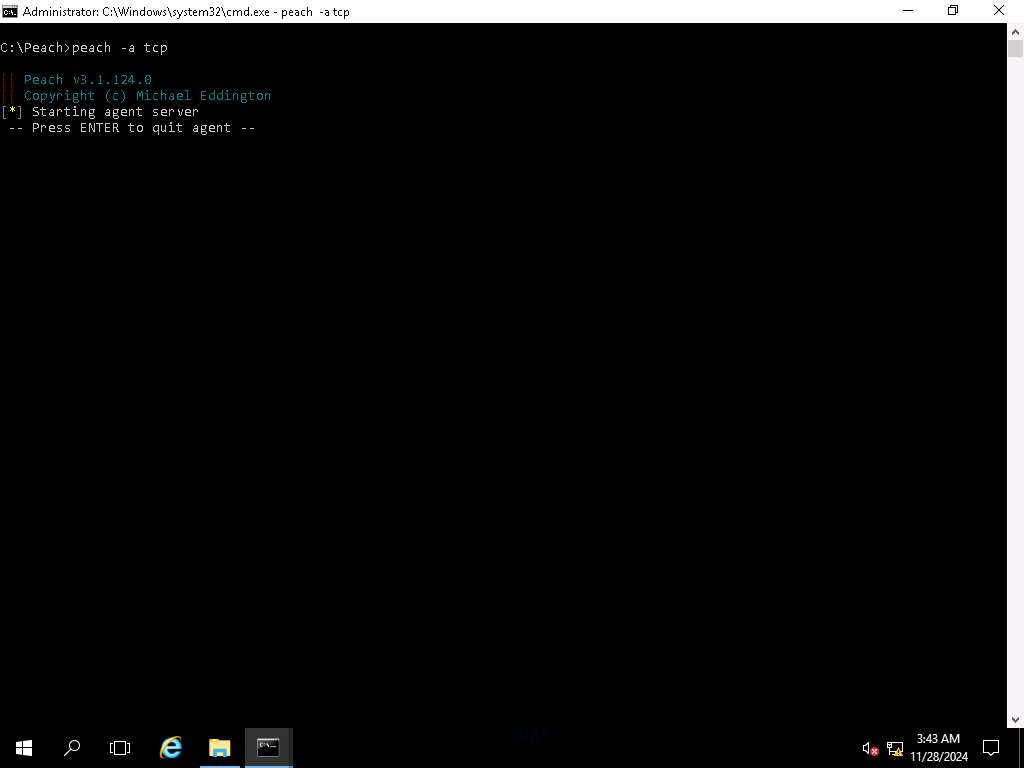
Screenshot Open File Explorer and navigate to C: drive. Now, shift + right-click on Peach folder and click Open command window here from the context menu. In the terminal type peach -a tcp and press Enter. Leave the window running.
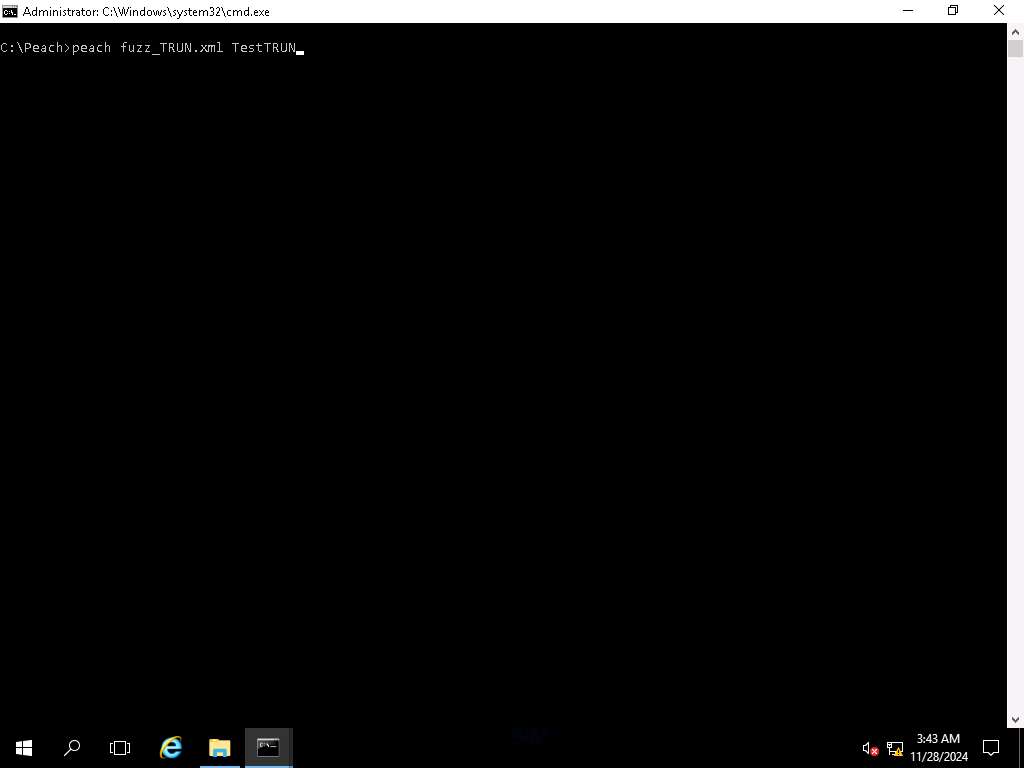
Screenshot Switch to the other Peach terminal, type peach fuzz_TRUN.xml TestTRUN and press Enter.
Screenshot 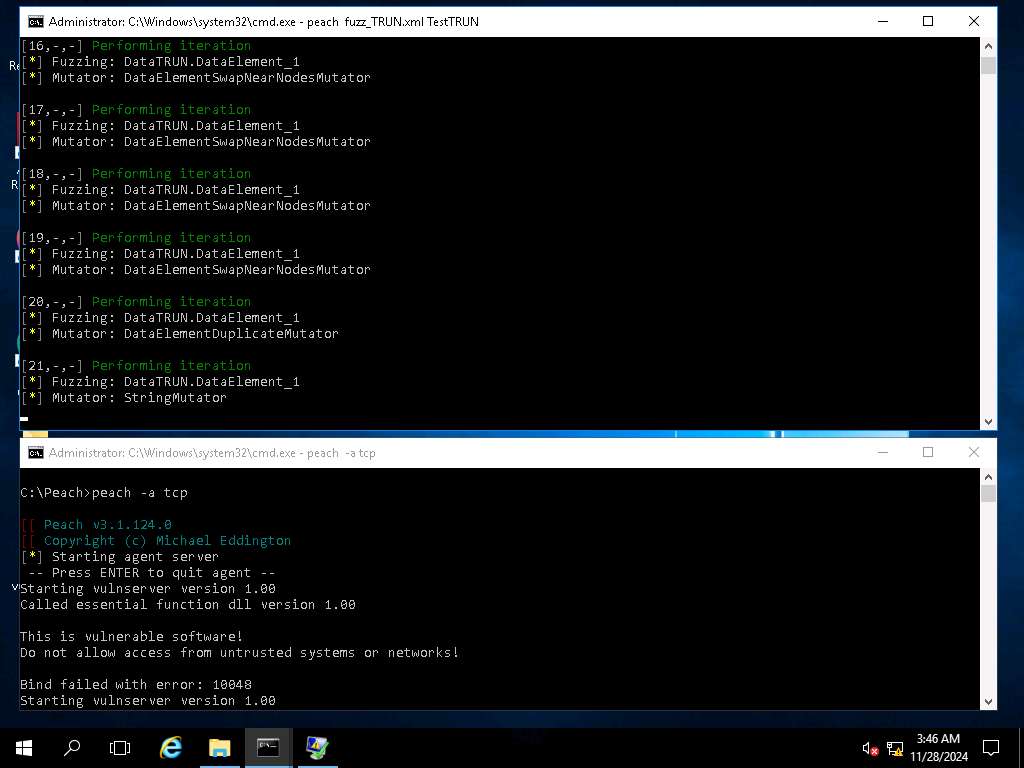
Screenshot To get an idea of what is occurring, in another command prompt, type netstat -atn | findstr 9999 and press Enter.
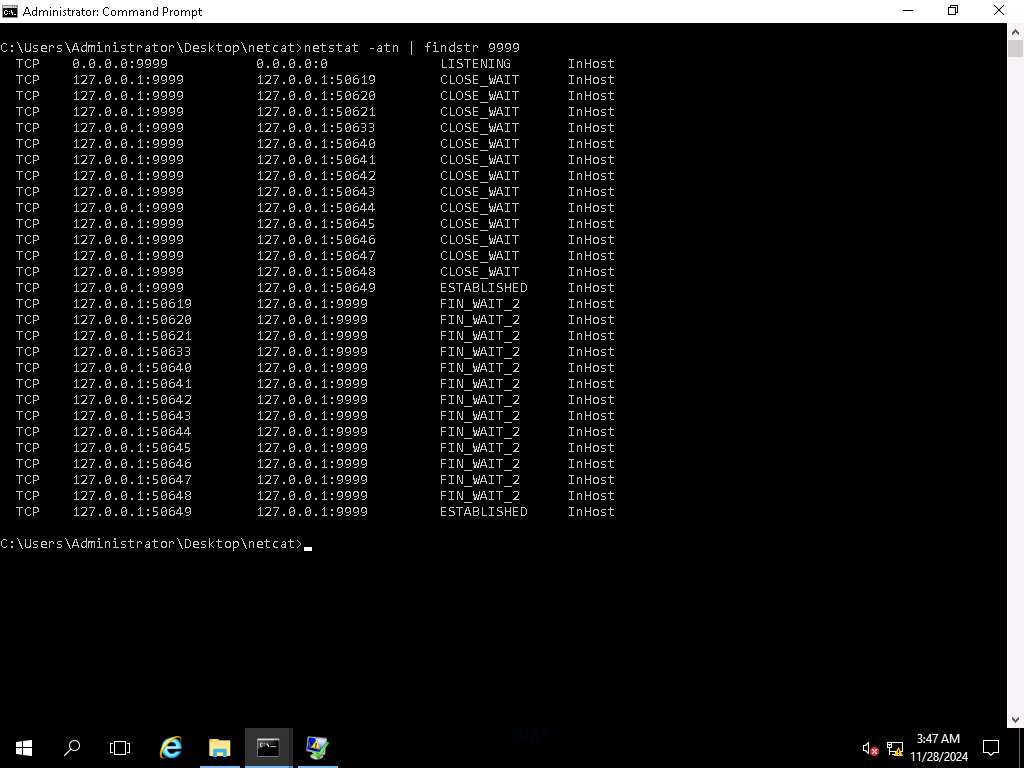
Screenshot You may see warnings, or the vulnerable server may crash and you may need to restart testing again. You may need to generate many test cases-even as many as a thousand to get a reliable crash to debug. The key is the process of reviewing the Logs folder.
Screenshot Close all the windows that were opened. The lab objectives have been achieved
Last updated